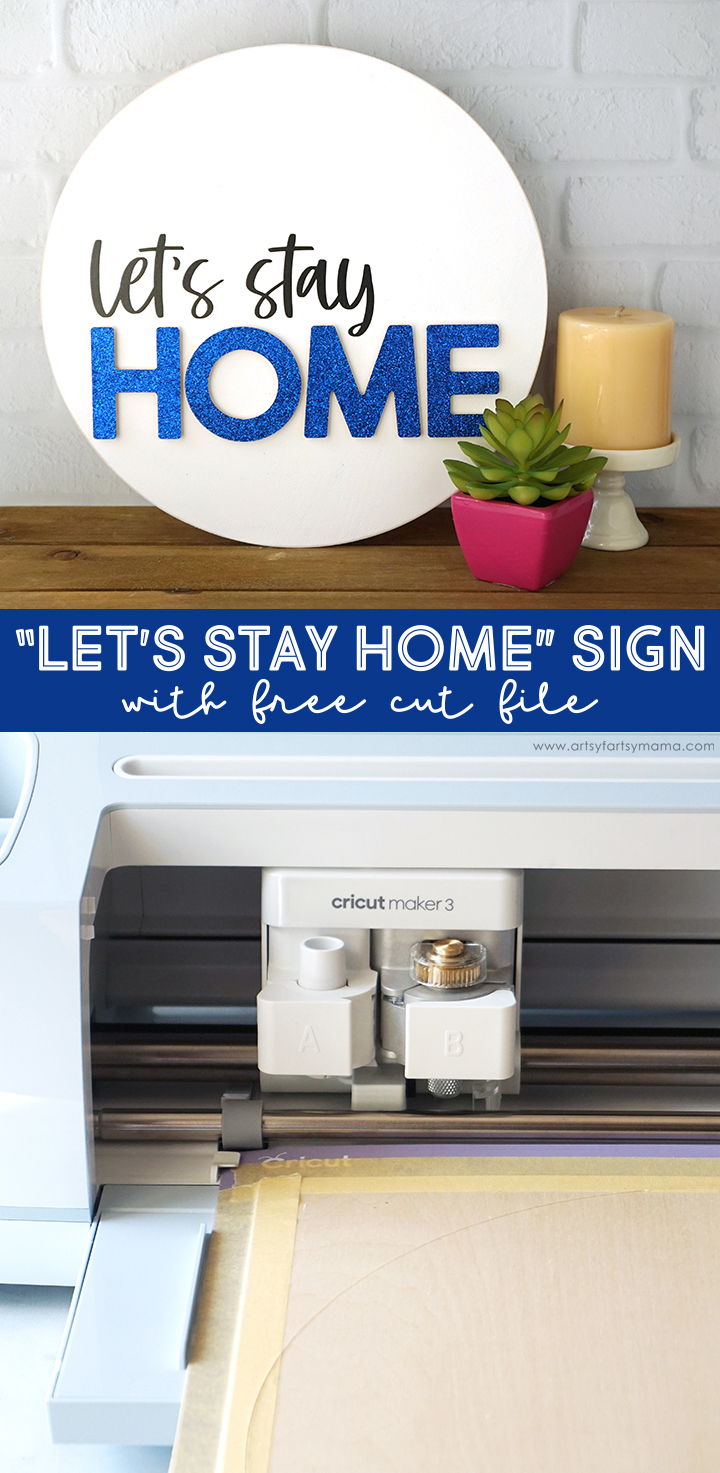
Use the Cricut Maker 3 to make your very own "Let's Stay Home" Sign!
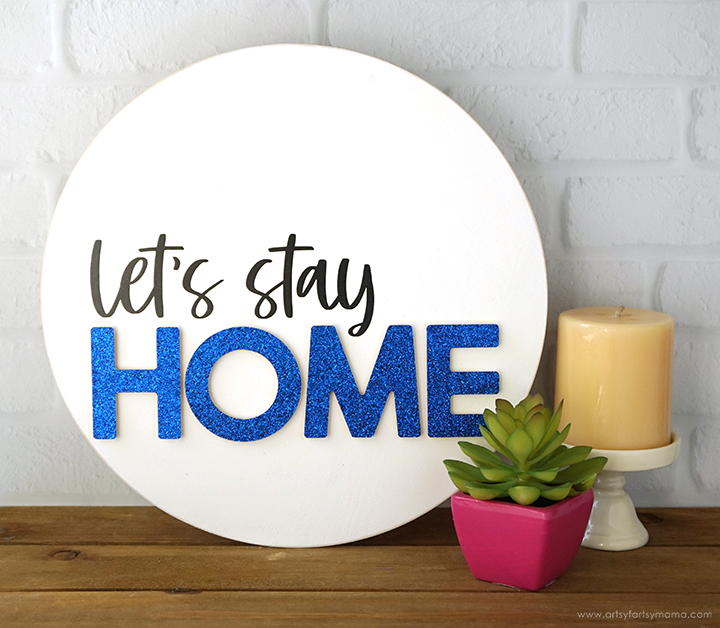
When given the option of going out or staying home, I will almost always choose to stay home. Not that I refuse to go out an have a good time, but being at home with my family is honestly my favorite place to be! I used my new Cricut Maker 3 from JOANN to make this entire "Let's Stay Home" sign, and I absolutely love it! It's such an easy project that makes a statement. The best part is is that I'm also sharing the FREE cut file for you to use to make a sign like this for your own home!

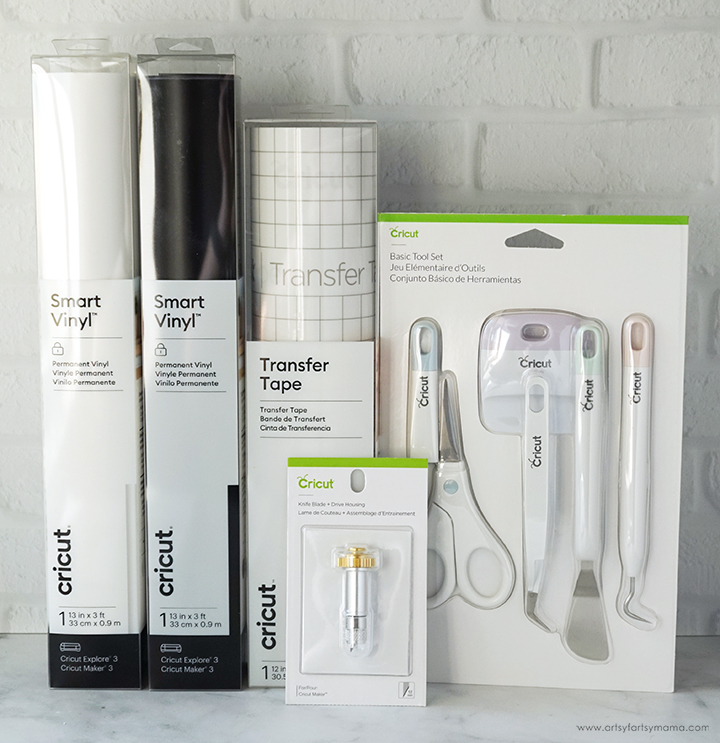
Along with the Cricut Maker 3 machine, the exclusive JOANN Cutting Bundle includes a Knife Blade + Drive Housing, 5-Piece Basic Tool Set, black and white permanent Smart Vinyl, and 12' Transfer Tape. This bundle will give you everything you need to start crafting all kinds of projects - like the sign I'm sharing today!
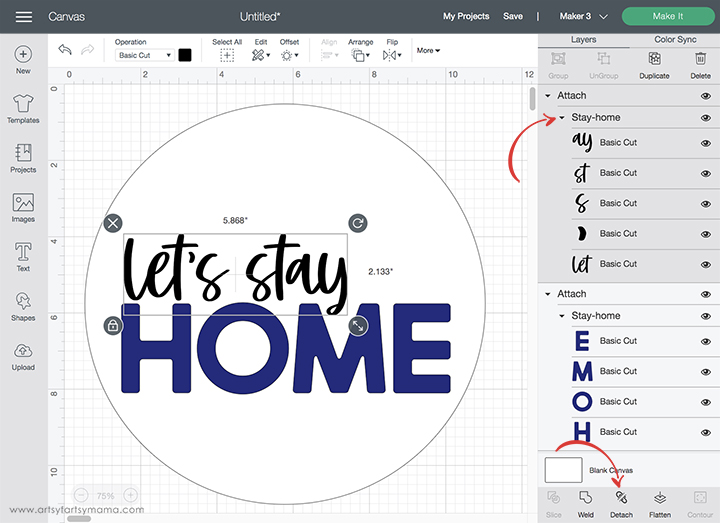
Open Design Space to a new canvas. Click "Upload" in the left tool bar and follow the prompts to add the FREE "Let's Stay Home" design (personal use only) to the canvas. Also, make sure to select the "Maker 3" option in the dropdown next to the green "Make It" button to be able to cut the design as shown here in the tutorial!
Usually the design is completely grouped once it's been uploaded. If this happens to you, select the design and click "Ungroup" in the top right menu bar. Select the black "Let's Stay" part of the design and click "Attach" in the bottom right tool bar to keep that part of the design connected. Next, select the blue "Home" text and click "Attach" to keep this part of the design together. Make a duplicate of "Home" (top right menu) and change the color to white.
If you don't Attach, the letters will arrange themselves to fit the mat instead of keeping the text looking the way it does in the design.
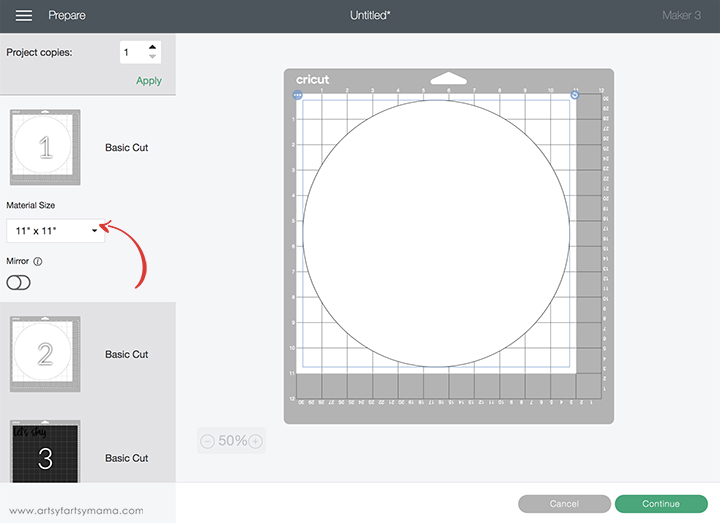
The next screen after clicking the green "Make It" button will be the mat previews of your project. Change the material size of BOTH the circle and the word "Home" to 11" x 11" instead of the 12" x 12". This is because the piece/sheet of basswood I used is only 11" wide.
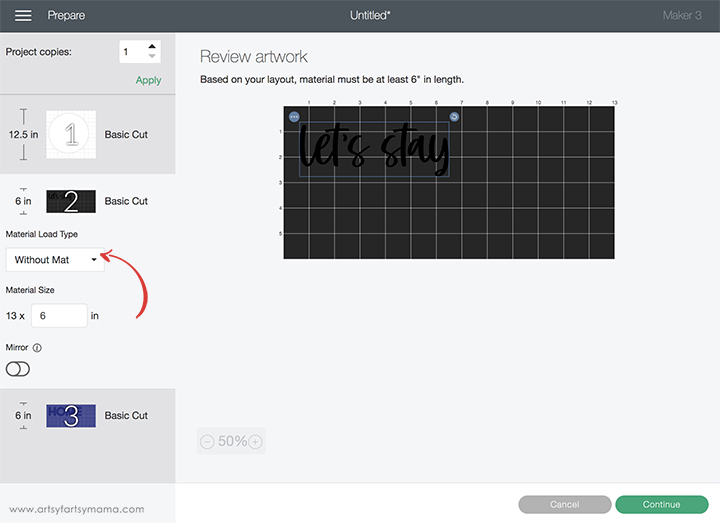
For the black lettering, I am using Smart Vinyl. You can cut this without a mat, which is such a cool feature! In the mat preview, select the "Without Mat" option from the dropdown menu and adjust the size of the vinyl measurement as necessary. Since this is adhesive vinyl, you don't need to Mirror the image.
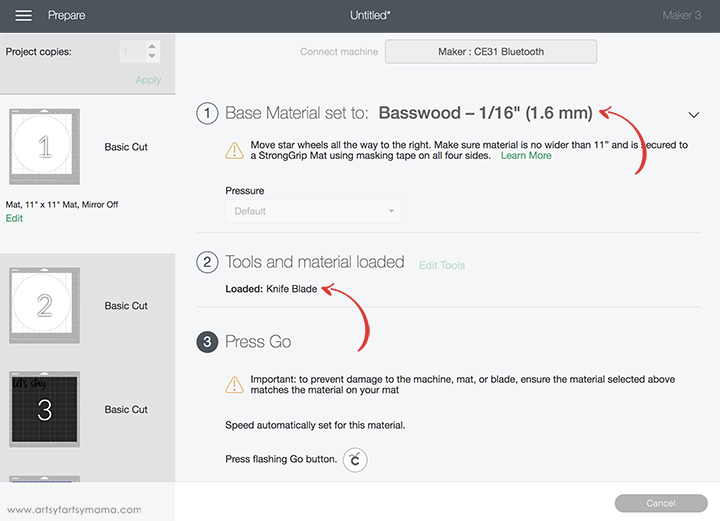
The next step is to connect to your machine, select materials, and load your tools. When you are connected to the Maker 3, all of the materials it is compatible with will be available to pick from, including the new Smart Vinyl. Select which material you will be using (refer to your packaging, if necessary) and check that you have the right tool loaded in the machine.
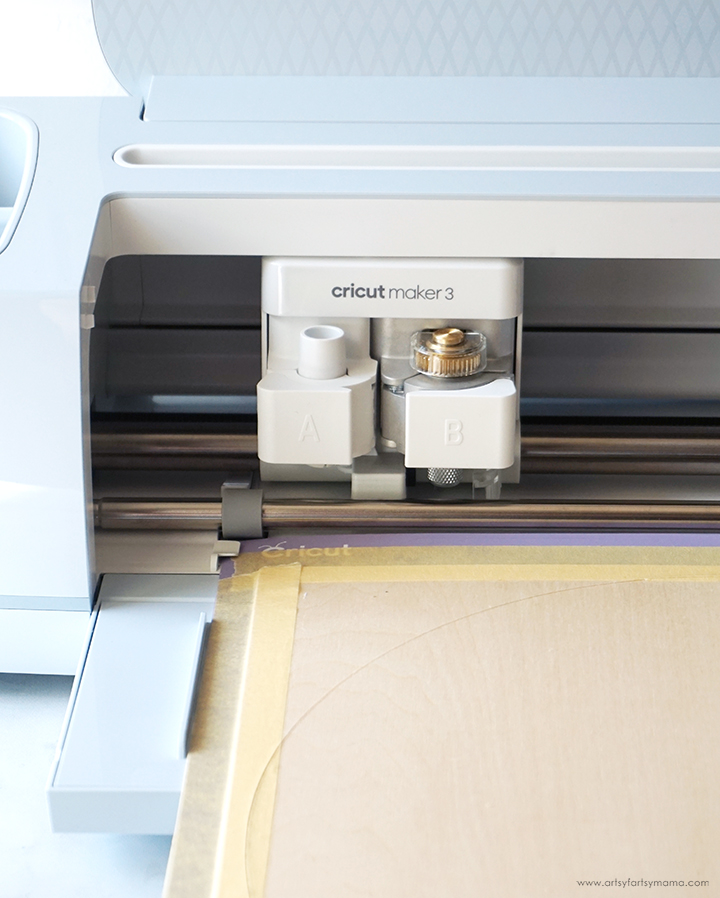
You need to take a few precautions to ensure you get a successful cut with basswood. First, you need the StrongGrip Mat (purple), which is the stickiest mat there is to keep heavier materials in place. Place the basswood in the top left corner of the mat, and use a brayer to press it on well. The Knife Blade cuts in multiple passes (like you would with a craft knife), so I recommend using some masking tape around the edges of the wood to make sure nothing shifts during the cutting process.
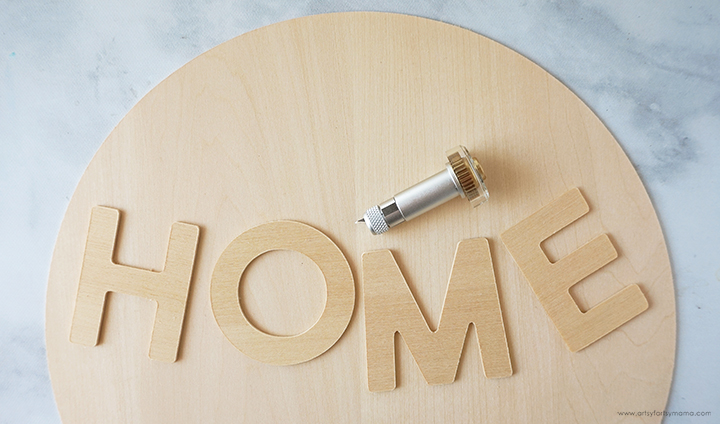
Look at how clean those wood cuts are! The Knife Blade does such an amazing job, and the Maker 3 cuts it in half the time.
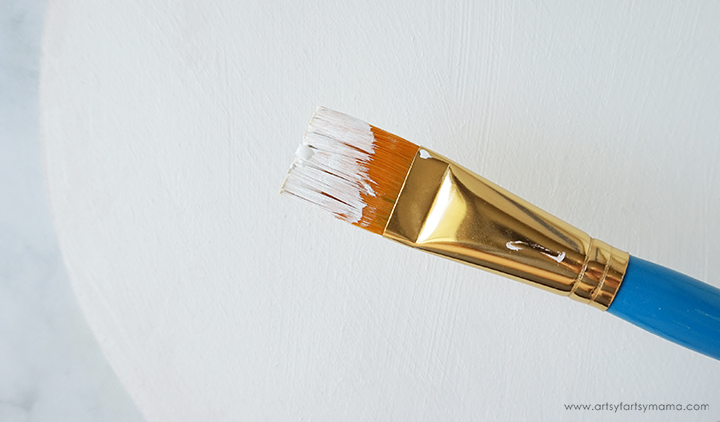
Set the wood letters aside for now, and paint the wood circle with a couple of coats of white paint. Let the paint dry completely and then sand the edges to give it a "worn" look. If you don't want to paint it, you could cover it with white Smart Vinyl or cardstock instead.
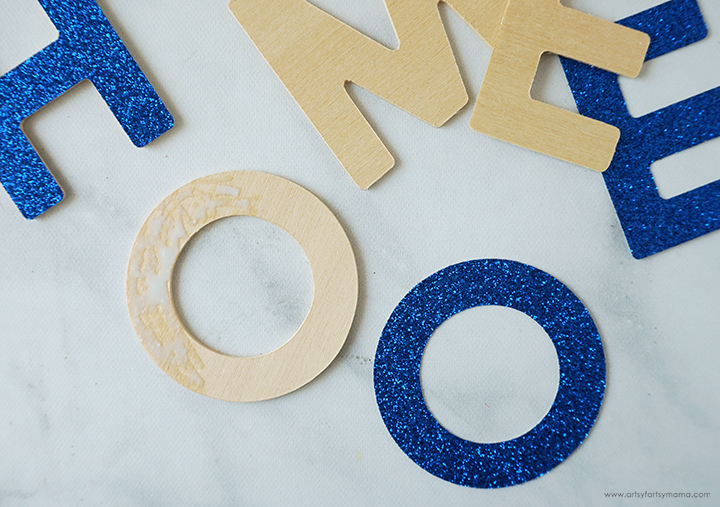
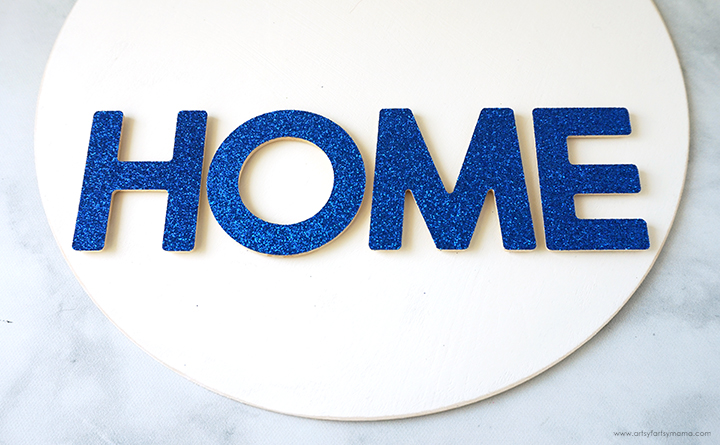
For the "Home" letters, I decided to cut a matching set out of blue glitter cardstock. Cover the front of the wood letters with your favorite adhesive and then line the cardstock on top. Press it down well, and clip in place until it dries.
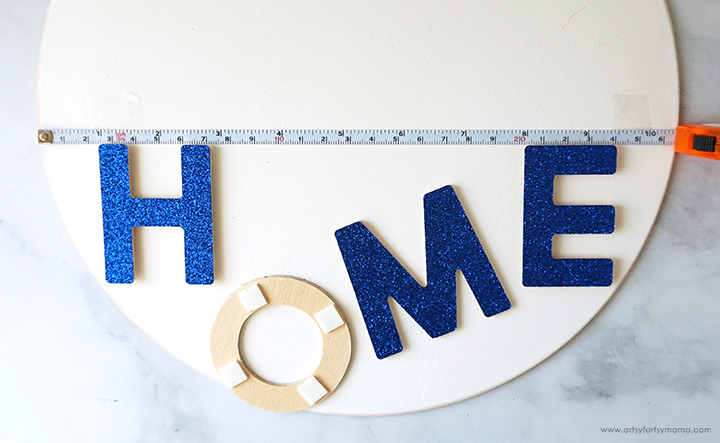
Place a ruler along the center of the circle, or lightly mark the center line with a pencil. Align the top of the "Home" letters with the center line and space them out evenly across the circle. Turn the letters over, one at a time, and stick four double-sided foam adhesive squares on the back.
Once the letters have been placed on the sign, erase any markings. I love how the foam makes the letters pop up a little more than just the wood itself and gives the sign a little more dimension.
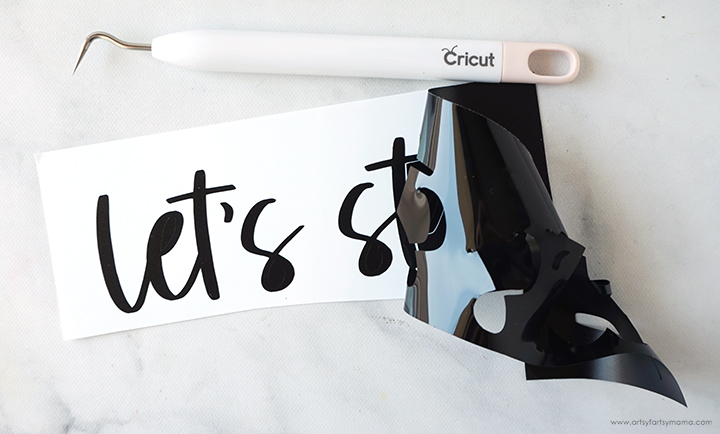
"Weed" the excess Smart Vinyl away by removing all of the parts that don't belong in the design. I usually peel away the outer edges first (starting at the corner), and then work my way around the design. Then I use the hook and tweezers from the 5-Piece Basic Tool Set to help remove the smaller pieces of the design.
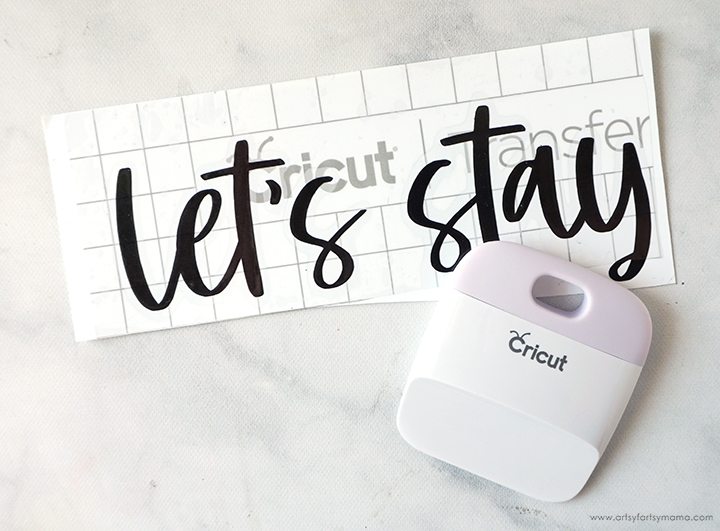
Cut a piece of Transfer Tape the same size as the vinyl. Carefully place it on top of the vinyl and use the Scraper Tool to press it down well and to remove any air bubbles. Turn the vinyl sheet over and scrape it again to help the vinyl letters to really stick to the transfer tape.
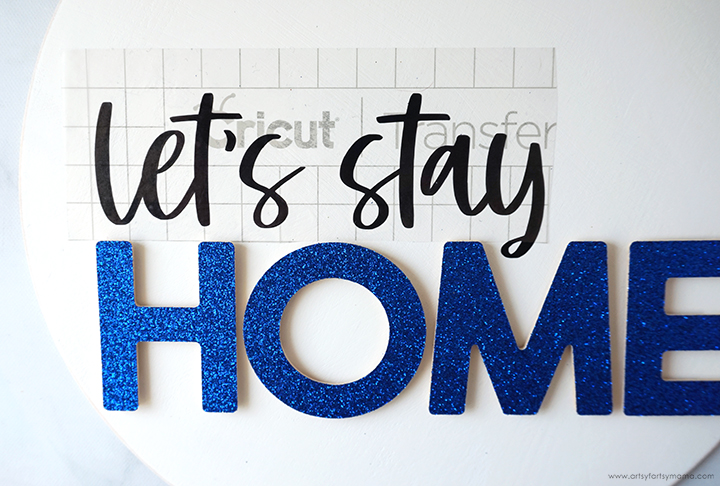
Carefully peel the vinyl away from the backing paper, and then lay it on the sign, aligned with the left side of the "H". Once it's in place, use the scraper tool to press the vinyl onto the wood. Slowly peel the transfer tape away. If vinyl is still coming up with the tape, lay it back down and scrape it again until it sticks.
I am thrilled with how this sign turned out, and the Maker 3 made it so simple! To get started on your own fantastic Cricut creations, be sure to visit JOANN and get the exclusive Cricut Maker 3 Cutting Bundle today.
As always, I would love to see your creations! Share your creations on Instagram, Facebook, or leave a comment/photo on the project pin on Pinterest! #AFMCrafts
Don't forget to Pin, Like, and Share!