
Double, double toil and trouble! Make a pair of clay cauldron earrings full of bubbles!


Start with a bar of Sculpey Graphite Pearl clay. Take about 1/4 of the bar, and split it into two pieces. Roll each piece into a ball.
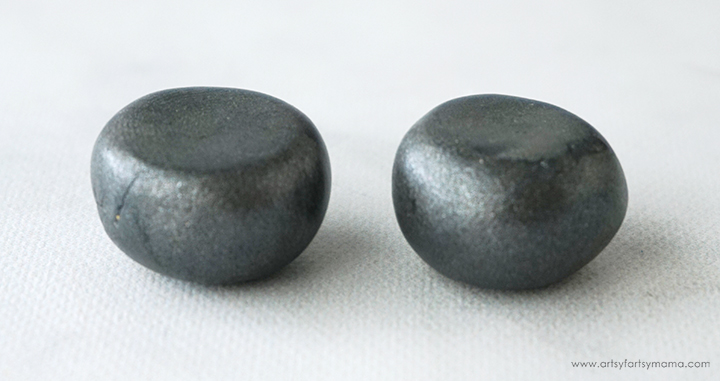
Place the clay balls on a smooth surface, and gently tap them down to get one flat side. The rest of the clay ball should be rounded.

Grab a little bit of clay and roll 8 small balls to make feet for the cauldrons. Turn the larger balls over so that the flat side is down, and then place the four feet onto the tops of each ball. Set the cauldron pieces aside while you work on the next steps.

Take about 1/8 - 1/4 bar of Sculpey Translucent clay. Knead it well, and then roll it into a ball. You will also need a small ball of your favorite green clay - I used some Sculpey Bright Green Pearl.

Flatten the translucent ball of clay and place the green clay in the center. Next, grab some fine green glitter - any shade will work. In fact, I used these three glitters for my cauldrons: a lucky green, neon green, and grass green.

Sprinkle a little bit of each glitter in the center of the clay. Fold the clay over and knead the green clay and the green glitter into the clay. Press the clay flat again, and add a little more glitter. Knead again until the clay mixture is combined, which will be light green in color with a lot of visible glitter.

Break off a small piece of the green clay and shape it into a pancake that is the same width as the flat top of the cauldron. Place the circles on top of the cauldrons and gently press the clays together.


Wrap the clay around the top of the cauldron and the edge of the green circles. Gently press the clay into place and smooth the seams with a clay tool.

Grab some more of the green clay and roll a bunch of small balls in varying sizes to create the cauldron bubbles. To help the bubbles stay in place, paint a light coat of clear Liquid Sculpey on top of the green layer of the cauldron.
Liquid Sculpey is similar to regular Sculpey clay in that it needs to be baked to harden. The only difference is that it's, well, a liquid! For this project, I am using it as an adhesive to keep the bubbles in place.

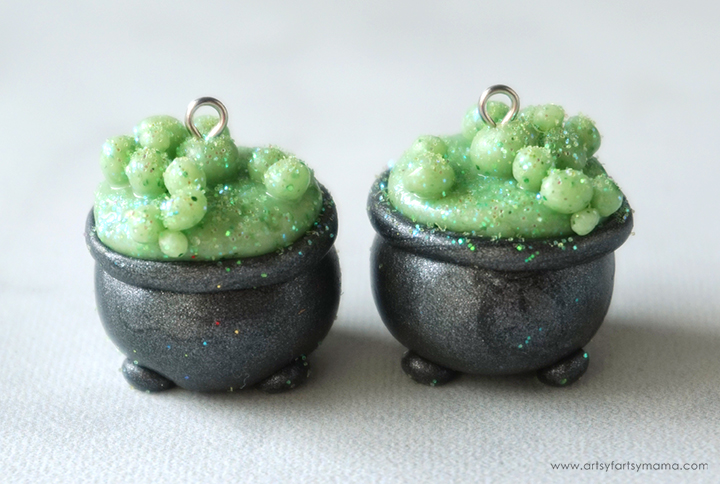
Carefully place the bubbles on top of the cauldron. The Liquid Sculpey is a little tacky, so it will keep everything in place. Once all of the bubbles are in place, I sprinkled a little extra glitter on top for extra sparkle.
Push a jewelry eye pin through the center of the cauldron, but be careful to not press it all the way through the bottom.
Place the cauldrons onto a baking sheet lined with foil and bake the clay charms according to package directions. Let the pieces cool completely before handling.
Even though the eye pins were baked into the project, they can still be pulled back out. To keep it from slipping, carefully pull the eye pin out after backing and add a little bit of strong adhesive to the end. Place the pin back into the hole in the charm, and it should be good to go once the glue dries!

To give the potion some extra magical shine, I mixed paint a little bit of Sculpey Gloss Glaze and the same green glitters in a small mixing cup. Apply a thin coat over the green clay with a small paint brush and let it dry completely (it does not need to be baked). If you'd like, you can also paint a light coat of Sculpey Satin Glaze over the cauldrons.
Use jewelry pliers to attach earring hooks to the eye pins to complete the earrings. I just love these little clay cauldron charms and think they will be so fun to make as gifts for friends, teachers, and family to wear during this Halloween season. I would love to see if you make some for yourself using this tutorial. Leave me a comment, or tag a photo on Facebook, Twitter, or Instagram! #AFMcrafts
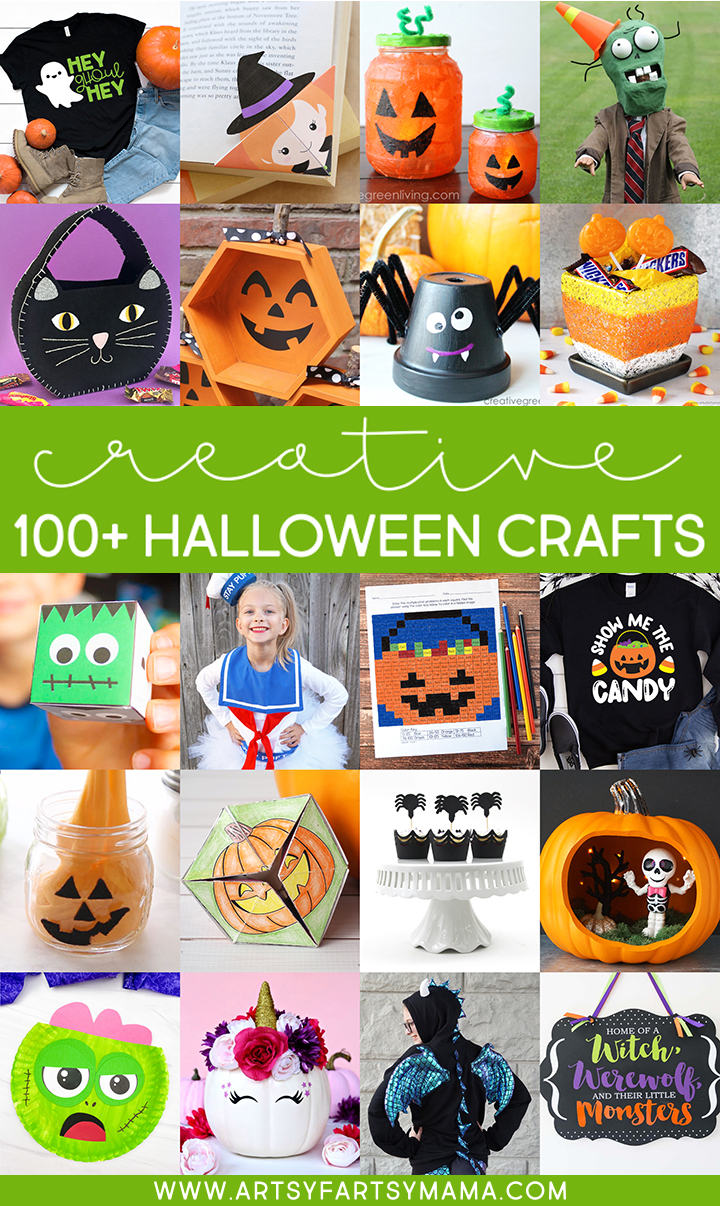
Looking for more Halloween craft inspiration?
Check out this collection of OVER 100 creative Halloween craft ideas!!
Don't forget to Pin, Like, and Share!


These are adorable! Thanks for sharing! Fall is my favorite time of year! Mostly, because it means summer is over. Lol. I hate being hot.
ReplyDeleteLOVE these earrings, Lindsay! You are so talented and creative!
ReplyDelete