
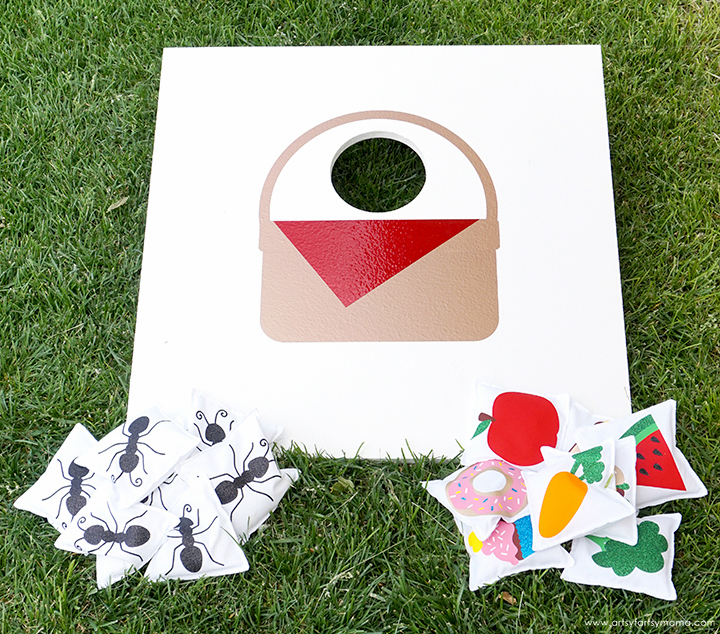
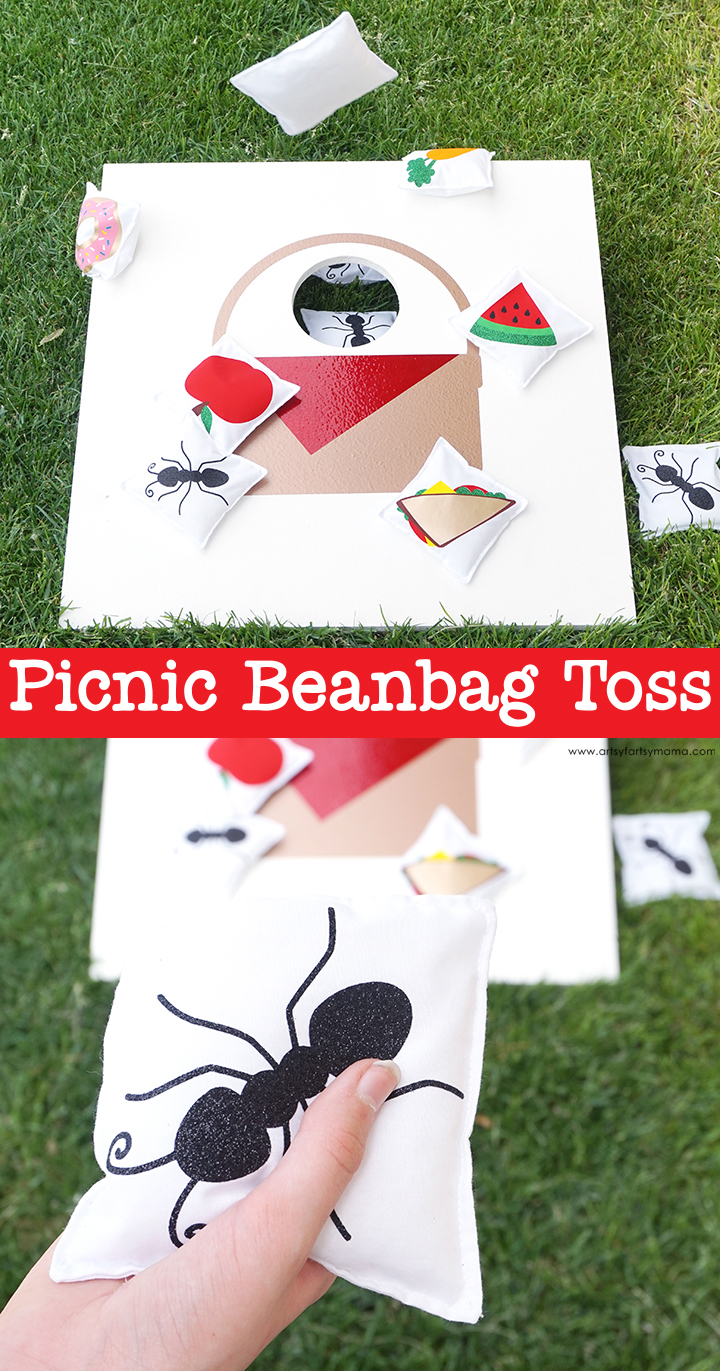
Will the picnic basket be full of food or ants?! Play this fun DIY Picnic Beanbag Toss Game to find out!
Looking for a fun outdoor activity to play with your family this summer? This DIY Picnic Beanbag Toss Game is going to be a hit! There's nothing quite like a summer picnic, but we have turned it into a game of cornhole with a twist! I had a lot of fun putting this game together with some help from Fairfield and my Cricut Maker machine, and hope you and your family love it just as much as we do!!
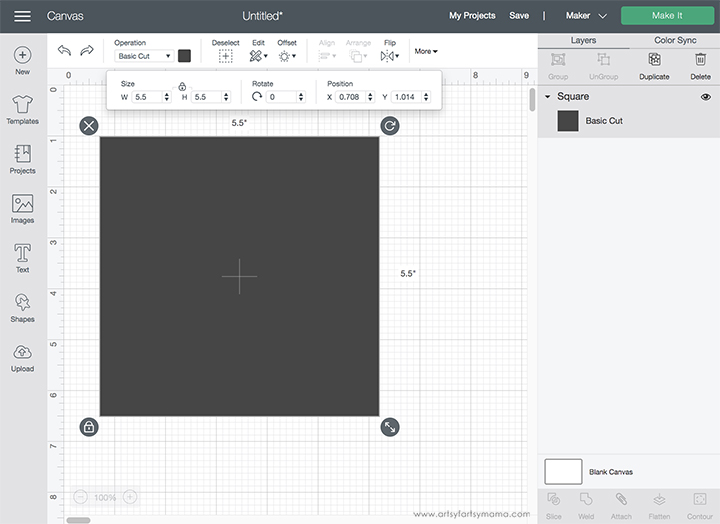
Open Cricut Design Space and create a new project. Click on the "Shapes" icon in the left menu panel and create a square. Resize the square to 5.5" x 5.5" and then click "Duplicate" in the upper right menu. Do this until you have 32 squares. These are going to be the beanbag squares, and the Cricut Maker will cut them all out for you!
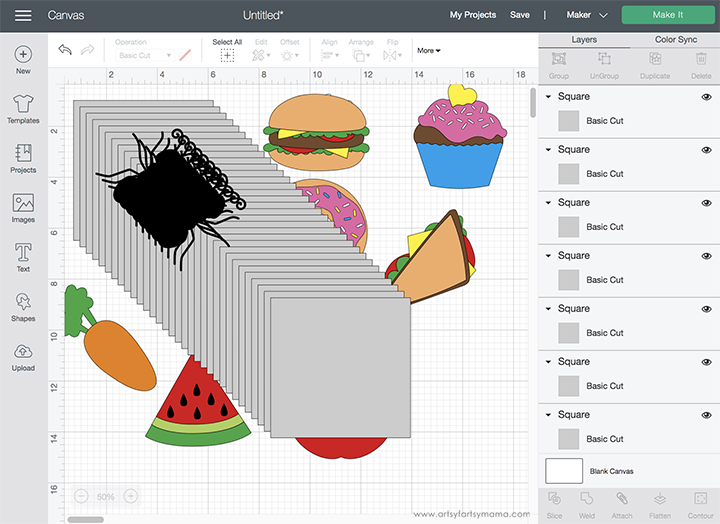
Upload the Picnic Beanbag Images (personal use only) into Design Space*. They should already be sized to fit the beanbag squares, so you don't need to adjust the size unless you change the size of the beanbags.
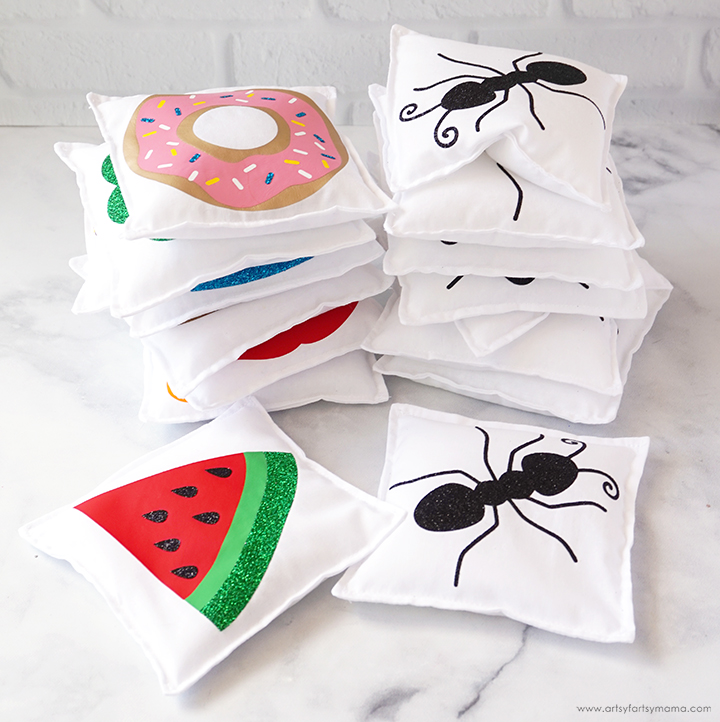
Duplicate the ant image so that there are 8 of them total. Ungroup each food image, and "Attach" same-colored pieces together from each image so that it'll be easier to iron them on later (i.e., the hamburger buns/lettuce/tomatoes, etc).
*Here's a great tutorial on how to upload your own images into Cricut Design Space.
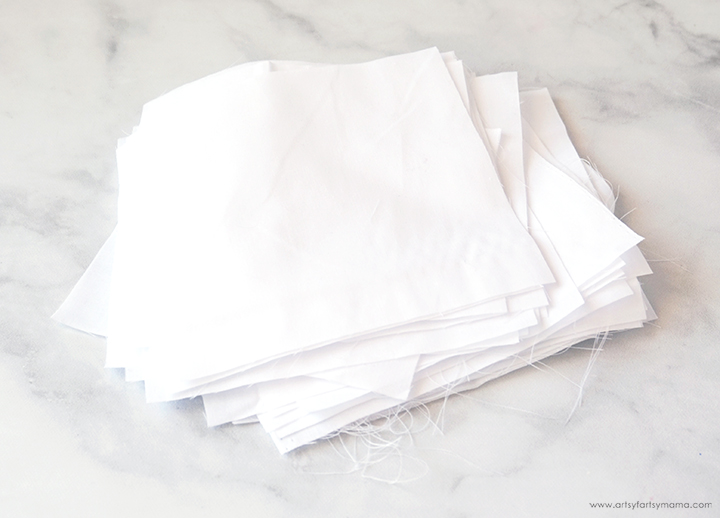
Cut 32 squares out of white cotton or canvas fabric measuring 5.5" x 5.5". You can do this by hand with a rotary cutter, or use the Cricut Maker. To have the Cricut Maker cut your fabric squares, place the fabric on a 12"x24" Pink Fabric Mat and it will cut 8 squares per mat. Stack all of the fabric squares as you go, and that's it!
Sew two squares with a 1/4" seam allowance, but leave an opening measuring about 1.5". Cut the corners at an angle (don't cut through the seams!) to help the corners pop out better. Turn the squares right-side out through the opening, and poke the corners out using a chopstick or something else with a dull point.
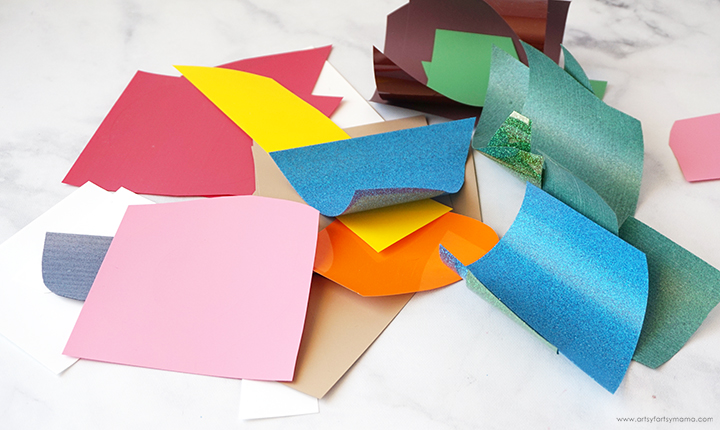
For this project, you will need iron-on vinyl (HTV) in a variety of colors. None of the pieces are very large, so this is a great way to use up all of those vinyl scraps! After cutting out all of the designs, weed the vinyl using weeding tools.
The colors of vinyl you will need for this project are: tan, dark brown, light green, dark green, blue, pink, yellow, white red, orange, and black. I used a mix of Everyday Iron-On and Glitter Iron-On vinyls.
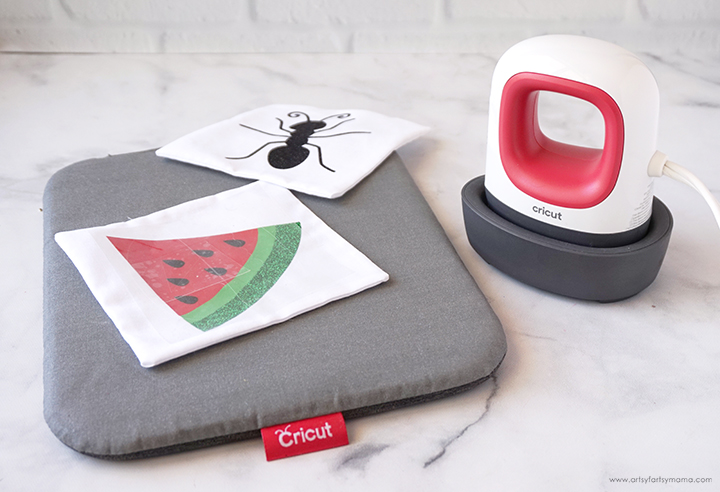
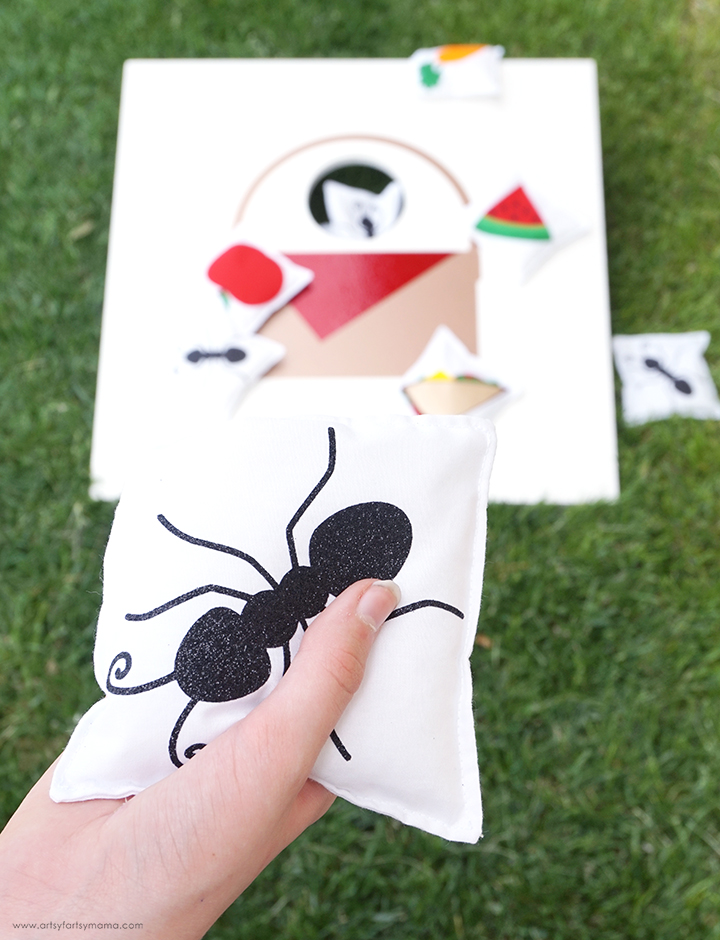
Press the squares with the EasyPress Mini on the EasyPress Mat to remove the wrinkles. I recommend pressing the vinyl ants onto the beanbags first, because they are the easiest! Turn the EasyPress Mini to the first light setting. When it's heated up, place an ant on the center of a beanbag square and run the EasyPress over it with a little bit of pressure.
For the food pieces, this will require vinyl layering. It's actually very simple, but takes a little bit of patience. For example, to iron the watermelon image on, start by placing the red piece first. Next, add the light green layer, then the dark green and black. The most important part to remember: Every time you add a new layer, make sure you protect the previous layer by placing an iron-on protective sheet or a discarded carrier sheet down first so that you don't burn or melt it!
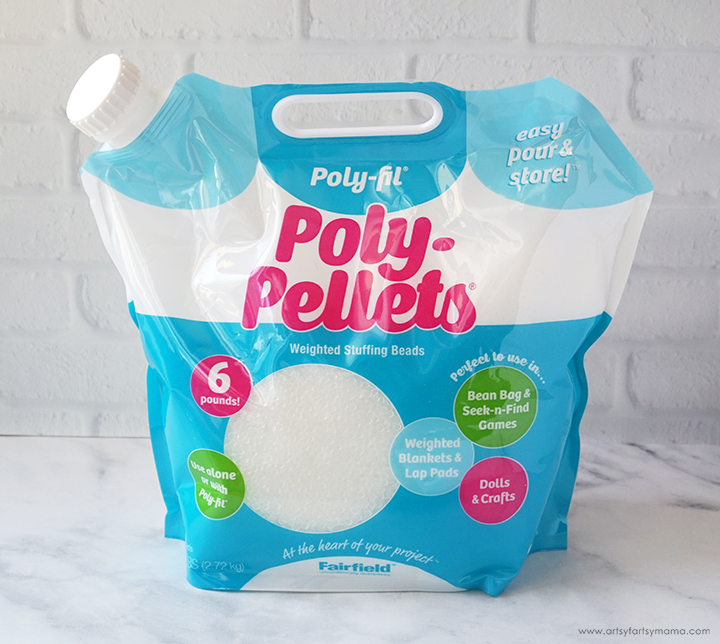
Next, you need to transform the flat, but adorable, fabric squares into actual beanbags! I recommend using these Poly-Pellets from Fairfield to fill the bags. I especially love the packaging. It's so easy to pour the pellets out for your projects!!
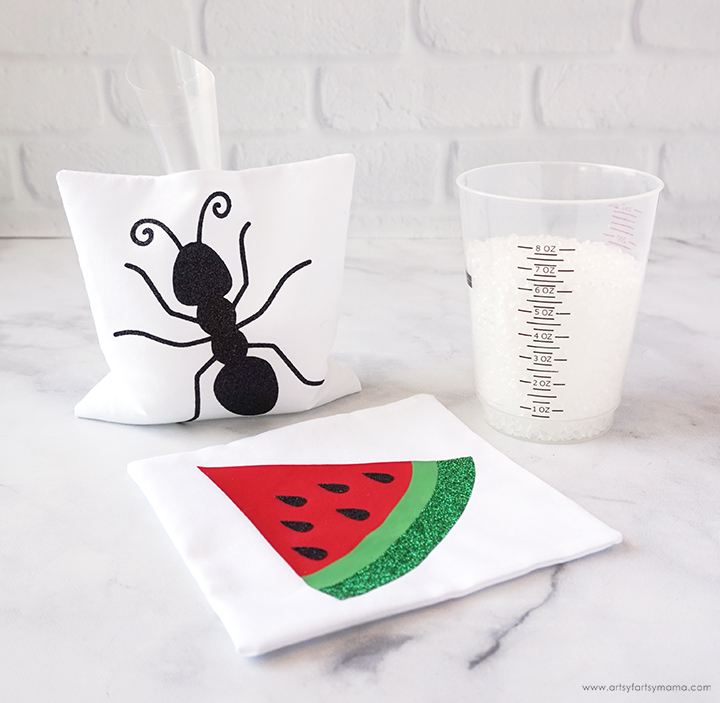
I didn't have a funnel, so I rolled a piece of carrier sheet into a cone with the sticky side facing out. This worked SO great for this project! Fill one of the bags about 3/4 full. Pour the bag back out into a clear cup or container. I used one of my larger resin mixing cups that has measurement marks. Mark the cup or note how full it is. Now you can fill each of the beanbags with the same amount of Poly-Pellets!
When you are filling the beanbags, be sure to pour the pellets into the funnel slowly. I ended up pouring too fast a few times and ended up overflowing the funnel and spilling pellets everywhere!
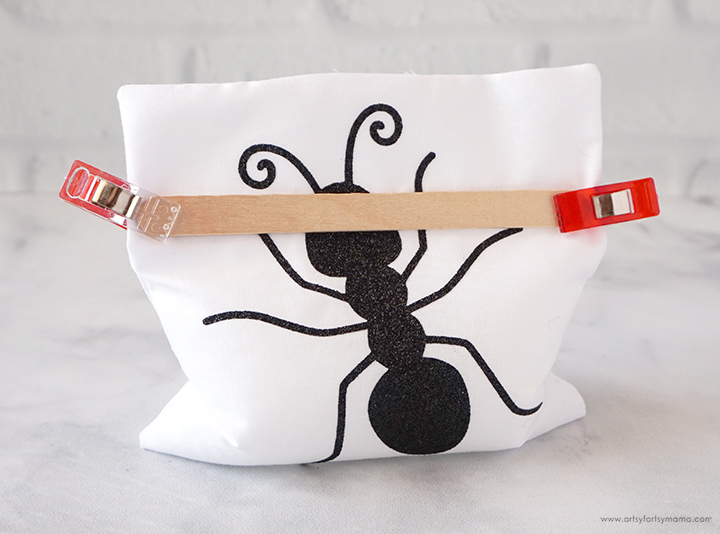
The bags need to have the openings sewed closed so that the pellets don't spill out. I was having some trouble with the pellets getting in the way during sewing, so I fashioned up this little trick with a couple of craft sticks and sewing clips! There probably is an actual tool for this, but you deal with what you have, right?
Stand the bag up and clip the sticks onto the bag. Then just topstitch across the top of the bag. Turn the bag, place the clips back on, and repeat for each side.
Topstitch all 16 beanbags. It sounds like a lot of work, but it actually goes quickly! The extra topstitching will also help to keep all of your seams extra secure, which is important since you will be throwing them around!
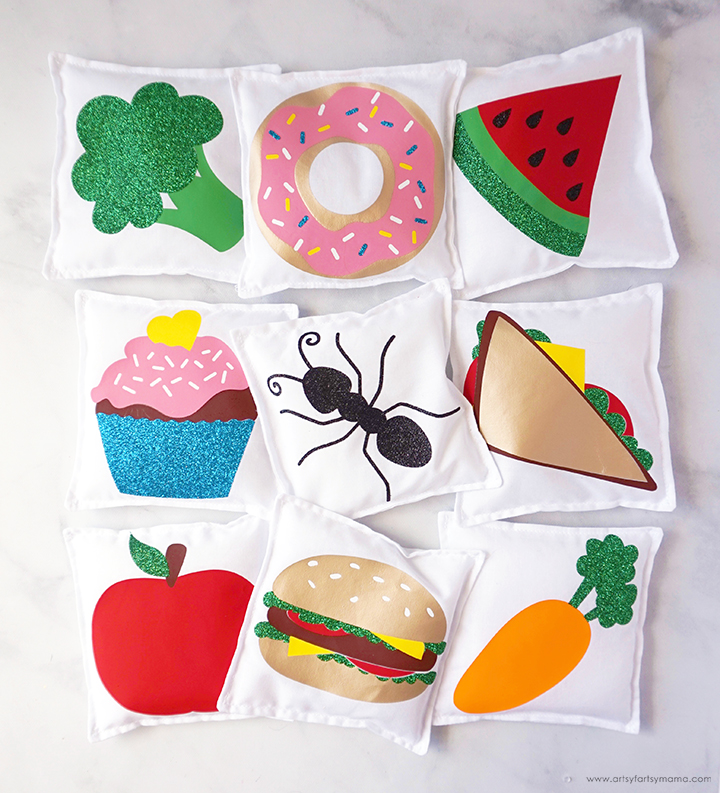
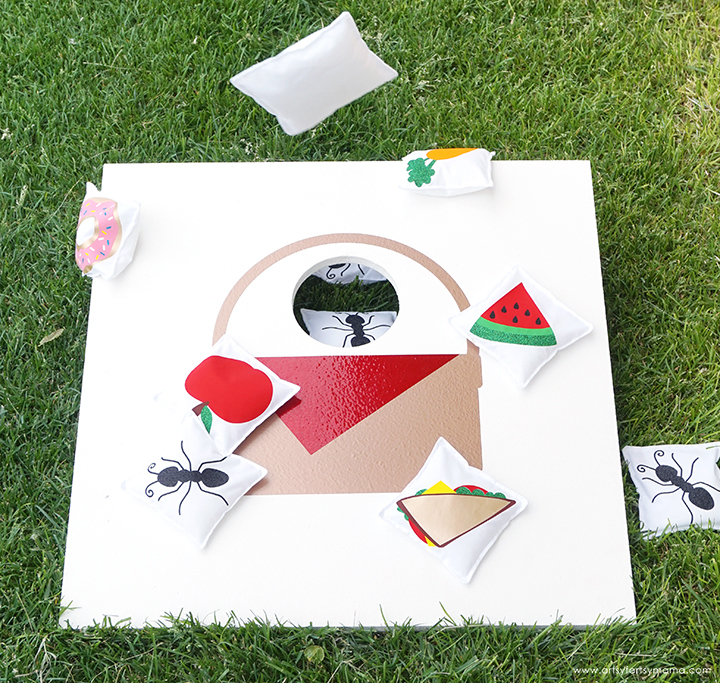
Here are all of the food bags and one of the ants so you can see all of the picnic beanbags finished! I am so happy with how they turned out!! Which one is your favorite?
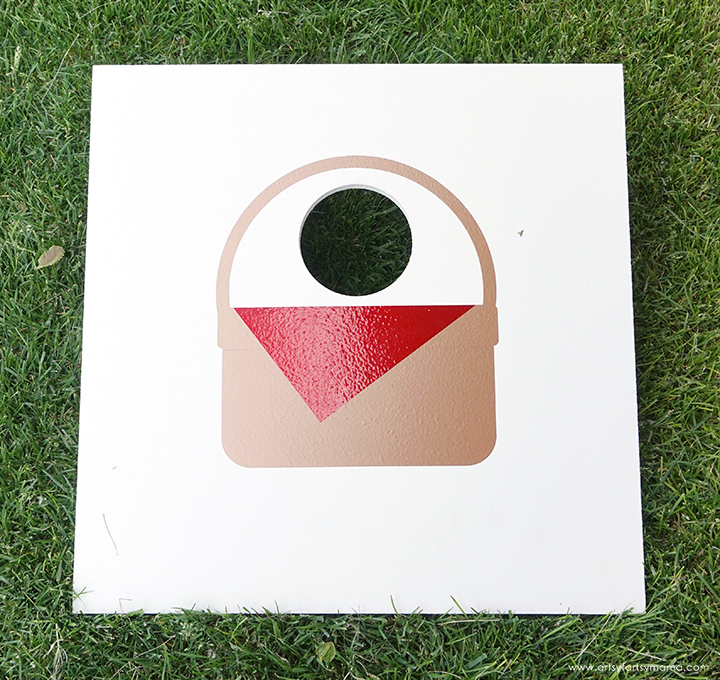
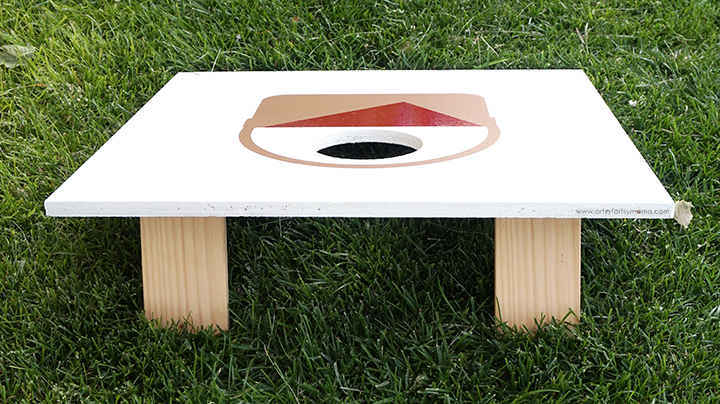
I placed the vinyl on the board, with the handle centered over the hole. Make sure to press the vinyl down well with a scraper tool.
How to play Picnic Beanbag Toss:
On the back of the board, we attached two pieces of 1x4 and hinges. This way, the board can be stored flat, and the legs can be popped out when you're ready to play!
- With 2+ players, split into 2 teams: ants vs picnic food.
- Each team takes a turn tossing a beanbag, aiming for the "picnic basket" hole.
- Keep taking turns until all of the beanbags have been thrown.
- Count all of the beanbags that made it into the "basket".
- The team with the most beanbags in the picnic basket wins!
Will the picnic basket be full of food or ants?! My daughter and I had a lot of fun coming up with this game, and think your families will love it, too! It is the perfect summer game to play outside together, or to take with you when you go on an actual picnic!
I would love to hear what you think of this project, and would absolutely LOVE to see your creations!! Tag me on Instagram and Facebook, and leave a comment/photo on Pinterest!
Don't Forget to Pin, Like, and Share!


This is so fun! I love seeing the variety of ideas when it comes to beanbag game themes.
ReplyDeleteAlexandra
OnRockwoodLane.com
EyeLoveKnots.com