
This adorable Sloth Stuffed Animal is fun to make and snuggle with!


I found this adorable Sloth Plush pattern from Choly Knight. The pattern has awesome instructions including photos that make it easy to follow, and is also FREE! I'm a huge fan of Choly Knight patterns and I love that she helps to make stuffed animals into a FUN project!
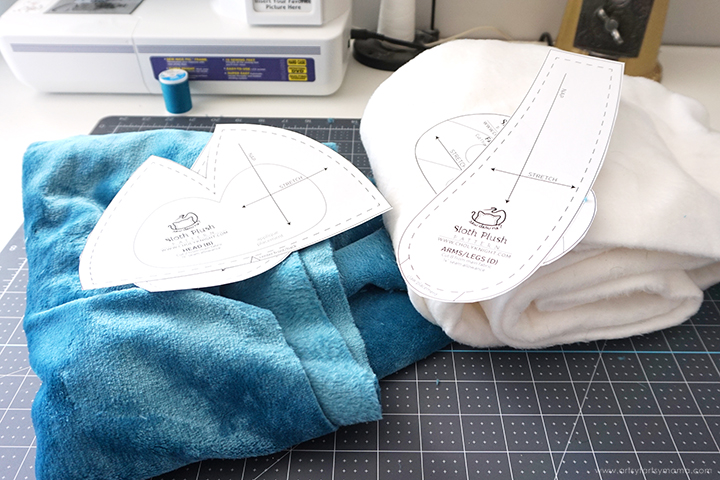
Start by printing out the Sloth pattern and instructions and cut the pattern pieces out. When shopping for fabrics, look for some stretch minky or fleece fabric with a smooth or extra furry finish. If it doesn't stretch, the stuffed animal may not turn out how you want. I chose a dark teal plush minky for the "fur" and a regular white fleece for contrast in the sloth's face and hands.

I cut out all of the fabric pieces using a rotary cutting tool and cutting mat. The biggest thing to keep in mind when cutting the fabric is to make sure the nap is going in the right direction (according to the pattern pieces). There are quite a bit of pieces, so I recommend separating them into groups (body, arms, etc) and try to keep everything organized as you go.

I started with the face first. The actual face pieces are small, and take a steady hand to cut them out. If you prefer embroidery, the pattern actually includes it to make your life easier! Instead of cutting or embroidering, I decided to trace the face pattern pieces and upload them into Design Space. Then, I used my Cricut to cut the pieces out of a matching teal HTV for the face shapes and black glitter HTV for the eyes and mouth.
I applied the vinyl to the white face piece using my EasyPress Mini. Once it was cooled, I sewed it to the head piece using a zig-zag stitch all the way around. You will end up sewing over the vinyl on the edges, but it will be just fine!

The claws were actually pretty fun to make. They are in one piece, but you need to sew lines to make it look like separate claws. I used my water soluble fabric marker to mark two lines down each claw so that I had a guide to follow. I also love that the claws have velcro so that they will attach when the sloth is all done!
Rinse the fabric under WARM water to remove all of the fabric marker. Toss the fabric in the dryer with some towels for a few minutes or pat the fabric with a towel and hang them up to dry completely.

The secret to making a stuffed animal extra soft and cuddly is all about the stuffing! I used some Poly-Fil, which is made specifically for stuffed animal projects like this. It's very affordable, washable, and non-allergenic.
Fun fact: Did you know Poly-Fil is made with recycled materials that is then reprocessed into polyester and then extruded and expanded to make the Poly-fil we all know and love?!

Once the arms are sewn and the claws attached, it's time to get stuffing! Fill the arms about 3/4 of the way with Poly-Fil.

Sew the rest of the sloth together according to the pattern directions. The area around the head can be a little tricky, so be sure to take your time and be patient with yourself. Remind yourself that it's always okay if you need to unpick some stitches. We all have to do it now and then!!
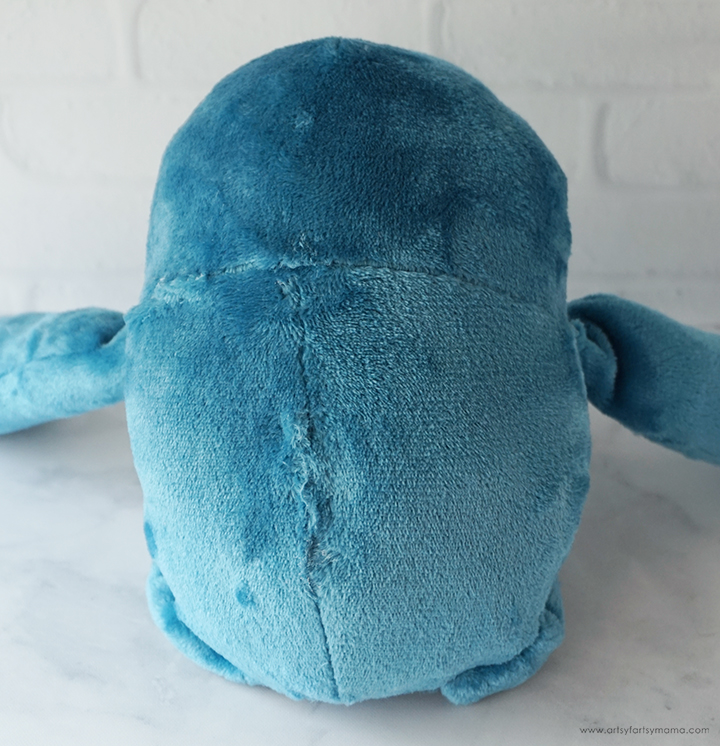
The stuffing opening is in the back of the sloth. Fill the little guy with as much Poly-Fil as you want to get them as snuggable as you'd like.

You can hand-sew a ladder stitch to close the seam of the sloth. I wasn't feeling in the mood to do it, so I took a little shortcut and used a bit of Fabri-Tac along the seam. I held the seam shut with sewing clips and let the adhesive dry. After stuffing the sloth, I also noticed a couple of spots around the neck seam that I missed. I did the same thing using adhesive and clips in those areas.
Isn't this little guy the cutest?! My daughter is absolutely in love and has lovingly named him "Snuggles", and I call him a different name every time I pass by, which is pretty fun. He makes me smile every time I see him, and I kind of want to make another one for myself!!

Not only can the little sloth sit upright on a shelf, but you can make him feel right at home by letting him "hang" out by attaching the velcro claws together! This fluffy sloth measures about 9” tall, about 6” wide, and about 7" long arms, which is the perfect size for snuggling at night. My daughter is thrilled with this new addition to her stuffed animal collection, and I admit I am hooked on making adorable stuffed animals using Poly-Fil!
I hope you enjoyed this fun tutorial! If you make any stuffed animals (or any crafts, really), I would love to see them! Leave me a comment, or tag a photo on Facebook, Twitter, or Instagram! #AFMcrafts
Don't forget to Pin, Like, and Share!


I love this
ReplyDeleteLOVE this cute Sloth, Lindsay!! We are featuring it this week at the Creative Crafts Linky Party! Have a super week! Creatively, Beth
ReplyDeletewhat kind of fabric for the face ?
ReplyDeleteis felt good?
Felt will work great!
DeleteI love this cute little sloth
ReplyDelete