Make a whimsical set of jewelry using colorful rainbow sprinkles and resin!

Don't you agree that sprinkles make everything better?! I totally love them!! I was inspired by the sprinkle-themed page of the Kindness on Purpose Book to add some sprinkles to my fashion accessories. It's a fun project for resin beginners, and is a creative way to add a bright pop of color to your outfits. In fact, you'll make life a party everyday when you wear this Rainbow Sprinkle Resin Jewelry Set!

To make your own Rainbow Sprinkle Resin Jewelry Set, you will need these supplies:
*Save 10% on resin supplies when you shop ETI with code AFM

Prepare about 1 ounce of EasyCast Clear Casting Epoxy according to package directions. Be sure to protect your workspace, work in a well-ventilated area, and wear disposable gloves. Pour in equal parts of resin and hardener to the mixing cup. Slowly stir the resin mixture together with a stir stick for two minutes.
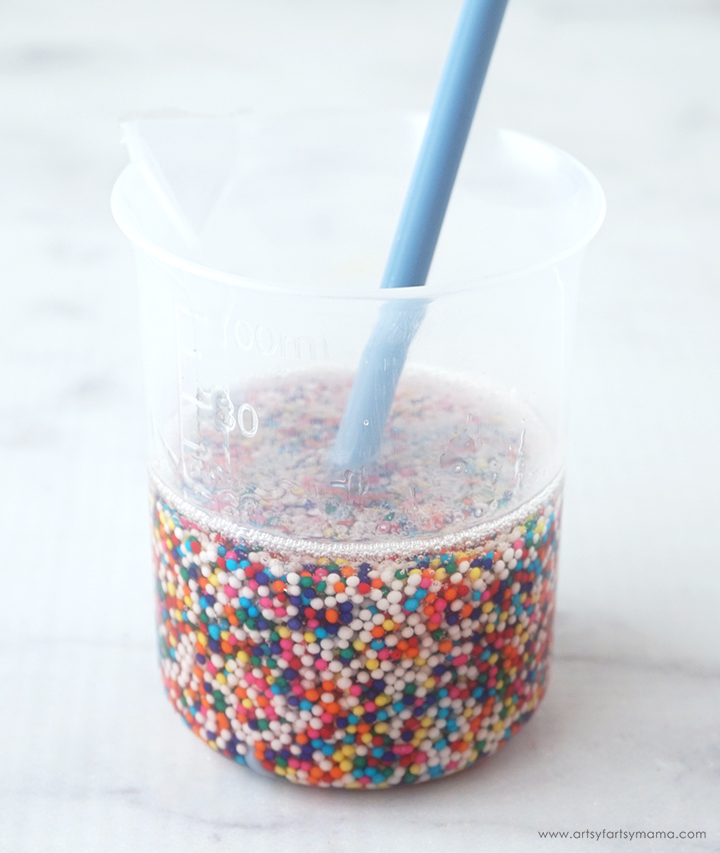
Pour the resin into the clean mixing cup. Stir the resin mixture again for another minute or two with a clean stir stick until evenly incorporated. Add in a generous amount of sprinkles* to the resin and gently stir them in. Let the bubbles rise to the top.
*I didn't have this problem, but sometimes the coloring on sprinkles can bleed into the resin. To prevent this from happening, you can spray the sprinkles beforehand with a couple of coats of Resin Spray Finish.

Use your stir stick to carefully fill the necklace and matching earring mold cavities with the resin/sprinkle mixture. I wanted the jewelry to be solid sprinkles, so I packed them in. If you want more clear space in the jewelry, use less sprinkles!
Pop any bubbles that rise to the top using a heat gun or by blowing through a straw. You could also lightly spritz the mold with 91% alcohol to remove surface bubbles.
Leave the resin to cure in an undisturbed, well ventilated area for 24 hours. You will know that the resin is completely cured when it is no longer tacky to the touch.


Attach a 6 mm jump ring through the hole in the necklace pendant. Thread a necklace chain through it, and now the necklace is complete! The earring pieces don't have small holes like the necklace does, so I hooked 10 mm jump rings through the large holes instead. Add a 6mm jump ring to the larger ring, and then attach a earring hook to the small jump ring to complete the earring set.

I definitely recommend checking out the Kindness on Purpose Book to get inspired to create kindness for others. This jewelry would be such a fun gift idea to cheer up a friend, especially when paired with the "Sprinkles" card from the Kindness on Purpose Noteables! Who would you share some handmade sprinkle jewelry with?
Don't forget to Pin, Like, and Share!


These are really cute, Lindsay! I recently did my first resin project and now I'm hooked. I definitely would love to try making these for gifts. Pinned
ReplyDeleteLOVE, LOVE, LOVE this project and the tie in to kindness, Lindsay!! We will be featuring it over at Creative Crafts Linky Party starting tomorrow morning! Thanks for joining in the FUN!
ReplyDelete