
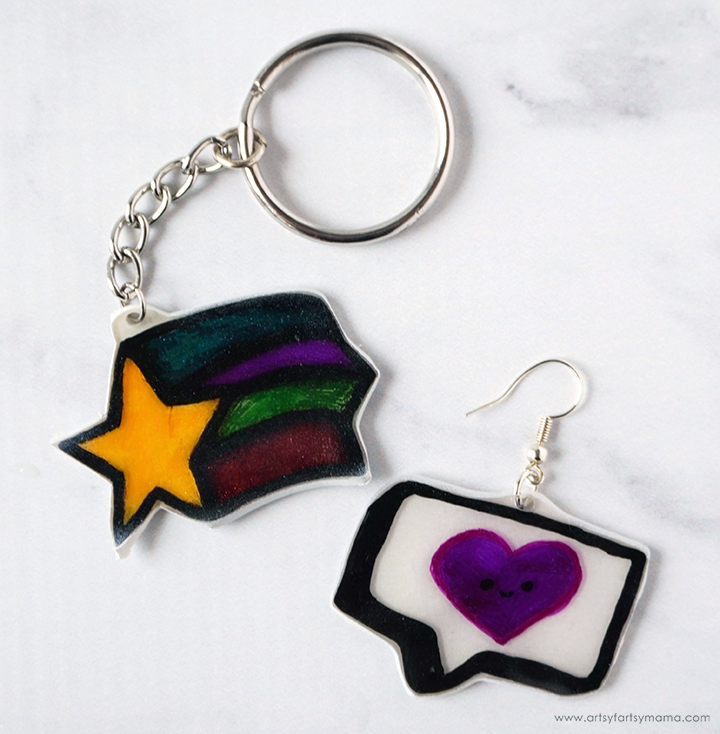
Make your own Plastic Shrink Charms from recyclable plastic containers!
Looking for something fun to do with the kids? These shrink charms are a great way to spend the afternoon, and costs almost nothing! Sure, you can purchase kits or special shrink paper made especially for this kind of craft, but did you know that you can recycle plastic that is probably already in your home? Why not use up that garbage instead of adding to the landfill, and make your very own shrink charms to create colorful jewelry, bags or backpacks, and keychains!
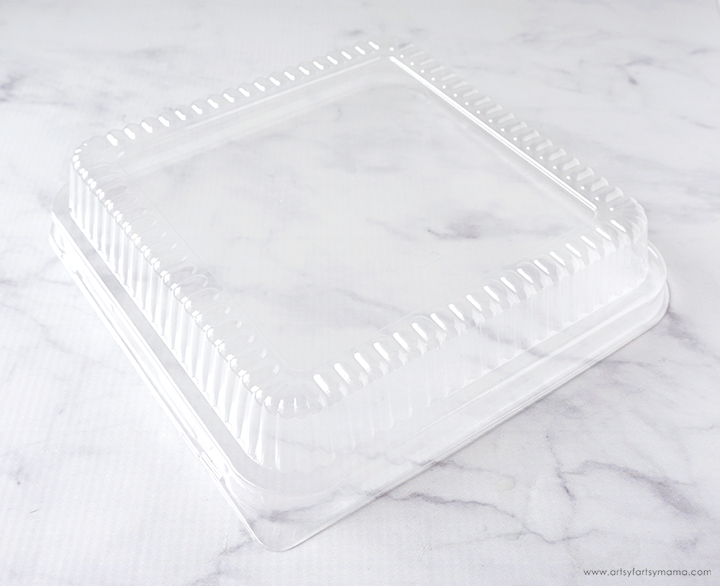
If you've been enjoying a bit of curbside pick-up meals while being stuck at home, you're in luck. I've found these clear plastic containers from salads, deli meat lids, and even blueberries. Make sure you wash the plastic container well and let it dry completely. If you're at a restaurant, you can ask for an extra piece or two to take home.
Most importantly, make sure that the plastic you’re using is #6, which means that there will be a number 6 in the center of the recycling arrows on the bottom side of the plastic. Other number plastics may not work or can emit toxic fumes, so I highly recommend not risking it!
If you don't have any plastic or don't want to try this method, you can purchase shrink film that is made especially for this kind of project!
To make your own DIY Shrink Charms, you will need these supplies:
- #6 Plastic Container or Shrink Film
- Fine Point Sharpie Markers
- Scissors
- Hole Punch
- Aluminum Foil or Parchment Paper
- Oven or Toaster Oven

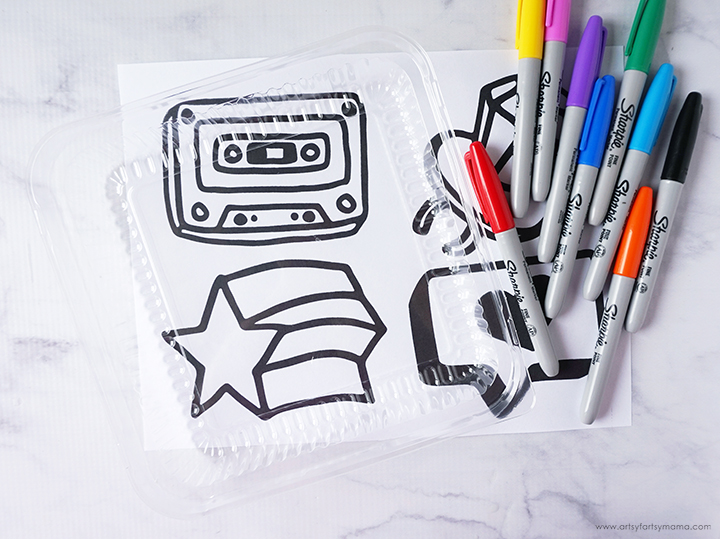
As far as images go, you can freehand your design, or print out simple images to trace. I found some cute, doodled glyphs (extra images included with a font) that worked great for this project. Keep in mind that your image will shrink about 1/3 the size of the original.
Lay the plastic over the image, and carefully trace around the edges using a Fine Point Sharpie Marker.

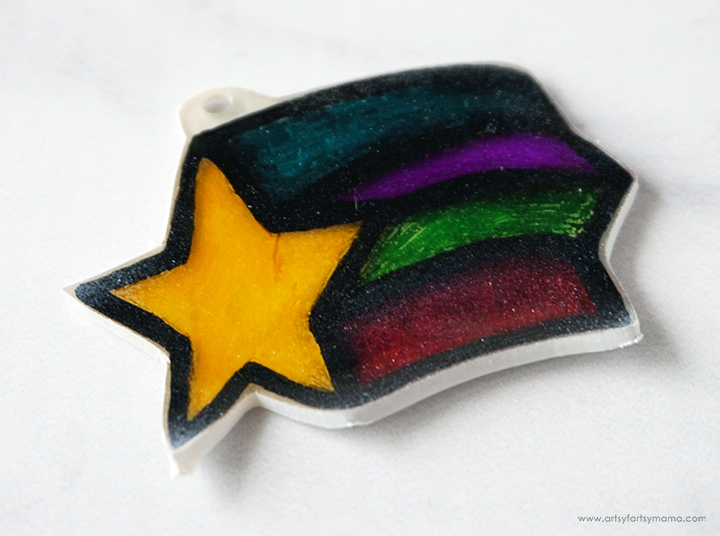
After you've traced the basic image, color in the design. Colors will darken after shrinking, so light, bright colors are a great option.
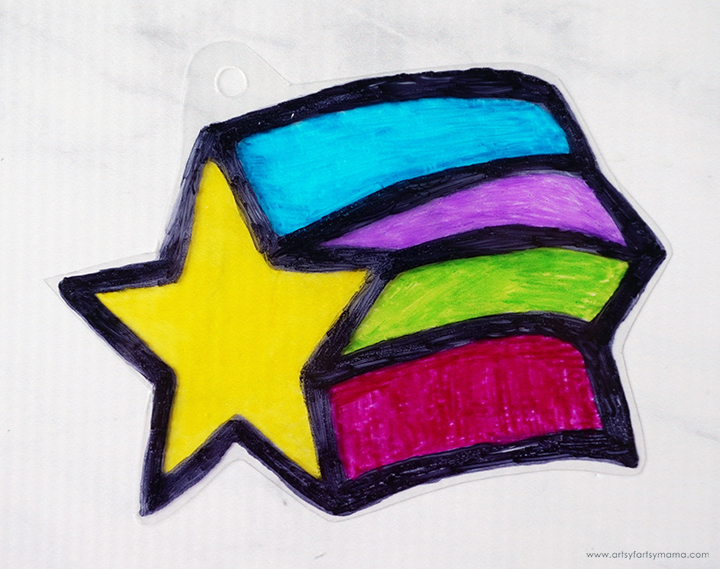
Carefully cut out the plastic drawings. Make sure to leave a little space around the drawing as you cut it out and cut a larger area where you can punch a hole. To prevent having any sharp edges, try your best to round out any corners (especially on something like a star).
Use a hole punch to cut a circle if you want to make the drawing into a charm.
Lay the shrink charms marker-side up on a baking sheet lined with aluminum foil, parchment paper, brown paper bag, or vellum. Do not bake on metal or stoneware, otherwise the plastic will stick. Bake at 300º-350º for 2-3 minutes until flat or the shrinking has stopped. Every oven works a little differently, so I recommend testing a piece before baking your charms.
This is the most exciting part, so turn on the oven light and grab a seat! As the plastic heats up, the designs will start to move and curl as they shrink down in size. Important: Do not panic or open the oven when they start curling up! They will flatten back out as they shrink. When they come out of the oven, they will be pliable for a few seconds. If you need to flatten them out, use these valuable few seconds to immediately press them down with the flat bottom of a glass or an untextured spatula. Caution: they will be very HOT!
This is the most exciting part, so turn on the oven light and grab a seat! As the plastic heats up, the designs will start to move and curl as they shrink down in size. Important: Do not panic or open the oven when they start curling up! They will flatten back out as they shrink. When they come out of the oven, they will be pliable for a few seconds. If you need to flatten them out, use these valuable few seconds to immediately press them down with the flat bottom of a glass or an untextured spatula. Caution: they will be very HOT!
Once the shrink charms have completely cooled, cover the marker side with clear sealant to keep it from rubbing off or smudging. If you want to make the colors in your charm really pop, add a coat of white paint to the back of the charm. Totally optional, but I love how it makes the colors brighter.

Larger charms are the perfect size for keychains! Add a jump ring through the hole of the charm, and link it to a keychain. Smaller charms are a great size for creating a zipper pull on jackets, backpacks and purses. All you need to do is thread a jump ring through the hole in the charm and attach it to whatever zipper you want. If you put the charms on clothing, I would recommend removing the charms before washing.
To use your charm for jewelry projects, add a jump ring through the hole and then string a chain through it, add hooks for earrings, or add the jump ring to a link in a bracelet chain.

These shrink charms are addictively fun to make, and kids of all ages can participate! Even better, you are creating something new and fun with something that would normally go in the trash. Hooray for recycling! As always, I would love to see your creations! Tag me on Instagram and Facebook, and leave a comment/photo on the project pin on Pinterest!#AFMCrafts
Looking for more camp craft inspiration?
Check out this collection of OVER 100 creative camp craft ideas!!

Don't forget to Pin, Like, and Share!


You never fail to awe me. This is AWE-some.
ReplyDeleteLove this idea, Lindsay! I never knew these packages could be used a shrink plastic! Thanks for sharing :)
ReplyDeletewhat kind of plastic number 6 used for ?
ReplyDeleteWhat a great idea! I am definitely going to try this with my after school group. I also linked it in a post on my new blog- https://adventuresinaftercare.com/2022/01/5-ways-to-get-free-stuff-for-after-school-programs/
ReplyDeleteOne question, do you have a recommendation for the sealant?
Hi Muriah! I would recommend a coat of clear spray paint.
DeleteHelp!! The 3 minutes are up, and it's not shrinking?? I'm just going to turn the oven off
ReplyDelete