
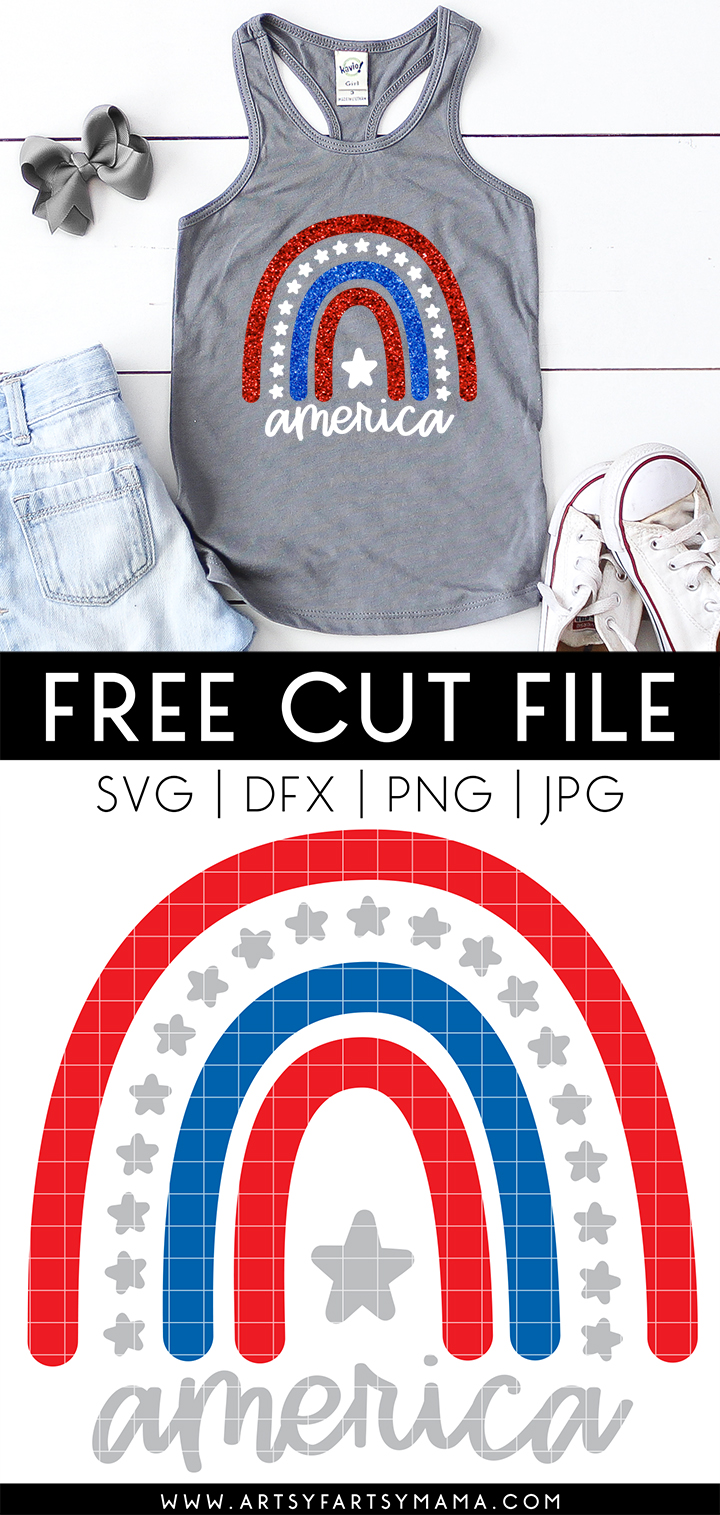
Make an "America" shirt (with FREE cut file) for the whole family to wear on the 4th of July!
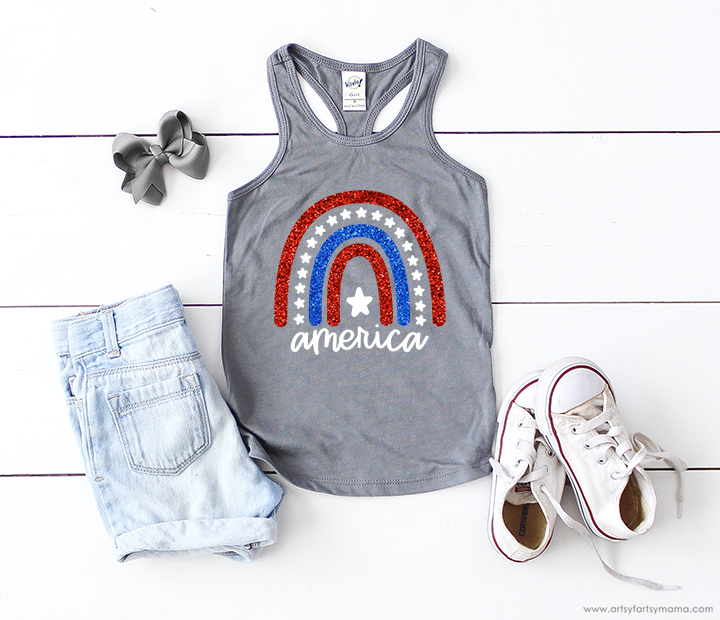
Making new shirts to wear on the 4th of July has always been a fun tradition. This year, I made this cute "America" design that can actually be used for clothing OR on wood to create some patriotic home decor! So, get your Cricut machine out and make an America shirt (with FREE cut file) for the whole family to wear on the 4th of July! If you want some cute 4th of July accessories to go with your outfit, this Patriotic Bubblegum Jewelry is easy and fun to make!
To make your own America shirt, you'll need these supplies:
- Blank T-Shirt
- "America" cut file (personal use only - commercial use available)
- Cricut Maker or Cricut Explore Air 2 machine
- HTV/Iron-On Vinyl OR Glitter HTV/Iron-On Vinyl
- EasyPress 2
- EasyPress Mat
- Iron-On Protective Sheet
- Weeding Tools

Upload the "America" cut file into Design Space and size the image to fit your shirt. Select different parts of the design and change colors as necessary. If you are making shirts for the whole family, you can change the colors around on each separate design so that each shirt is a little bit different - which is pretty fun!
Before cutting the iron-on vinyl, make sure to mirror your image! If you don't, your design will be backwards when you put it on the shirt. To do this, select the mat thumbnail in Design Space before cutting, and click the "Mirror" toggle to reverse the image.
*Here's a great tutorial on how to upload your own images into Cricut Design Space.
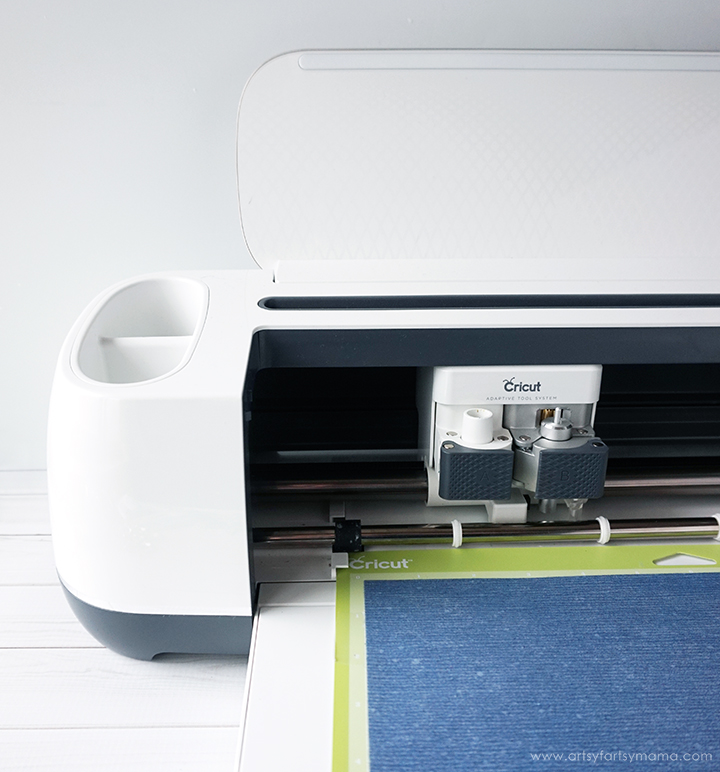
For this shirt, I used different kinds of vinyl: white HTV for the stars and word, Glitter HTV in blue and red, for the arches. Place the vinyl face-down on the mat, and load it into the machine. Change the material settings to the type of vinyl you are cutting, and then click the "Go" button to cut the vinyl.
"Weed" the excess vinyl by removing all of the parts that don't belong in the design. I usually peel away the outer edges starting at the corner and working my way around the design. Then I use weeding tools to remove the smaller pieces of the design.
*Here's a great tutorial on how to upload your own images into Cricut Design Space.
"Weed" the excess vinyl by removing all of the parts that don't belong in the design. I usually peel away the outer edges starting at the corner and working my way around the design. Then I use weeding tools to remove the smaller pieces of the design.
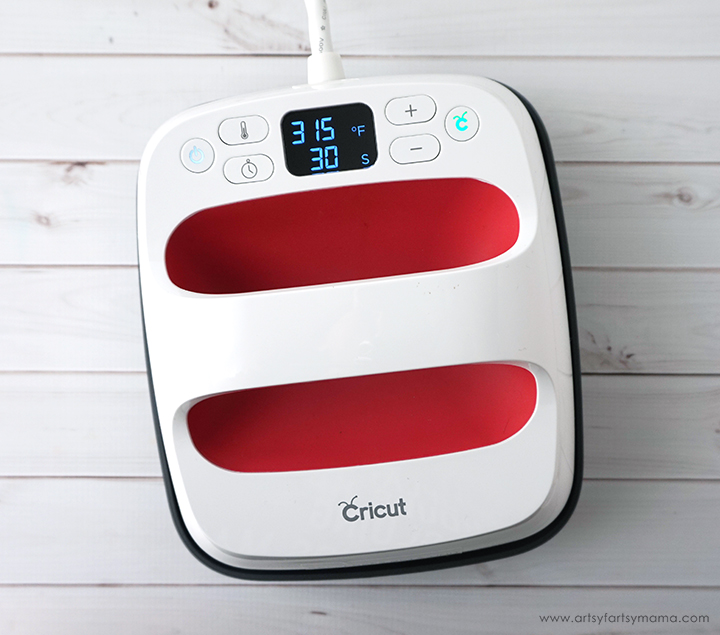
Plug in the EasyPress 2 and power it on. Each kind of HTV has a different heat and time setting, so be sure to check the recommended EasyPress settings before getting started. Adjust the heat and time setting to your shirt and vinyl specifications. Once the light turns green and the machine beeps, it's ready to use.
When the EasyPress is up to temperature, place your shirt on the EasyPress Mat and preheat the area for 5-10 seconds. Lay the HTV down on the shirt, with the clear carrier sheet facing up. Set the EasyPress over the vinyl and press the green "C" button. Hold firmly in place while the timer counts down. Turn the shirt over and press the EasyPress firmly again for 15 seconds.
Peel off the carrier sheet while the vinyl is still warm. If you are layering vinyl, repeat the process for each of the different colors of vinyl, but be sure to protect the vinyl that is already on the shirt with an Iron-On Protective Sheet.
The cut file comes with multiple file types, so you can actually cut the design with any vinyl cutting machine. All I ask is that you use the file for personal use only. I hope you enjoy using this cut file, and I would absolutely LOVE to see your creations!! Tag me on Instagram and Facebook, and leave a comment/photo on the project pin on Pinterest!
Looking for more 4th of July inspiration?
Check out this collection of OVER 100 creative 4th of July crafts and recipes!!

Don't forget to Pin, Like, and Share!


I tried to download the file for the america SVG withthe red/blue and star arch and after abstracting it was identified in DS. Is this still available, it's super cute.
ReplyDeleteYes, it's still available! The link to the cut file is in the list of supplies.
DeleteYou should be able to download the file no matter what kind of computer you use.
ReplyDeleteHow do you layer your vinyl when using the heat press?
ReplyDeleteHow do you layer the vinyl on the shirt while using the heat press?
ReplyDeleteThanks for the file, but when download it, it comes thru all in black and not the red-white-blue. Should it be all the colors? TIA
ReplyDeleteFile doesn't work :-(
ReplyDeleteThe file will not allow me to select each individual cut to change colors- it is all one image; please help troubleshoot! I downloaded all 4 files and none of them allow individual selection to change colors?? What am I missing? Thanks
ReplyDeleteWould you be able to tell me what Font the "america" is written in?
ReplyDelete