
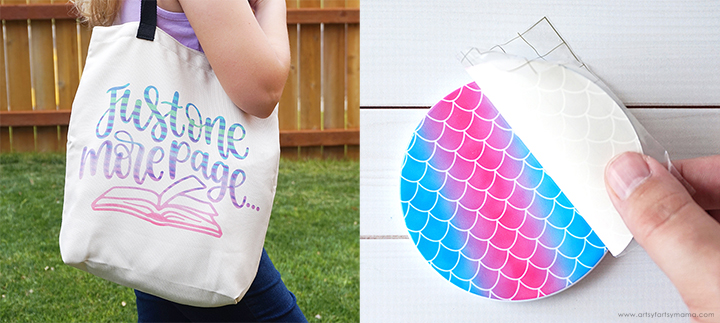
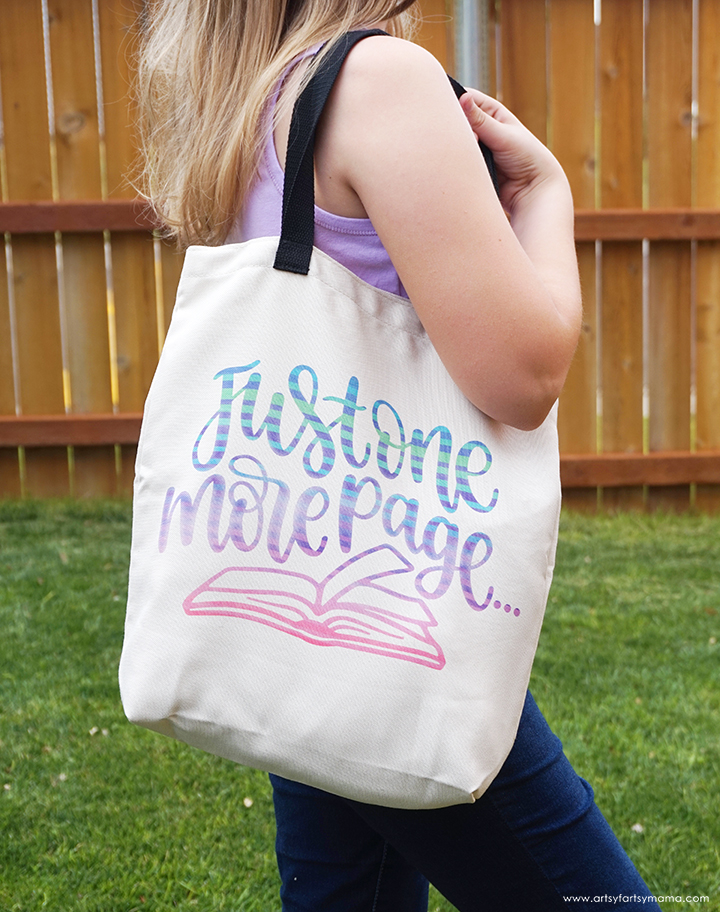
Make your own custom Library Tote and Mermaid Coasters with the new Cricut Infusible Ink!
Now that I've shared all about Cricut's new Infusible Ink and how it works, I'm excited to finally share my first two Infusible Ink projects! This post is to share all about how to CREATE with Infusible Ink. These tutorials for a tote bag and a set of coasters are perfect projects for Infusible Ink beginners, and I hope you love them just as much as I do!
Infusible Ink Library Tote
To make this Library Tote Bag, you'll need these supplies:
- Cricut Maker or Cricut Explore Machine
- Library Tote Design Space Project
- Cricut Infusible Ink Transfer Sheet
- Cricut Tote Bag Blank
- Cricut StandardGrip Mat (Green)
- Weeding Tools
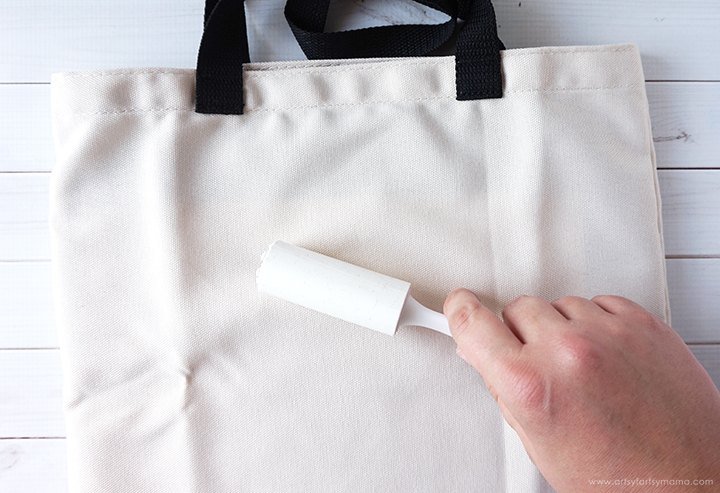
- Lint Roller
- 12" x 10" Cricut EasyPress 2
- 12" x 12" Cricut EasyPress Mat
- Butcher Paper
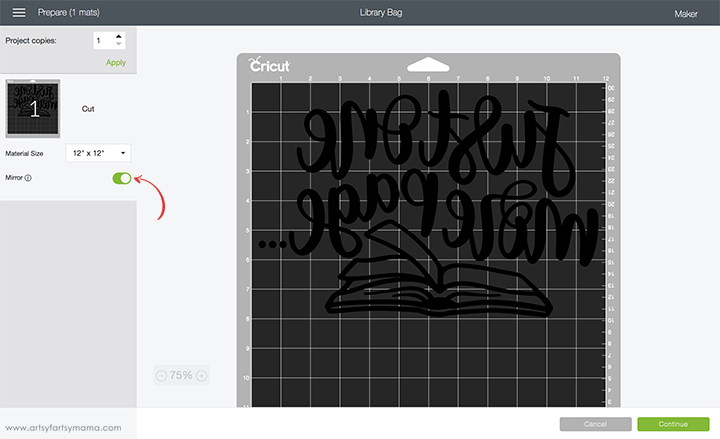
Open the Library Tote Project in Design Space. I've sized the project to fit perfectly on the Tote Bag Blank. Select "Customize" to make adjustments, or click the green "Make It" button to go straight to cutting.
Make sure to mirror the project before cutting, otherwise your design will be backwards when you put it on the tote bag. To do this, select the mat thumbnail in the preview screen, and click the "Mirror" toggle to reverse the image.
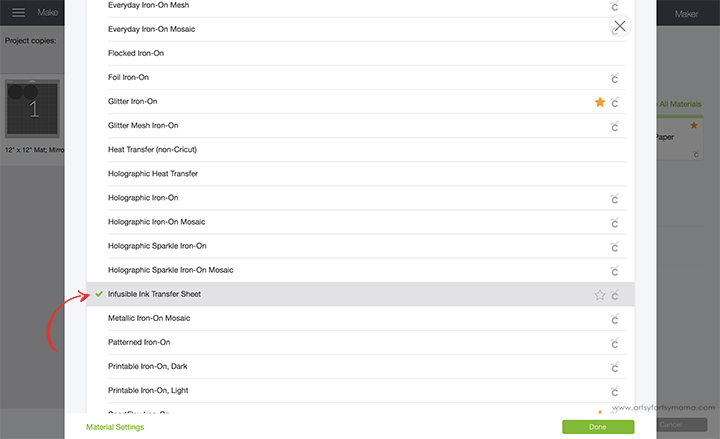
After connecting to your machine, change the material setting by clicking the dropdown menu and selecting Infusible Ink Transfer Sheet to make sure to get the perfect cut the first time.

Lay the Infusible Ink Transfer Sheet onto a green StandardGrip Mat with the design facing up. Don’t worry that the colors are muted on the Infusible Ink transfer sheets. After heating, the colors are super vibrant! Load the mat into the machine and press the button with the Cricut symbol to cut the design.
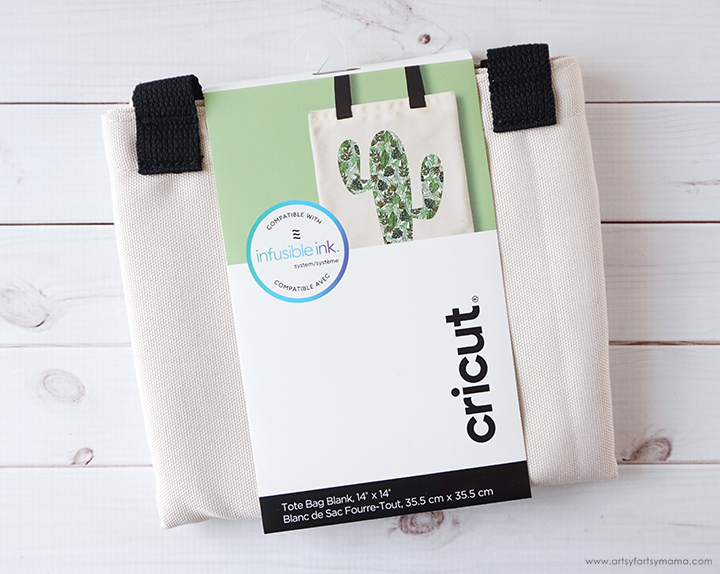
To get the best results, pair the Infusible Ink Transfer Sheets with Cricut blanks like this Tote Bag. You will know that it's an official Cricut blank because of the compatibility badge on the package. So far, this collection includes shirts, baby onesies, totes, and coasters!
*To infuse your design into a Cricut blank, you will need a Cricut EasyPress 2. The original EasyPress will work okay, but the Infusible Ink is designed to get the best results with the EasyPress 2.
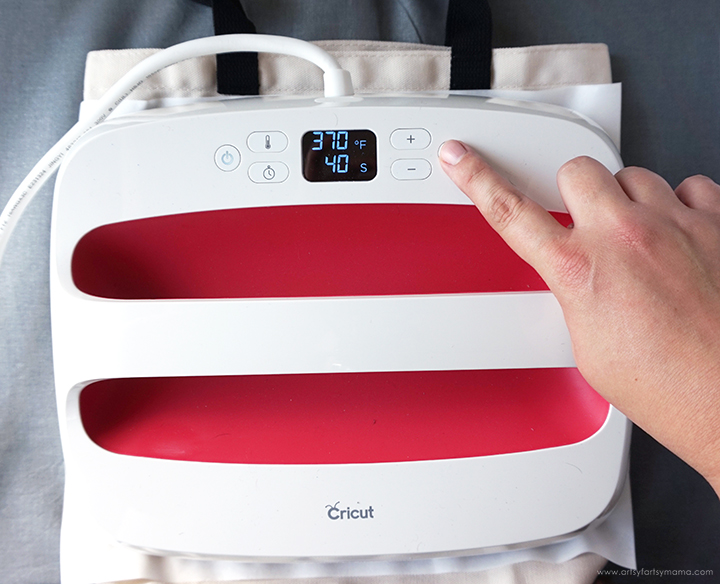
Lay a piece of butcher paper over the design and the tote bag. Make sure the EasyPress 2 is set to 385º for 40 seconds*, and then set it on top of the stack of materials. Press the EasyPress with light pressure while the timer counts down. Slowly and carefully lift the EasyPress, and then the butcher paper.
*Be sure to check the Cricut EasyPress Heat Transfer Guide to get the right settings for your projects!
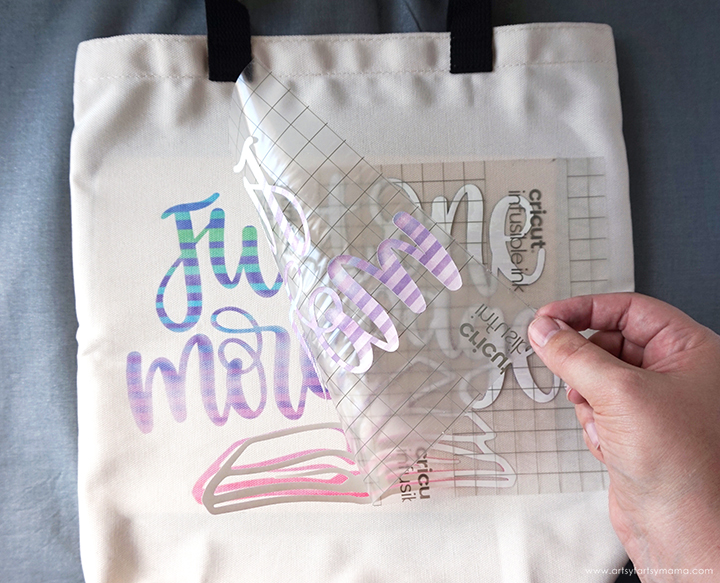
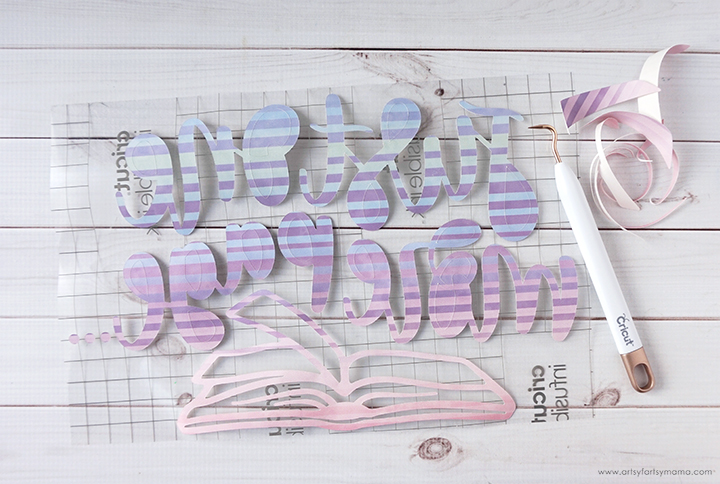
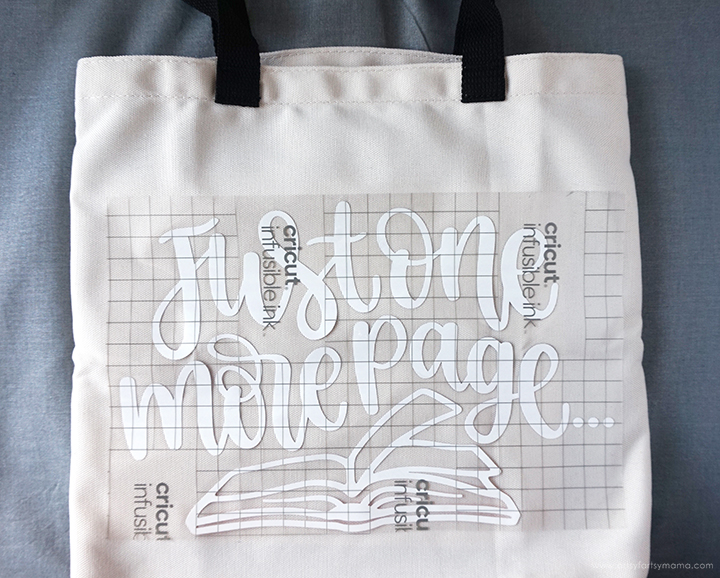
While the liner is still warm, slowly and carefully peel the design away from the tote. If any of the transfer sheet is stuck to the bag, you can remove it with tweezers.
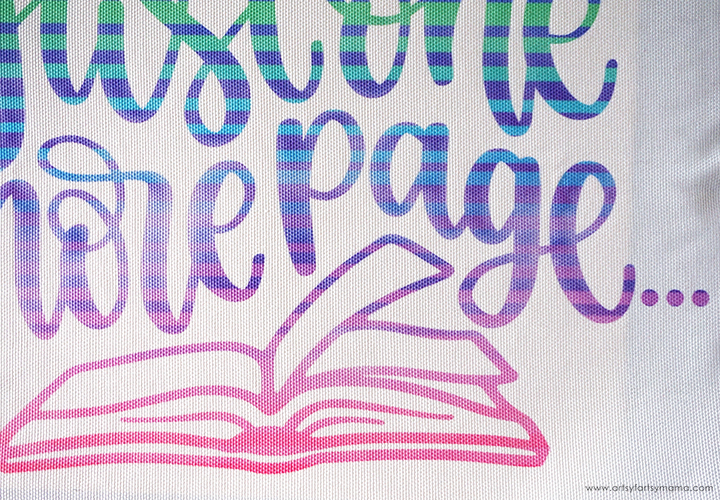
When you look closely, you can see how the Infusible Ink is different from iron-on vinyl. Instead of sitting on top of the surface, the ink is actually absorbed into the fabric fibers when you apply heat. If you run your hands over the bag, you can't even feel that there's a difference between the ink and the bag itself!
To make sure your custom tote stays in tip-top shape, make sure that you wash the bag inside out with cold water and mild detergent, and tumble dry low or line dry.
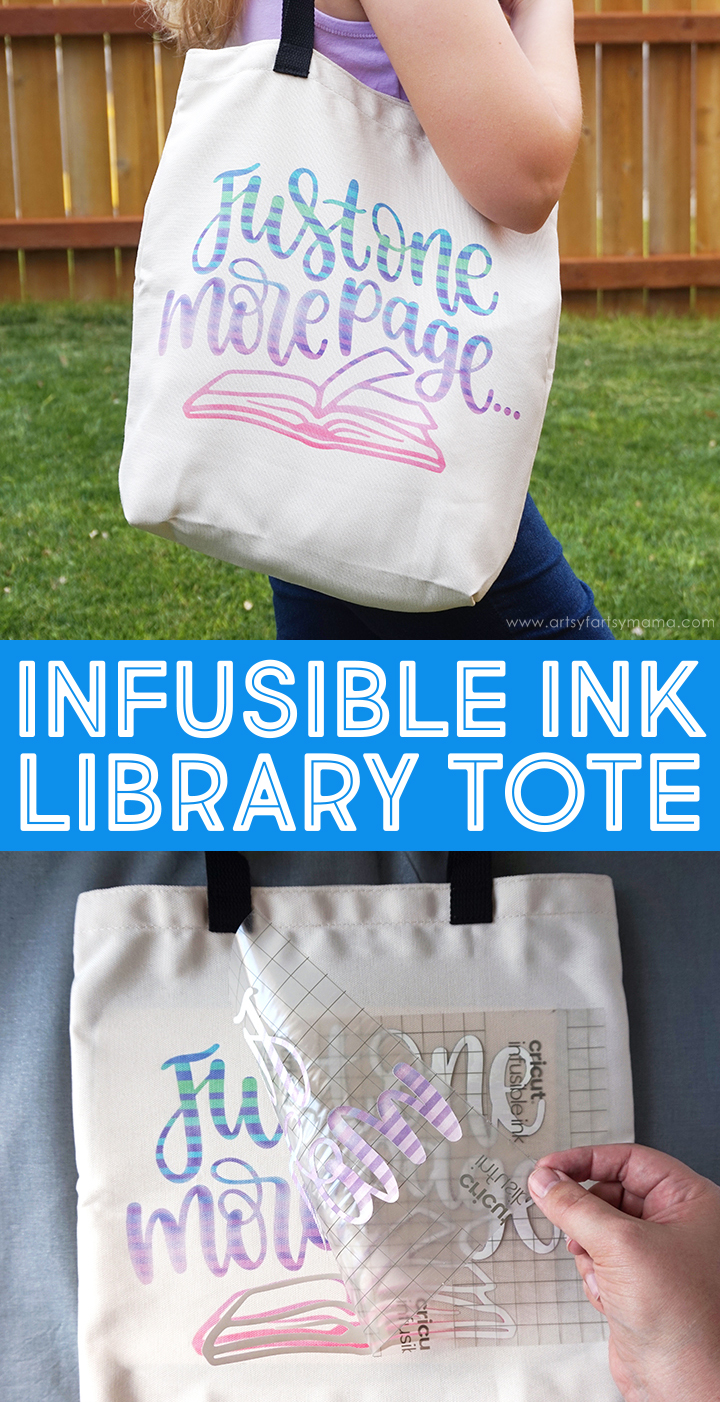
Pin this image to save the project for later:
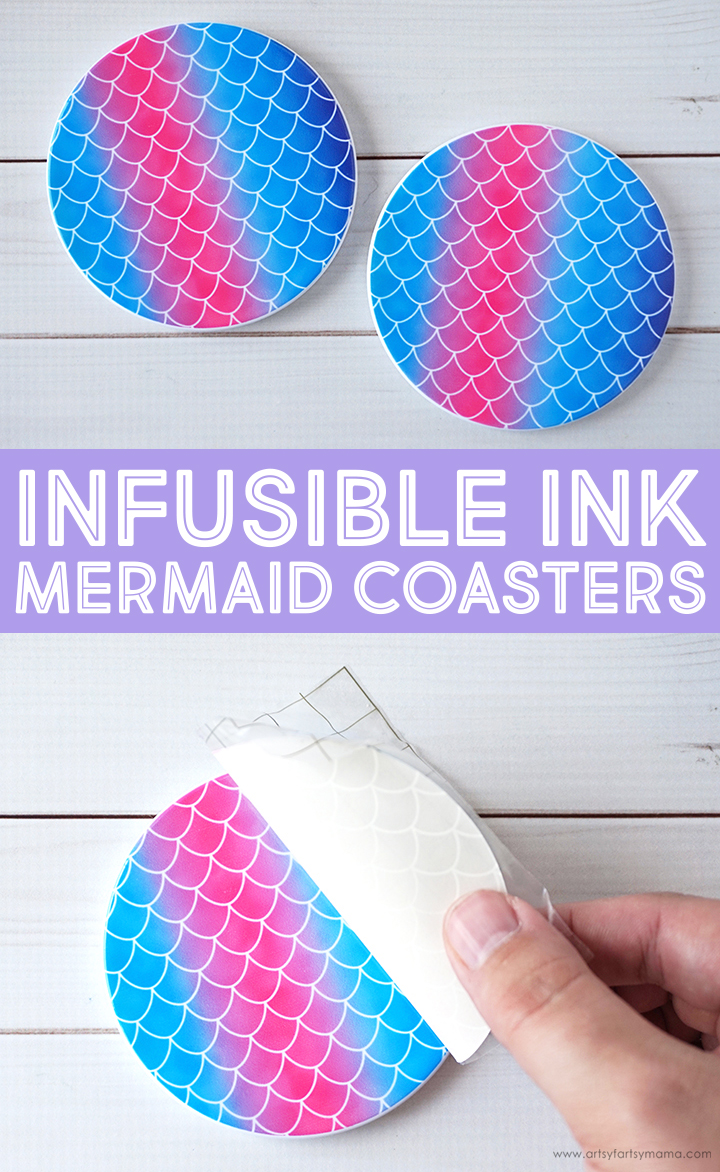
Infusible Ink Mermaid Coasters
To make Mermaid Coasters, you'll need these supplies:
- Cricut Maker or Cricut Explore Machine
- Coasters Design Space Project
- Cricut Infusible Ink Transfer Sheet
- Cricut Coaster Blanks
- Cricut StandardGrip Mat (Green)
- Weeding Tools
- Lint-Free Cloth
- 12" x 10" Cricut EasyPress 2
- 12" x 12" Cricut EasyPress Mat
- Butcher Paper
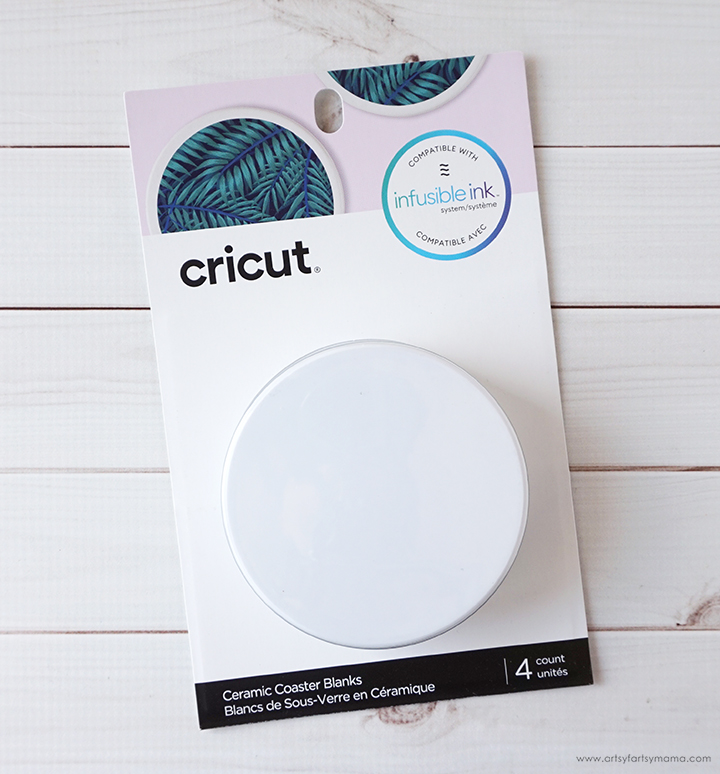
Again, you will get the best results when you pair the Infusible Ink Transfer Sheets with official Cricut blanks. Right now, you can choose from either round or square ceramic coaster blanks.
You might say that I "cheated" with these Mermaid Coasters, but I would have to disagree. This colorful mermaid scale Infusible Ink Transfer Sheet is gorgeous and I wanted the entire coaster to have the design! Once you see the finished coasters, I think you'll agree.
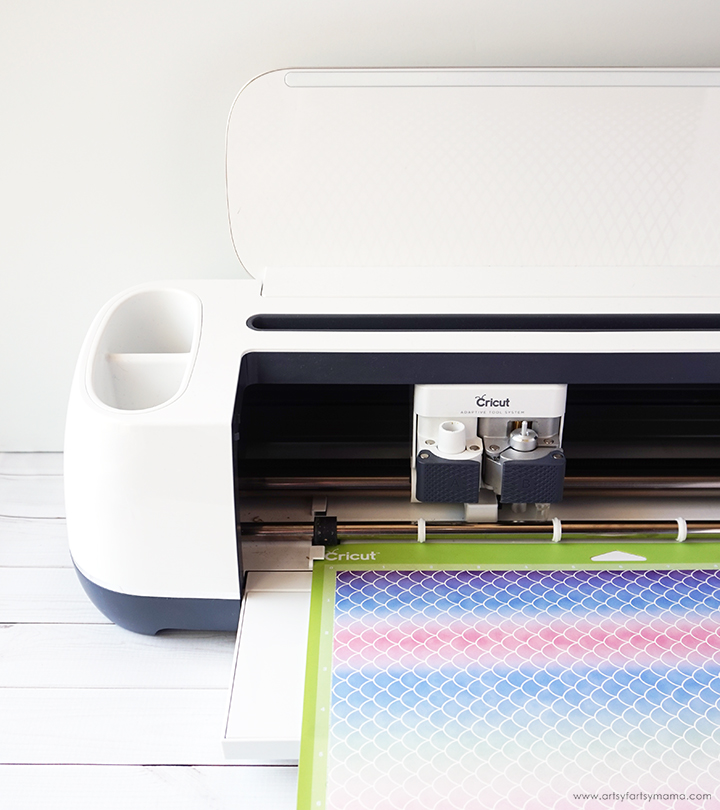
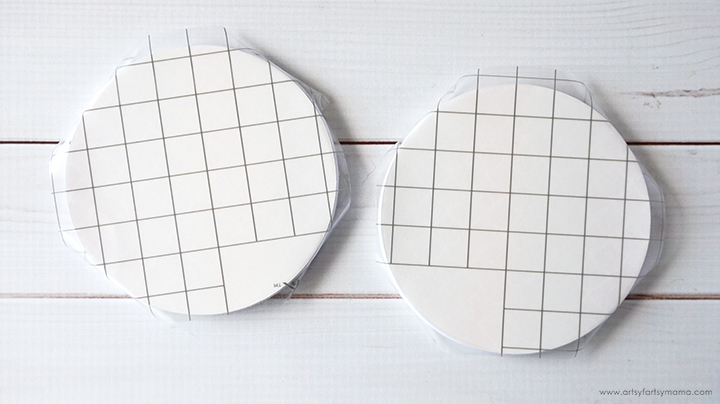
Open the Coasters Project in Design Space. I've sized the project to fit perfectly on the round ceramic coaster blanks, so all you have to do is click the green "Make It" button to go straight to cutting! Place the Infusible Ink Transfer Sheet onto a green StandardGrip Mat with the design facing up. Load the mat into the machine and press the button with the Cricut symbol to cut the design.
Open the Coasters Project in Design Space. I've sized the project to fit perfectly on the round ceramic coaster blanks, so all you have to do is click the green "Make It" button to go straight to cutting! Place the Infusible Ink Transfer Sheet onto a green StandardGrip Mat with the design facing up. Load the mat into the machine and press the button with the Cricut symbol to cut the design.
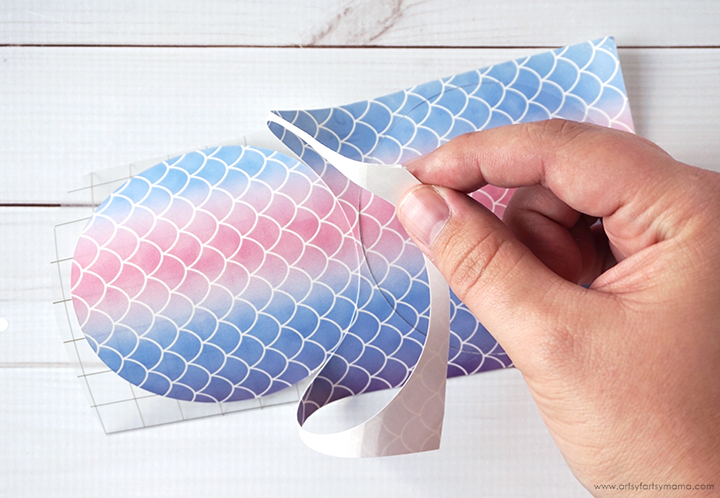
Weed away the excess vinyl from the design. No weeding tools needed for this project!
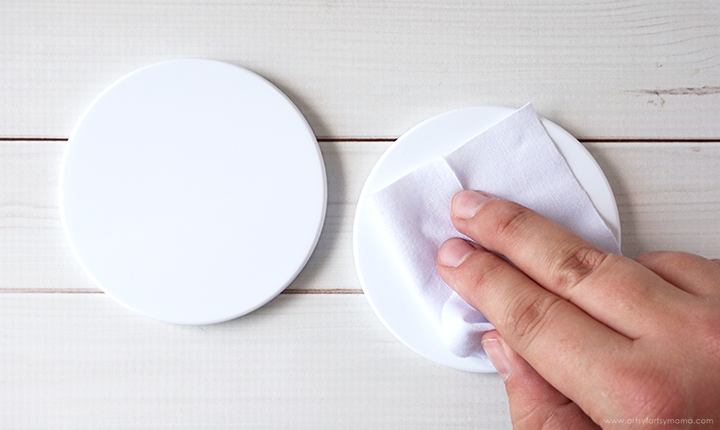
Use a lint-free cloth to clean the surface of the coasters and remove any debris. Be careful not to touch the surface and leave fingerprints.
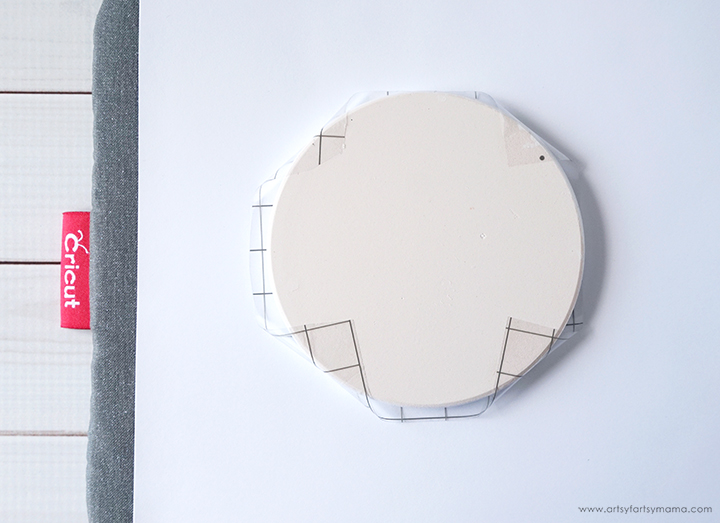
Lay the design face-down on the coasters and fold the corners of the sticky carrier sheet around the coaster and stick it to the back to keep it in place.
Place a piece of cardstock on top of the Cricut EasyPress Mat. Then, place the coasters face-down on top of the cardstock.
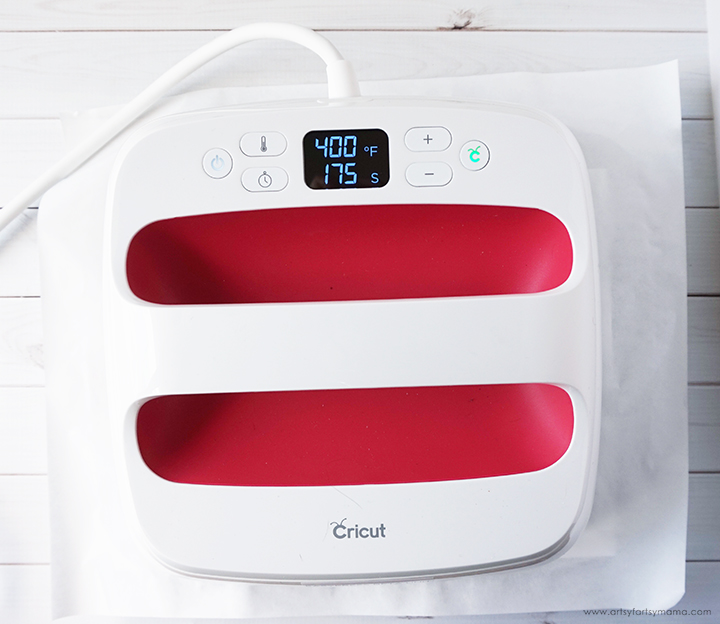
Cover the coasters with butcher paper, and then set the Cricut EasyPress 2 to 400º for 240 seconds. When it gets up to temperature, carefully set the EasyPress over the coasters. Without putting any extra pressure on the coasters, press the button on the EasyPress to start the timer and leave it in place the entire time. Once the time is up, remove the EasyPress and the butcher paper and let the coasters cool completely.
CAUTION: The coasters will be extremely hot!!
CAUTION: The coasters will be extremely hot!!
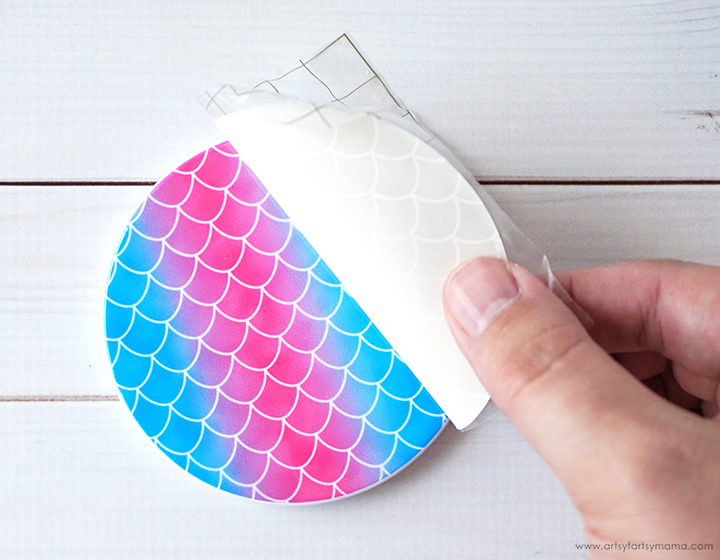
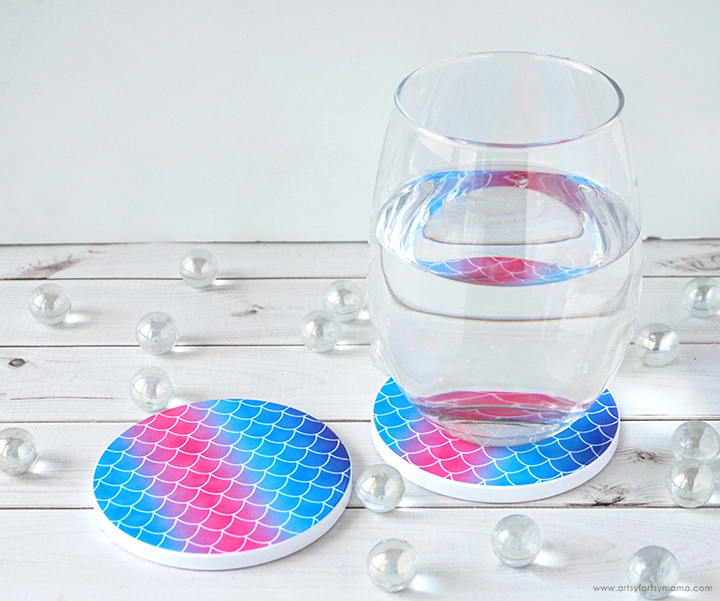
Once the coasters have completely cooled down, peel the Transfer Sheet away from the coaster. Just like magic, the vibrant mermaid scale pattern has been transferred to the coasters!
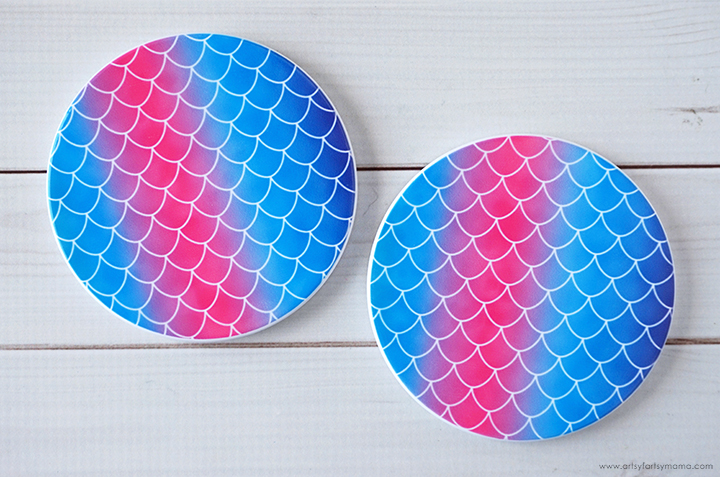
Easy, right? These coasters have a glossy finish, and the design is permanent. I am absolutely thrilled with these coasters and think they are going to be a fun and unique gift idea this holiday season!!
Pin this image to save the project for later:
What will you make with Cricut Infusible Ink?


These are so gorgeous! Did you letter that first one yourself? I love it!
ReplyDeleteWow! The colors are so vibrant and beautiful! My daughter would LOVE that tote bag - Gorgeous :)
ReplyDeleteI'm new to this whole cricut thing. Do I have to use the butcher paper for the coasters? Thank You
ReplyDelete-Carol