
Do a bit of sketching or painting every day with this DIY Watercolor Journal made with the Cricut!
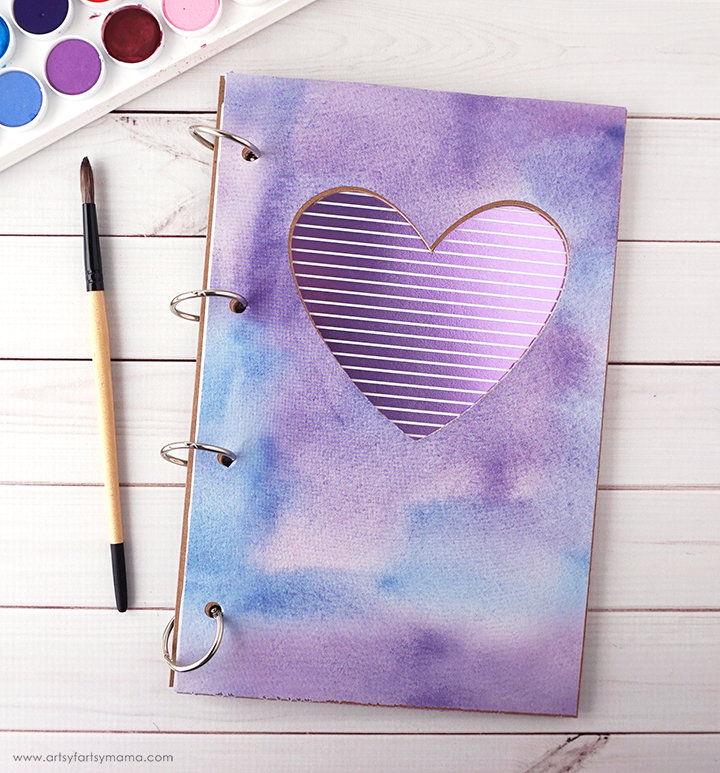
I have always been an "artsy-fartsy" person. Doodling, sketching, and painting with watercolors were one of my favorite things to do, and I kind of pushed it aside as I got older. I recently took a watercoloring class, and I kind of fell in love with painting again. To keep all of my new artwork in one place, I decided to make my own DIY Watercolor Journal using my Cricut.
This post contains affiliate links for your convenience. As always, I only share things that I use myself and truly recommend!
To make your own DIY Watercolor Journal, you'll need these supplies:
- Cricut Maker machine
- Watercolor Journal Design Space File (for personal use only)
- Cricut Maker Knife Blade
- Cricut Chipboard 2mm
- Cricut Patterned Iron-On
- Cricut Foil Embossed Paper
- Watercolor Paper
- Masking Tape
- 1" Loose Leaf Rings
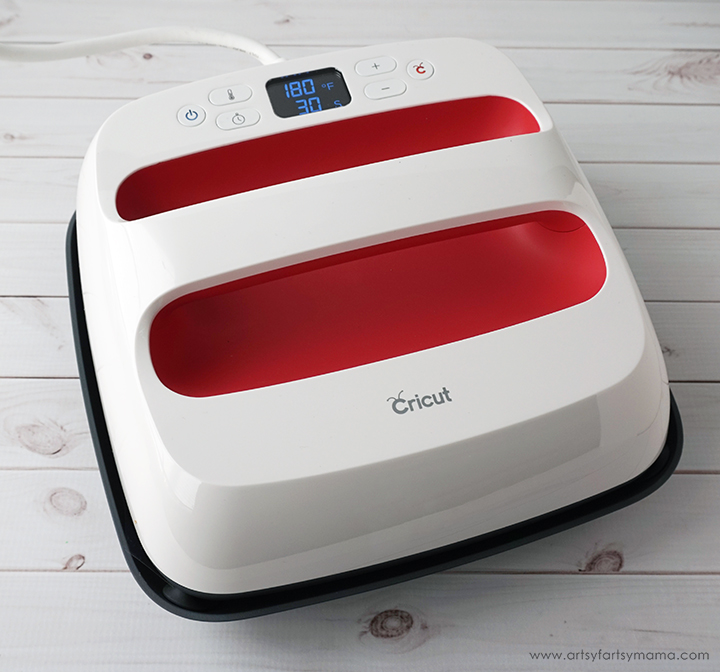
- Cricut EasyPress 2 (9" x 9")
- Cricut EasyPress Mat (12" x 12")
- Iron-On Protective Sheet
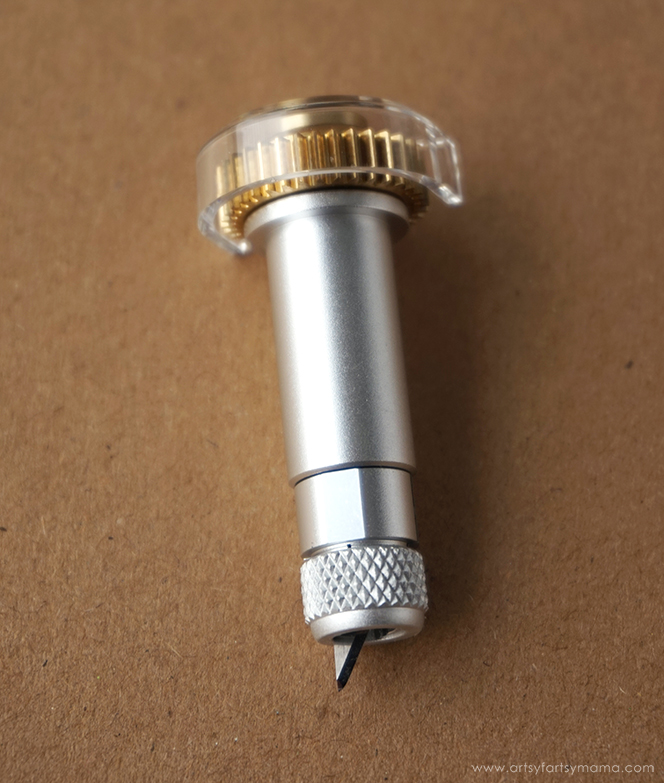
To make this project possible, you need to use the Cricut Knife Blade. It's the best tool in the Cricut arsenal to cut thicker materials like chipboard. This blade is similar to a craft knife, and allows your machine to cut through thicker materials with precision.
*Learn all about the Cricut Knife Blade in this post!
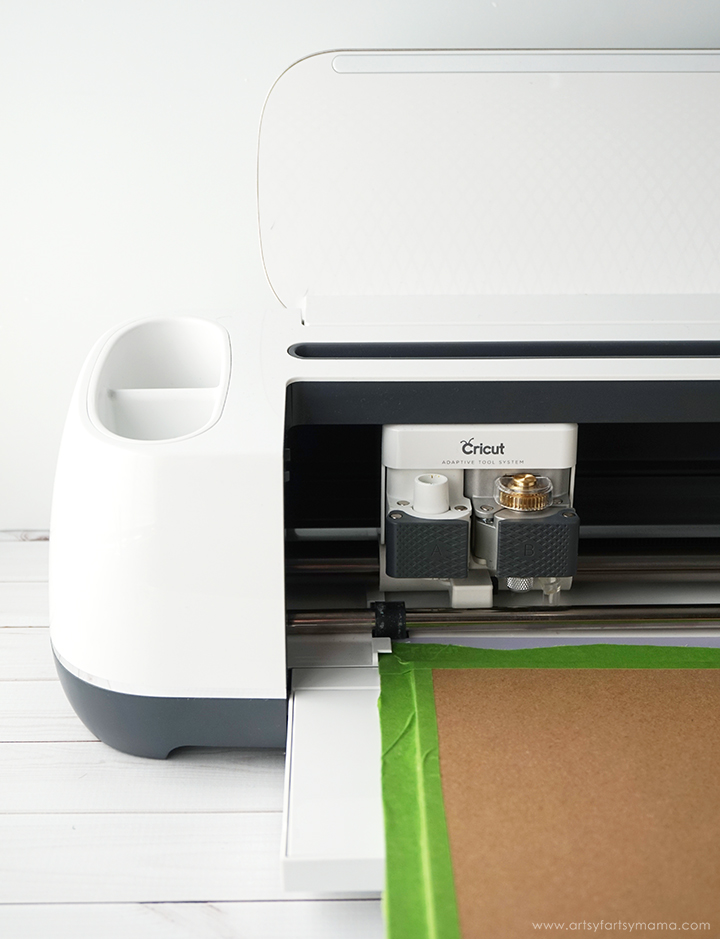
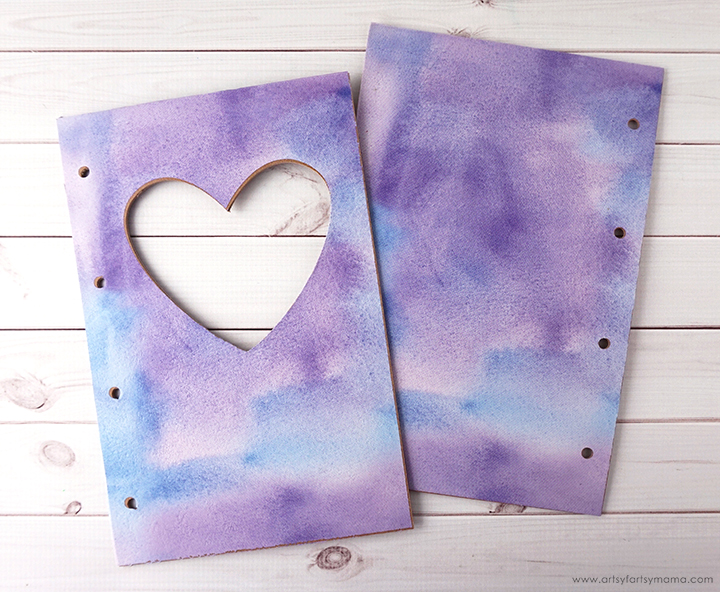
Open the Watercolor Journal Design in Design Space. Click "Customize" to adjust the design, or click "Make It" to go straight to cutting. Change the material setting to Chipboard 2mm and load the mat into the Maker.
You'll need a little bit of time for this part of the cut because of the multiple passes. Make sure you have a strong bluetooth connection, or connect directly to your machine by cord if needed. Also make sure that your computer doesn't "sleep" during the cutting process. If you lose connection, you'll have to start over.
The machine defaults to 20 passes, but you can pause the cut (do NOT unload the mat) and check the chipboard to see if it has cut through before then. I noticed mine was finished cutting through at about 10-11 passes.
Replace the Knife Blade with the Fine Point Blade to cut the cut the patterned iron-on vinyl to add some color to the front and back covers. Since this journal is going to be used for watercoloring, I decided to go with the Natalie Malan Indigo Sky Patterned Iron-On.
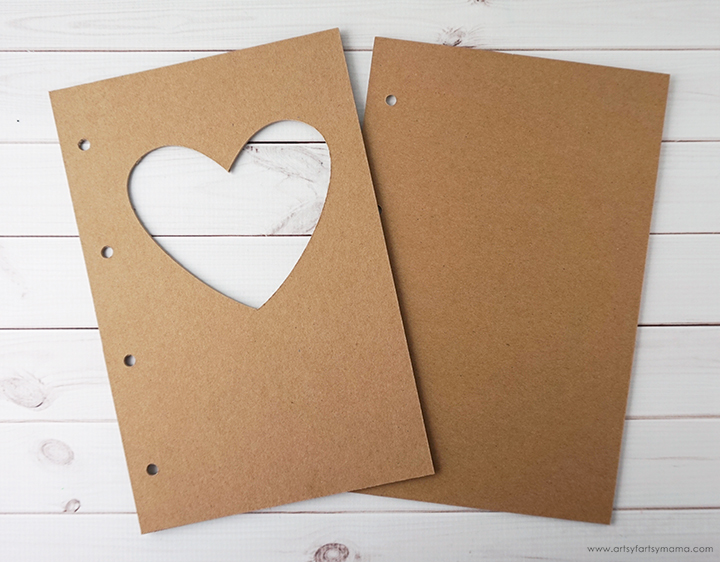
After the vinyl has been cut, "weed" the excess vinyl with a weeding tool to remove parts like the heart and holes from the design.
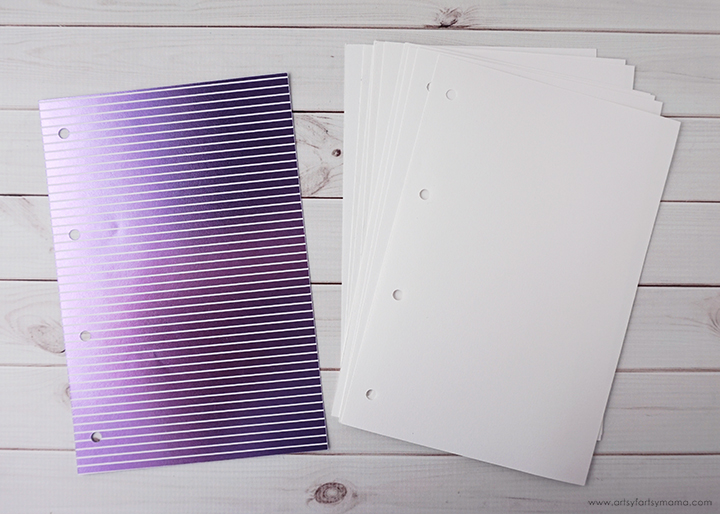
Next, cut out one piece of foil embossed paper, and multiple sheets of your favorite watercolor paper. You can as many or as few pages as you want your journal to be. I started mine with about 10-15.
*Each kind of iron-on vinyl has a different heat/time setting for different materials, so be sure to check the recommended EasyPress settings for best results.

Once the EP2 is up to temperature, preheat the area for 5-10 seconds. Lay the vinyl down face-up on the chipboard cover. For best results, use an Iron-On Protective Sheet on top of the vinyl (ask me how I know!). Set the EasyPress over the vinyl and press the green "C" button. Hold firmly in place while the timer counts down. Peel the carrier sheet while the vinyl is warm.
I love how these covers turned out, and the pattern is gorgeous! The chipboard itself isn't waterproof, but if you happen to get anything on the iron-on part of the cover you can wipe it away easily since iron-on vinyl is usually put onto clothing that gets washed regularly.
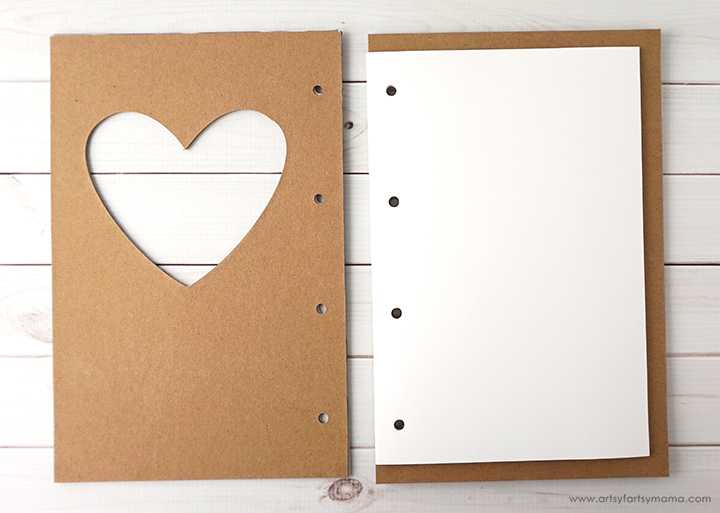
Lay the two covers face down. Stack the watercolor paper with the punched holes aligned on the left side. Place the paper on the back cover piece and line up all of the holes.
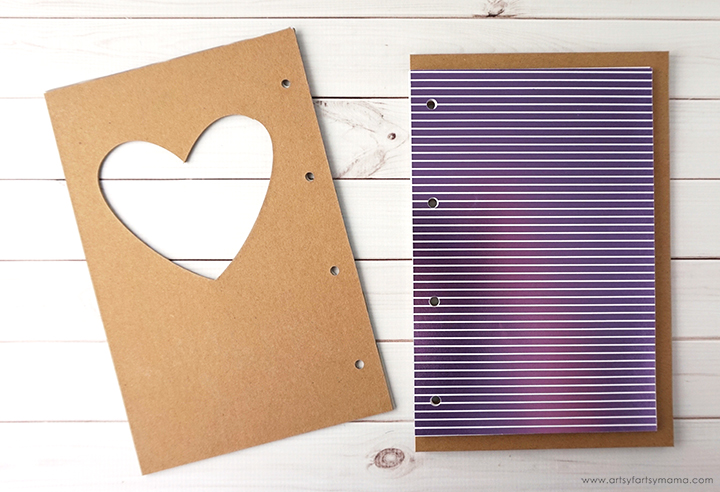
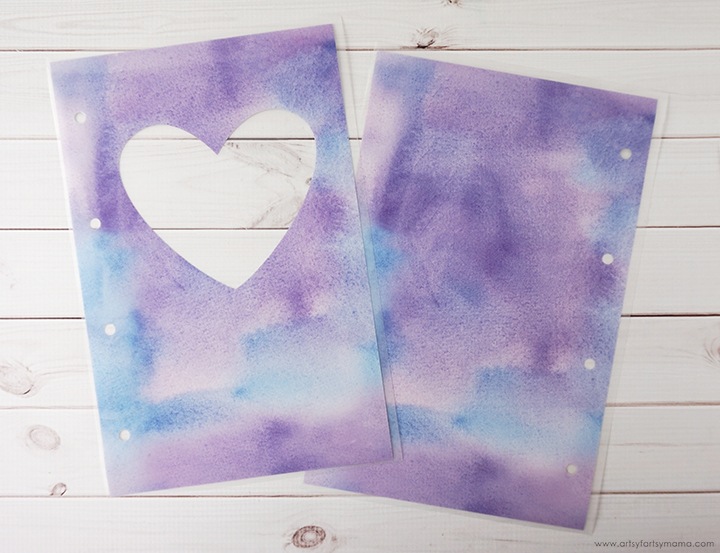
The top sheet will show through the heart cutout on the cover, so I chose a gorgeous piece of foil embossed paper. It coordinates perfectly with the Natalie Malan Indigo Sky Patterned Iron-On. Place the sheet of foil embossed paper on top of the watercolor paper and make sure it's lined up.
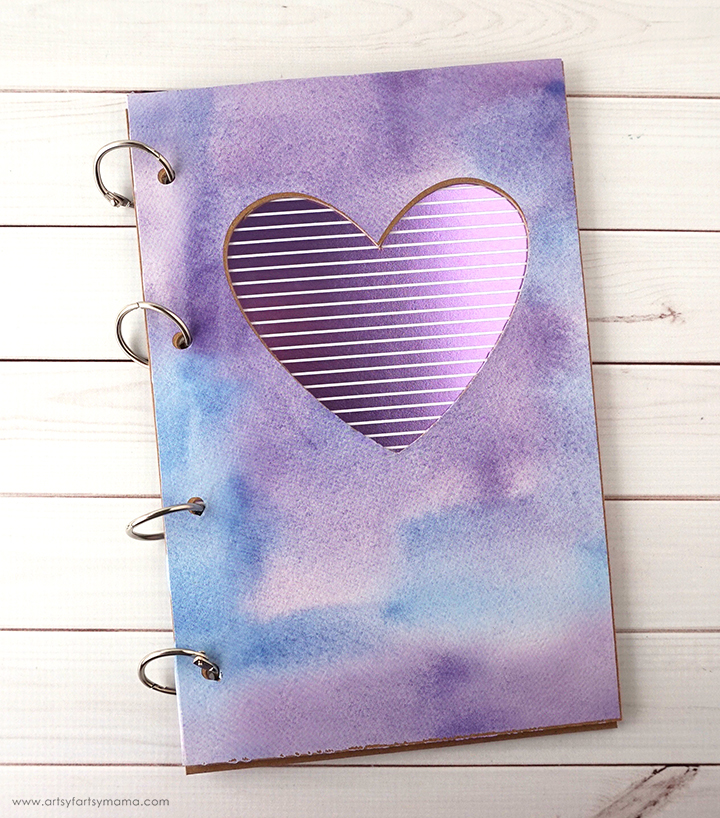
Place the cover on top of the papers and line up the holes. Open up four loose leaf rings and hook them through the holes to bind your journal. If your journal has more pages, I would recommend using at least 1" rings. For journals with less pages, I would use about 1/2" rings.

Once you've put the Watercolor Journal together, you can start immediately start adding your artwork! This would also be a unique gift idea to make for the artsy-fartsy person in your life. If you're new to watercolors or would like to pair some accessories with the Watercolor Journal, I would recommend these supplies:
Hope you have fun making your own DIY Watercolor Journal!
This is a sponsored conversation written by me on behalf of Cricut. The opinions and text are all mine.


