
This post is sponsored by Cricut and contains affiliate links. As always, all opinions are my own.
Let the world know you LOVE books with this DIY Book Nerd Shirt made with Cricut Patterned Iron-On!

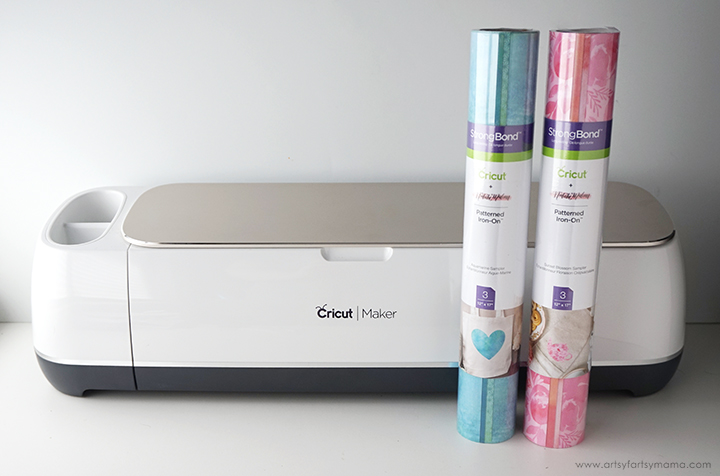
What you'll need to create a Book Nerd Shirt for yourself:
- Plain white t-shirt
- Cricut Maker or Cricut Explore Air 2 machine
- Book Nerd cut file
- Cricut Cutting Mat
- Cricut Patterned Iron-On
- 12" Portable Trimmer
- Weeding Tools
- Cricut EasyPress or iron
- Cricut EasyPress Mat
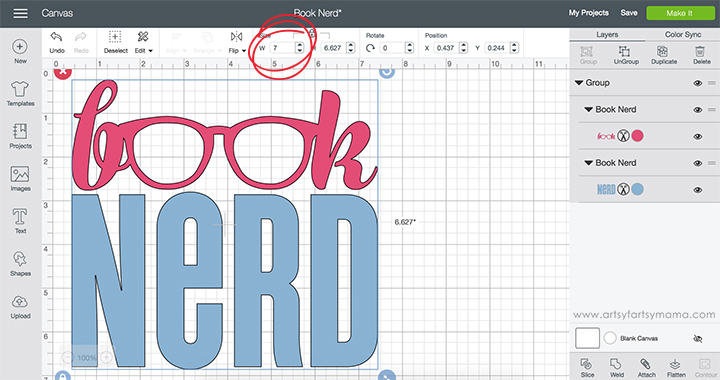
Measure the front of your shirt and decide how wide you want the finished design to be. Open the Book Nerd cut file in Design Space. Click "customize" to make adjustments. In the toolbar at the top of the page, you can adjust the image measurement (I've circled it for you in the image above).
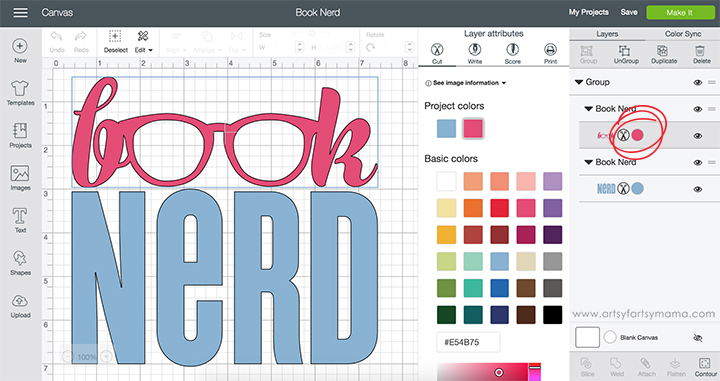
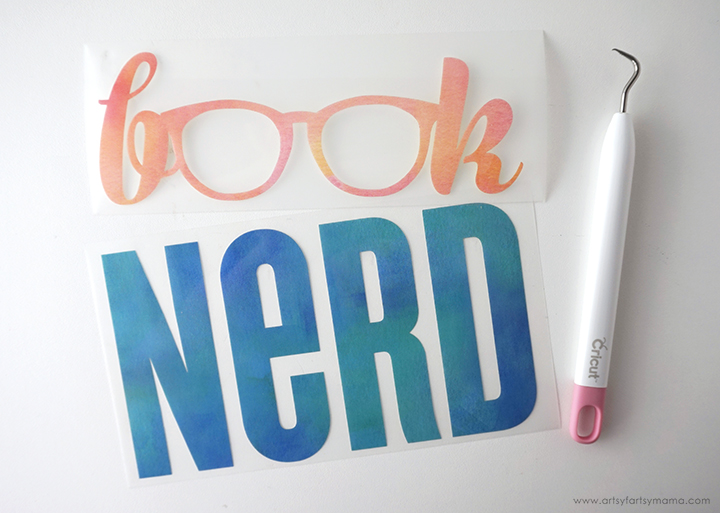
Next, change the colors of the words to represent the color of your vinyl by clicking the colored circle next to the design thumbnail in the right toolbar (it's circled in the image above). If you are using different vinyls, this step is helpful to make sure you don't cut the wrong one by mistake. For example, I used Cricut Natalie Malan Aquamarine Patterned Iron-On and Cricut Natalie Malan Sunset Blossom Patterned Iron-On, so I changed the colors of the design to pink and blue to represent the vinyl colors.
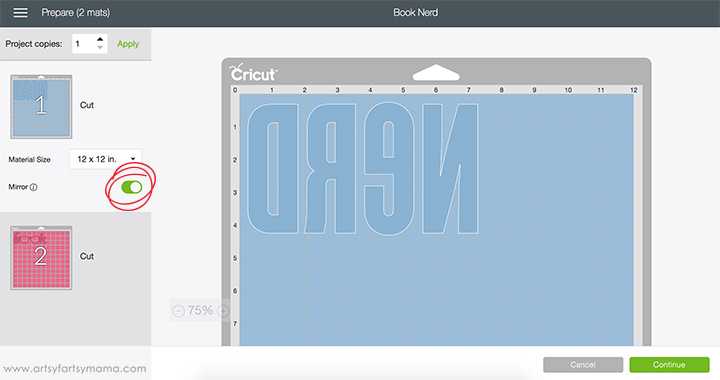
When you're finished with adjustments, click "Make It" in the top right corner. The next screen is to help you prepare your mats before cutting. Since we are cutting iron-on vinyl, you HAVE to make sure to mirror your image. If you don't, your design will be backwards when you put it on your shirt. Click on each mat thumbnail and click the Mirror toggle to reverse the image on the mat (I've circled the toggle in the image above).
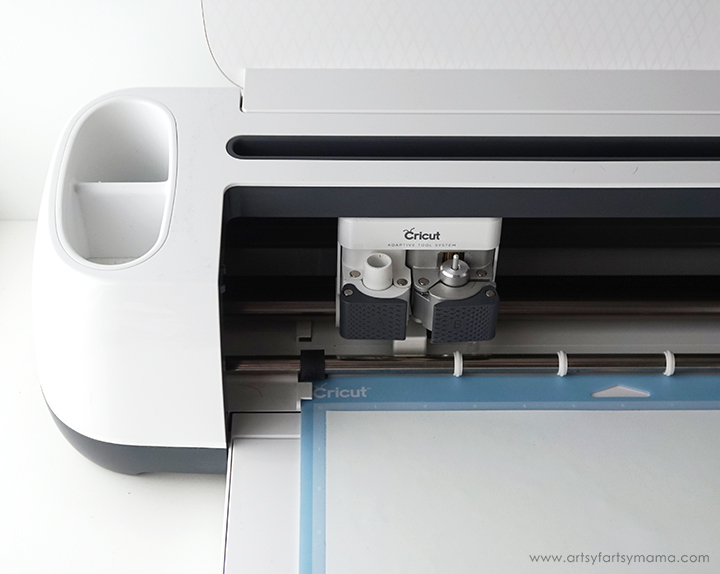
Place the vinyl on the Cricut Cutting Mat face down and load it into the machine. Set the material to "Patterned Iron-On" from the cutting options to cut the design perfectly. Then, all you have to do is click "go" by pressing the Cricut logo button on the machine. When prompted, load and cut the second sheet of vinyl using the same directions.
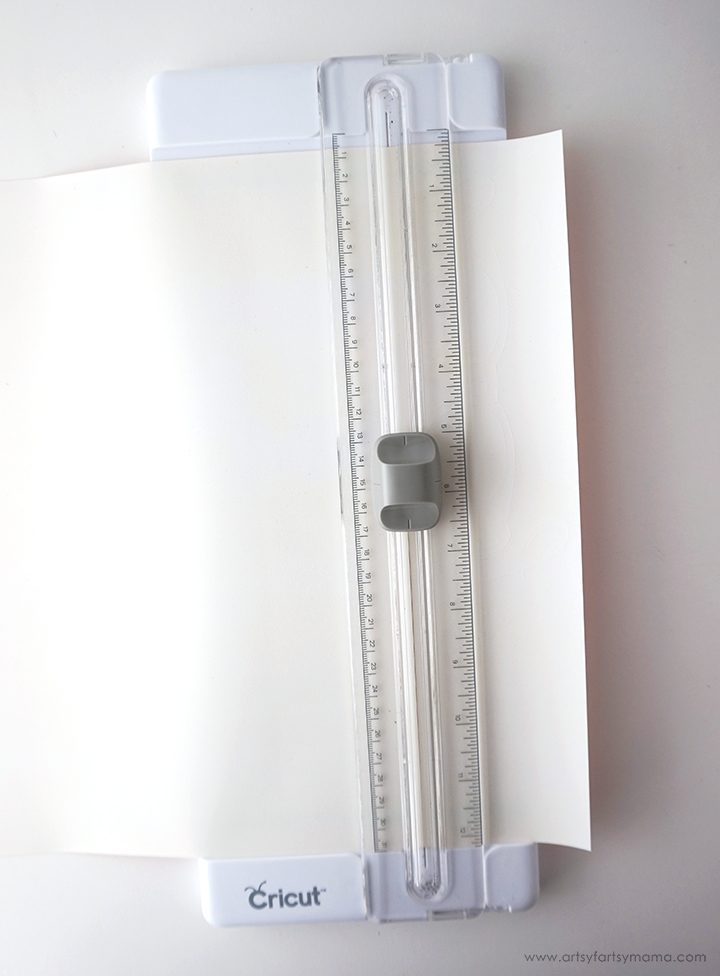
After the designs have been cut, I used my paper trimmer to cut the vinyl around the image to save the scraps.
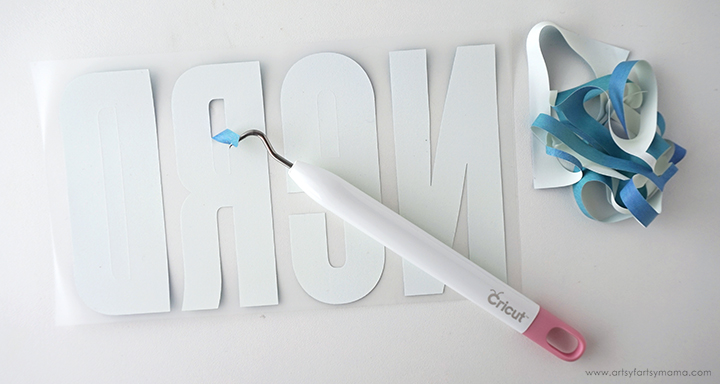
"Weed" the excess vinyl by removing all of the parts that don't belong in the design. I usually start with the outer edges first by peeling away at the corner and working my way around the design. Then I use a weeding tool to remove smaller pieces of the design, like the insides of letters.
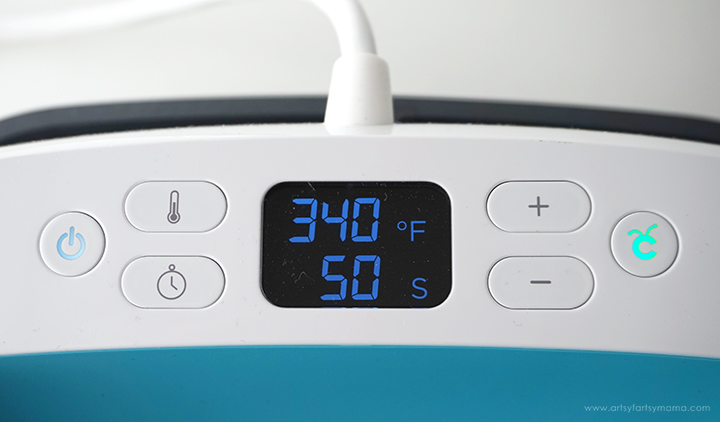
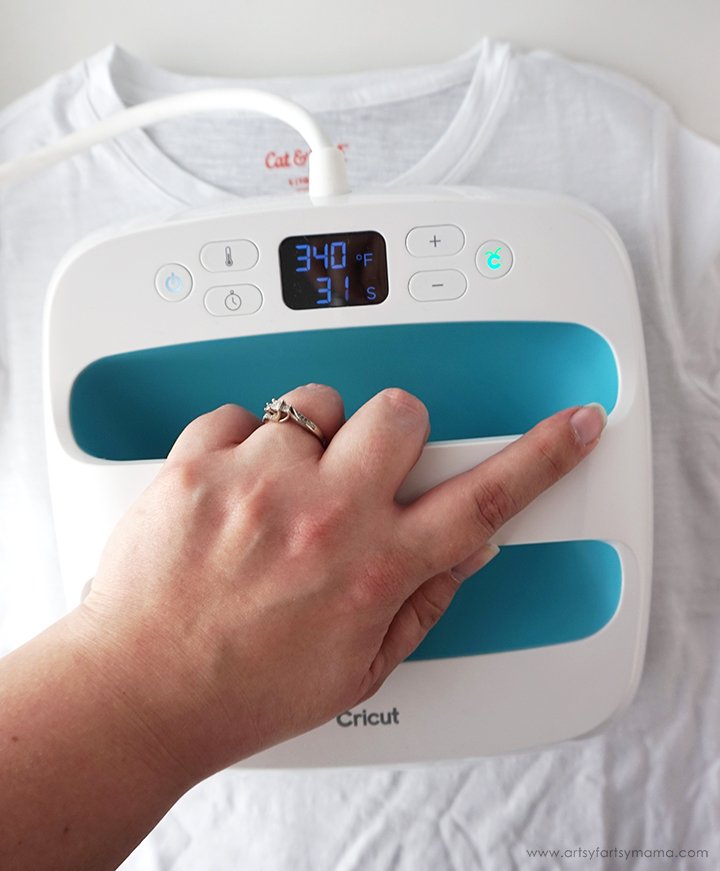
Plug in the EasyPress and power it on. Adjust the heat setting to 340º and the timer to 50 seconds, which is the perfect setting for Patterned Iron-On. Once the light turns green and the machine beeps, it's ready to use.
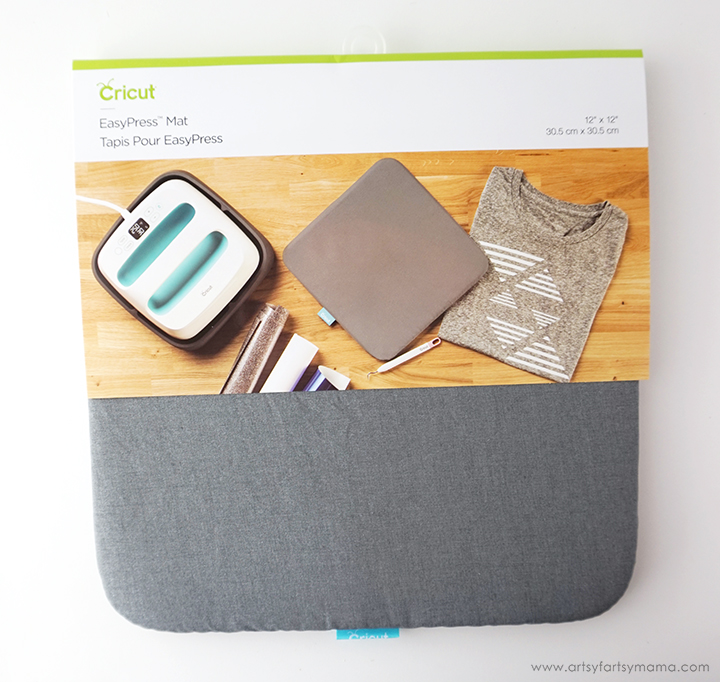
Cricut just released the EasyPress Mat, which is amazing for projects like this! Instead of getting the ironing board out, this mat is easy to use and protects your surface area from heat and moisture. It's definitely an accessory I recommend if you own an EasyPress!
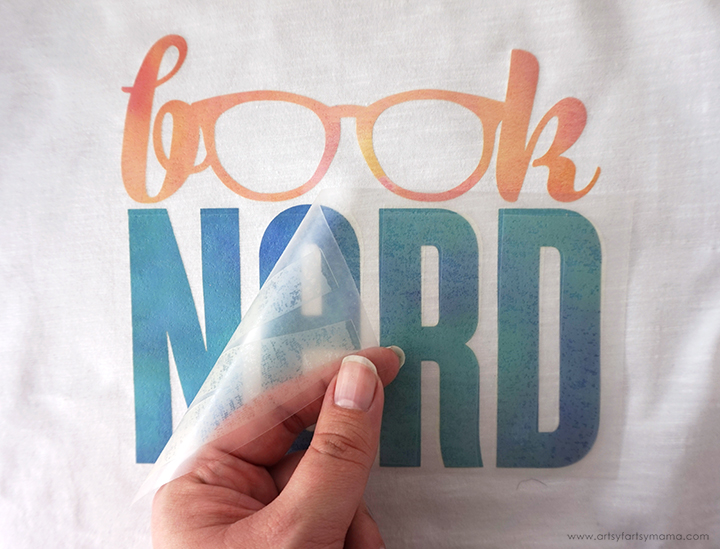
Let the shirt cool for a minute or two, then carefully peel away the carrier sheets. The vinyl should be completely stuck on the shirt. If you have any edges peeling up, lay the carrier sheets back down and press the shirt again with the EasyPress.

Now you can proudly wear your DIY Book Nerd Shirt everywhere you go to let the world know how much you LOVE books! I love how the Patterned Iron-On looks with this design and I'm looking forward to making even more projects with this fun, new vinyl!
What is your favorite book?
This is a sponsored conversation written by me on behalf of Cricut. The opinions and text are all mine.


What a cute shirt! And your model is darling! Xoxo
ReplyDeleteThis book nerd shirt is so adorable, thank you for the post on how to do it yourself, I will have to give it a try!
ReplyDelete~xo Sheree
poshclassymom.com