
My daughter is very girly-girl and over the past year or so has been collecting purses, jackets, and bags. They are usually filled with different toys or clothes (or other bags), and we can barely shut the door sometimes because they are all over the place. We needed something to help her organize her accessories and create an area for her to find the purse or jacket she needs when it's time to go somewhere.

I found these coat racks at Hobby Lobby on clearance for less than $2 a piece. While the design is unique and fun, they don't really go with our decor at all. The design was a paper overlay, so I knew with a little work, we could easily give these babies a makeover!

I carefully removed the pegs from the board and with a little bit of time, sander, and fresh sandpaper, the boards were free of the old design in just a few minutes. Pretty messy, but overall not that difficult to do at all. We sanded down to the board and tried to remove as much of the color as possible.

Next, I primed the boards with white paint, then gave them a nice couple of coats of Americana Snow (Titanium) White. While the paint dried, I printed out a section of a chevron pattern and cut it in half. This would be my stencil for the herringbone pattern. You could also use a basic chevron pattern, then draw a line down the centers using a ruler.
Once the paint was dry, I traced the pattern on the boards lightly with a pencil. Before moving to the next step, I recommend marking a little dot or "x" on every other space that you will cover with paint (kind of like a checkerboard). That should help prevent any mistakes like painting the wrong section.

My daughter's bedroom is decorated in lots of bright colors, but she requested pink and purple. I love DecoArt paint, so we went with Americana Lavender and Americana Electric Pink for paint colors.
With a small brush, I carefully painted each herringbone pattern. I painted probably 3-4 coats of each color, letting the paint dry between coats. Once the paint is dry, you can go back with an eraser to take away any pencil marks left behind.
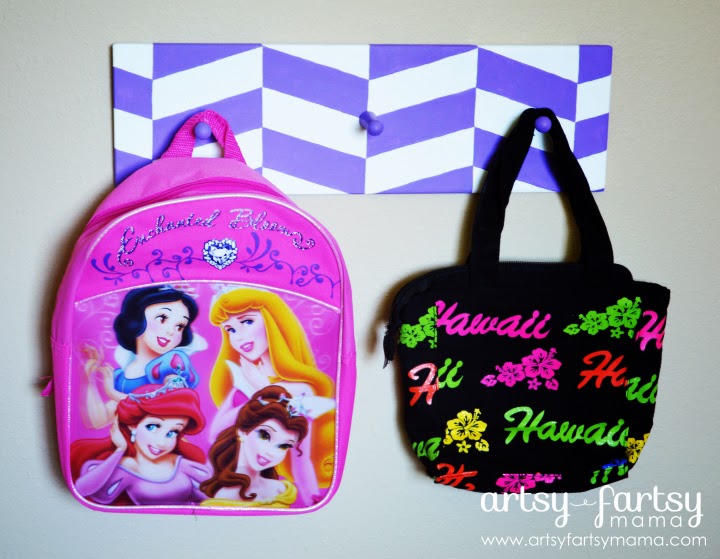
I also painted the pegs in pink and purple and let dry. Then, I reattached them to the boards with E6000 Glue and let dry overnight. We hung them on the walls, and my daughter couldn't wait to get everything hung up. She decided that bags, purses, and her backpack belong on the purple hanger, and the jackets belong on the pink hanger.

DecoArt supplied me with the paint used in this post. All opinions and photos are my own.


What a great idea - your "after" looks great!
ReplyDeleteYvonne @ TriedandTasty.com
Those turned out really cute! I love DecoArt paints as well - have a few projects lined up using them.
ReplyDeleteLindsay, these turned out AMAZING! I love the bold geometric design with the white/pink and white/purple combos!
ReplyDelete