
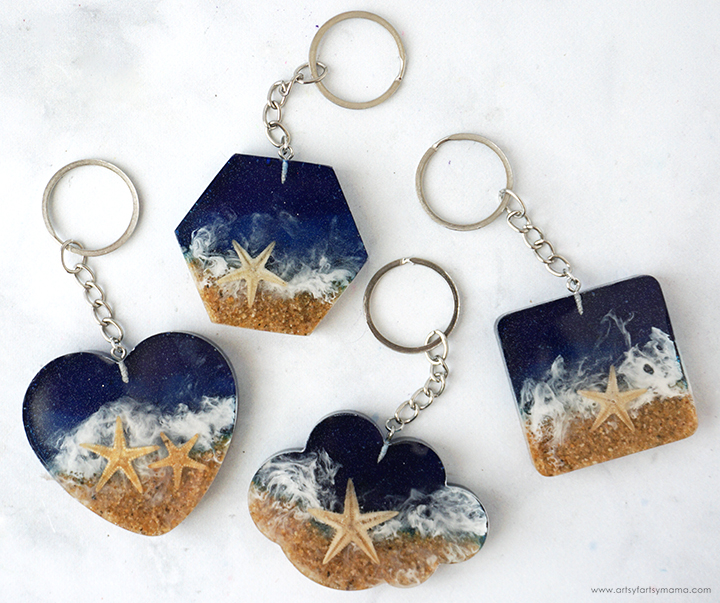
Take a little bit of the beach with you wherever you go with a handmade Resin Beach Keychain!
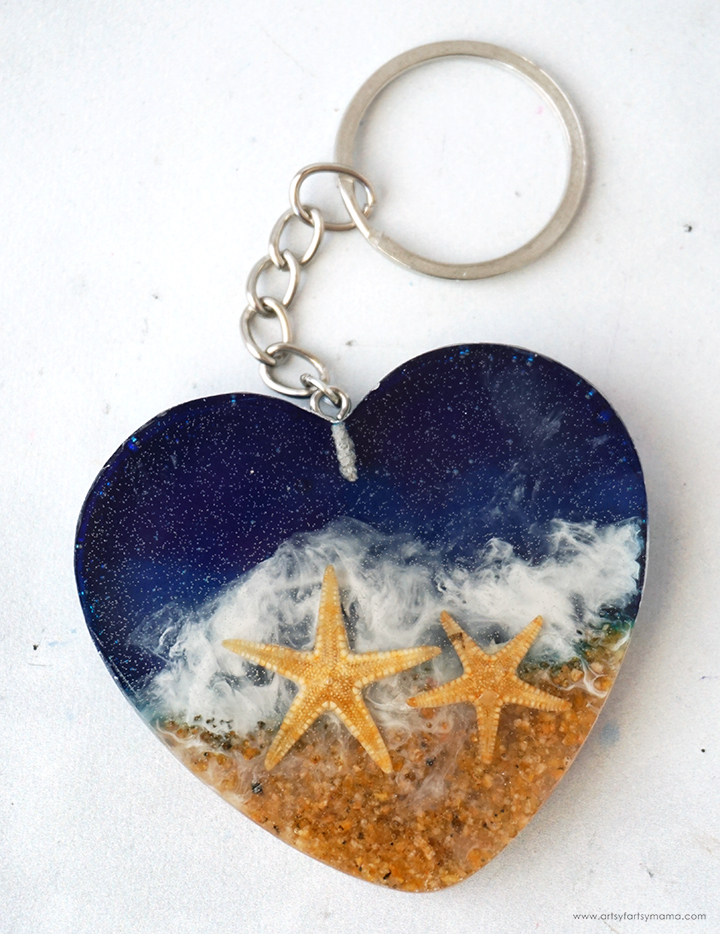
I live in the mountains, but absolutely love everything about the beach! Made with real sand and starfish, these Resin Beach Keychains are a creative way to have a little bit of the beach with you wherever you go. These keychains are easy to make, and is such a fun project for any level of resin crafter. If you are intimidated by trying a larger beach-inspired project, this keychain is a great project to start with!

To make your own Resin Beach Keychains, you will need these supplies:
*Save 10% on resin supplies when you shop ETI with code AFM
SAFETY FIRST: Before getting started, wear disposable gloves, protect your workspace, and be sure to work in a well-ventilated area!
Prepare about 12ml (per keychain) of Amazing Clear Cast resin according to package directions. Pour in equal parts of resin and hardener to the mixing cup. Slowly stir the resin together with a stir stick for two minutes. If the resin looks cloudy or has any streaks running through it, you need to keep stirring it until it becomes clear.
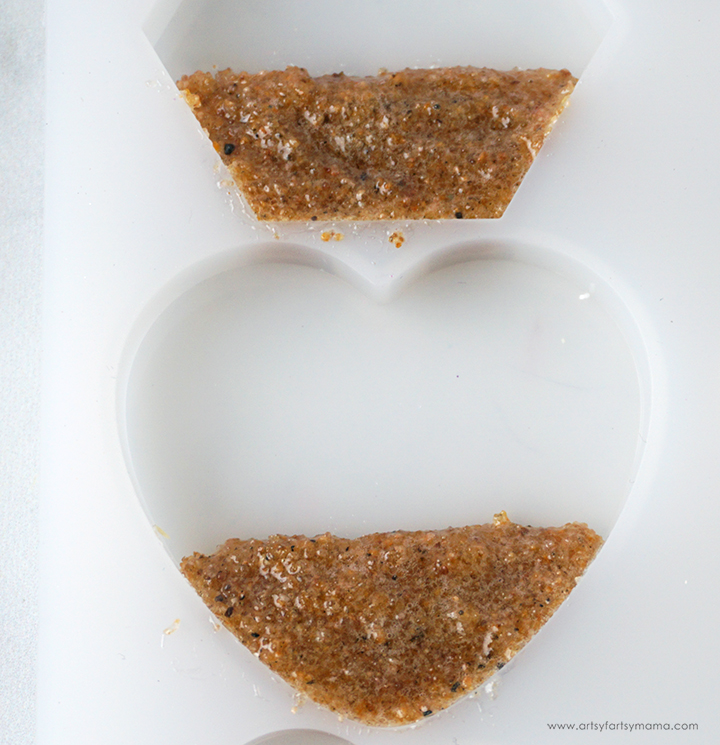
Pour about 2-2.5ml of resin into a small mixing cup. Add a generous amount of sand to the resin and mix well. You want it to be a thick paste consistency. Give the resin a few minutes to "rest" and allow the bubbles to rise to the top. The sand can be decorative, or real sand straight from the beach!
Use the stir stick to put the resin sand mixture into the bottom third of the mold, and fill the mold up only about halfway to the top.

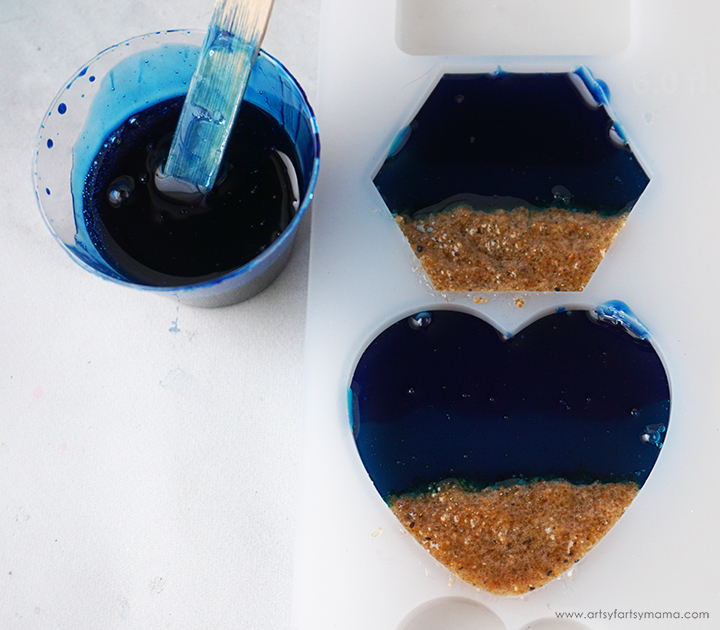
Pour about 5ml of the clear resin into another small mixing cup. Add 1-2 drops of ocean blue (light blue) translucent resin dye and stir the resin mixture with a clean stir stick until evenly incorporated. Use the stir stick to fill the middle third of the mold with the light blue resin. Do not fill it to the top.
Let the resin sit for a few minutes, then use a straw, heat gun, or spritz with 91% alcohol to remove any air bubbles that rise to the top. Leave the resin to cure in an undisturbed, well ventilated area for about 12 hours. DO NOT REMOVE FROM THE MOLD.

Prepare about 2ml (per keychain) of Amazing Clear Cast resin by adding in equal parts of resin and hardener to the mixing cup. Mix well until it becomes clear. Add 1 drop of white opaque resin dye and stir the resin mixture with a clean stir stick until evenly incorporated.

Use a toothpick to draw a thin line across the keychain where the light blue resin meets the sand. Use a straw to blow along the line to spread the white resin out across the top of the blue resin layer.
Let the resin cure, or at least firm up, for at least 2 hours.
Prepare about 10ml (per keychain) of Amazing Clear Cast resin. Slowly stir the resin together until it becomes clear.
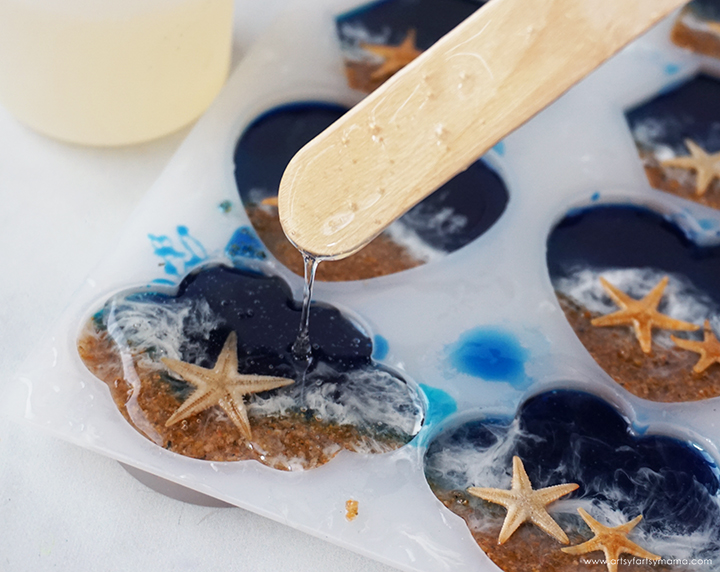
Arrange mini seashells or starfish along the "shoreline". To keep the pieces in place, I would recommend adding a small drop of adhesive to the back and sticking them down onto the project. Slowly pour the clear resin over the shells and fill the mold all the way to the top.
Pop any bubbles that rise to the top use a straw, heat gun, or spritz with 91% alcohol to remove any air bubbles that rise to the top. Leave the resin to cure in an undisturbed, well ventilated area for 12-24 hours. You will know that the resin is completely cured when it is no longer tacky to the touch.

"Demolding" is my favorite part of the process. Carefully remove the piece from the mold. Trim away any excess resin with scissors or a craft knife. I love how the pieces are made using real sand and starfish!
If the resin still feels flexible, it may just need more time to cure. Let the piece sit in a warm, flat area to cure for a few hours (or days).

Use pliers to hook a jump ring through the eye screw, and then attach the key ring chain to the jump ring. Close the jump ring to connect the key ring to the charm.
Don't forget to Pin, Like, and Share!


Great way to carry the beach around with you.
ReplyDeleteAlexandra
OnRockwoodLane.com
EyeLoveKnots.com