
Create a stunning textured tray out of resin using the "crushed velvet" technique!

Crafting with resin has become a passion of mine, and I love that there are always new techniques to learn! The 'crushed velvet' technique can be used on any flat surface resin craft, so I decided to give it a try on a larger scale by making a tray. This 'Crushed Velvet' Resin Tray is a lot of fun to make, and I hope you feel inspired to give it a try!

To make your own 'Crushed Velvet' Resin Tray, you will need these supplies:
*Save 10% on Polytek resin supplies when you shop with code AFM
SAFETY FIRST: Before getting started, wear disposable gloves, protect your workspace, and always work in a well-ventilated area!
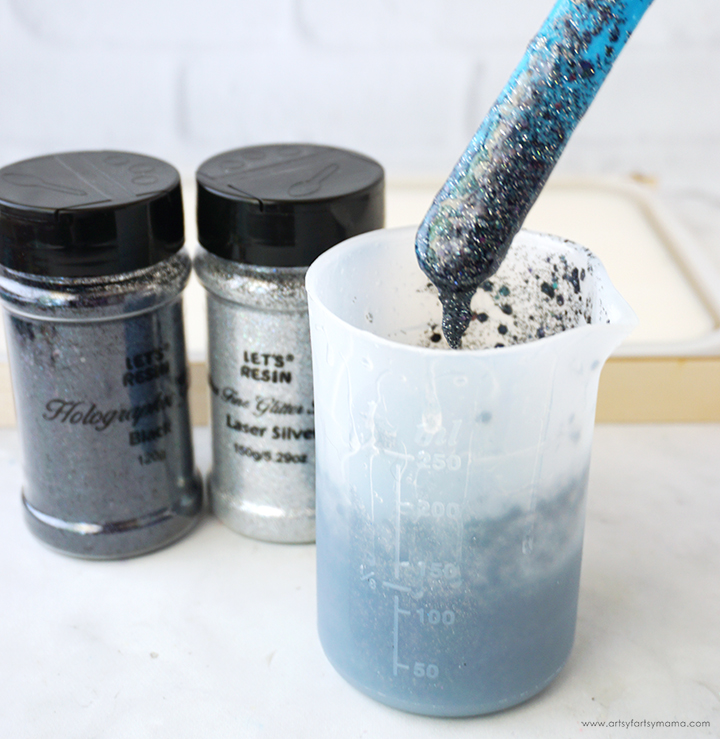
Prepare 4 oz (120 ml) of Amazing Clear Cast epoxy according to package directions. Pour in equal parts of resin and hardener to a large mixing cup. Slowly stir the resin together with a stir stick for two minutes or until combined. If the resin looks cloudy or has any streaks running through it, you need to keep stirring it until it becomes clear.
Add a generous amount of both holographic black and silver glitter to the resin and stir with the stir stick until evenly incorporated. Give the resin a few minutes to "rest" and allow the bubbles to rise to the top.

Use the stir stick to slowly fill JUST the lip/outer edge of the tray mold with the glittery resin. Let the resin sit for a few minutes to allow the bubbles to rise to the top. If necessary, use a stir stick or even a skewer to help stubborn bubbles find their way. Use a straw, heat gun, or spritz with 91% alcohol to remove any surface bubbles.
Leave the resin to cure in an undisturbed, well ventilated area for at least 4 hours. It doesn't need to cure completely before moving on to the next step, but it does need to be at least a thickened gel consistency.

Prepare another 5-6oz of Amazing Clear Cast epoxy according to package directions. Pour in equal parts of resin and hardener to a large mixing cup. Slowly stir the resin together with a stir stick for two minutes or until combined. If the resin looks cloudy or has any streaks running through it, you need to keep stirring it until it becomes clear.
Pour the clear resin into the mold. Make sure that it is NOT filled all the way to the top! You want it to be about halfway or a even a quarter of the way filled.
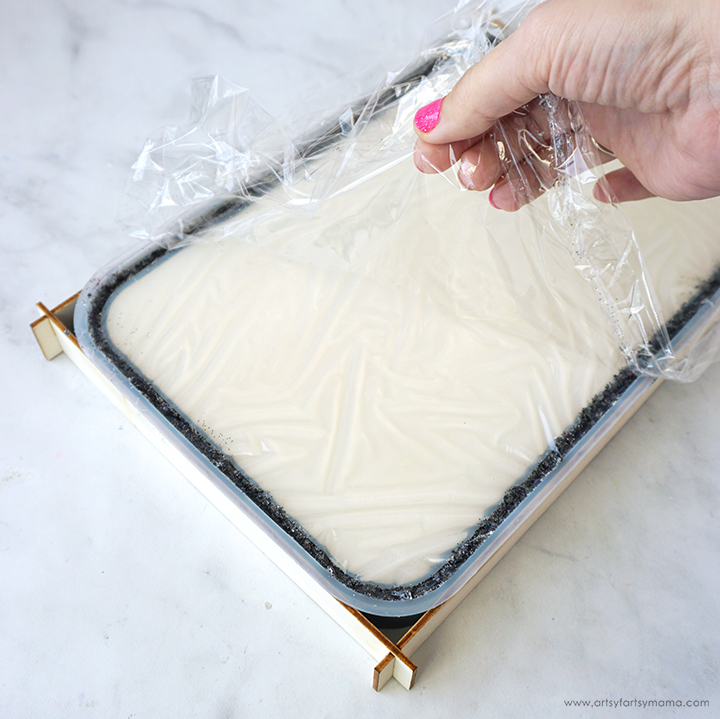
Tear a piece of plastic wrap that is much longer than the size of the mold. Start a one end and lay the plastic down with at least 2 inches hanging off the edge. Spritz the surface of the resin with alcohol, and then gently lay the plastic down a little bit at a time. Be careful to not get any air bubbles trapped underneath the plastic (I'll show you why later). If you have a bubble, lift up the plastic in that area and remove it. Keep watching for bubbles as you lay the plastic wrap down until you get to the opposite end.
Once the plastic is laid down, use your fingers to gently manipulate the wrap to create wrinkles. You can pinch and pull the plastic until you get the look that you want. If you notice any trapped bubbles, you can carefully lift the plastic to remove it and then lay it back down.
Once you are satisfied with the look, leave the plastic in place and allow the resin to cure for at least 12 hours. You don't want the resin to be pliable AT ALL before moving on to the next step.
Start at one corner and carefully pull the plastic up away from the resin. If it's still sticking, the resin needs more time to cure. The plastic wrap should come away easily. Parts of the plastic can get stuck if you've made larger creases in the resin, but you should be able to remove it using a little more strength or even a craft knife.
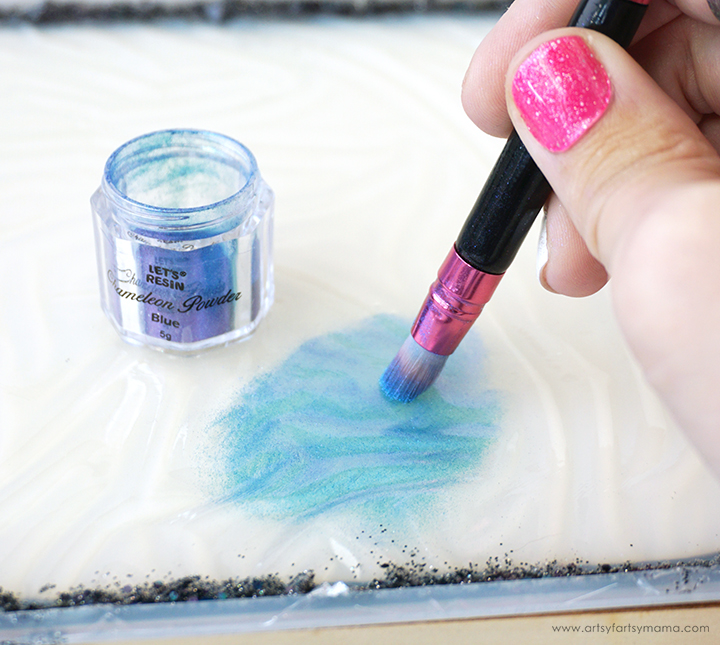
Next, choose a color of chameleon/color shift mica powder. Because of the way the pigment changes colors at different angles, they will work best for this technique. A regular mica powder will work, but it won't have the same effect.
Use a small blending brush to cover the surface of the resin. Make sure to get into every crevice and crease!

This is how the project should look at this point. You don't need to add a thick layer of powder, but just make sure that the resin has been evenly covered with pigment. Try not to touch any covered areas with your fingers, because you can leave fingerprints.
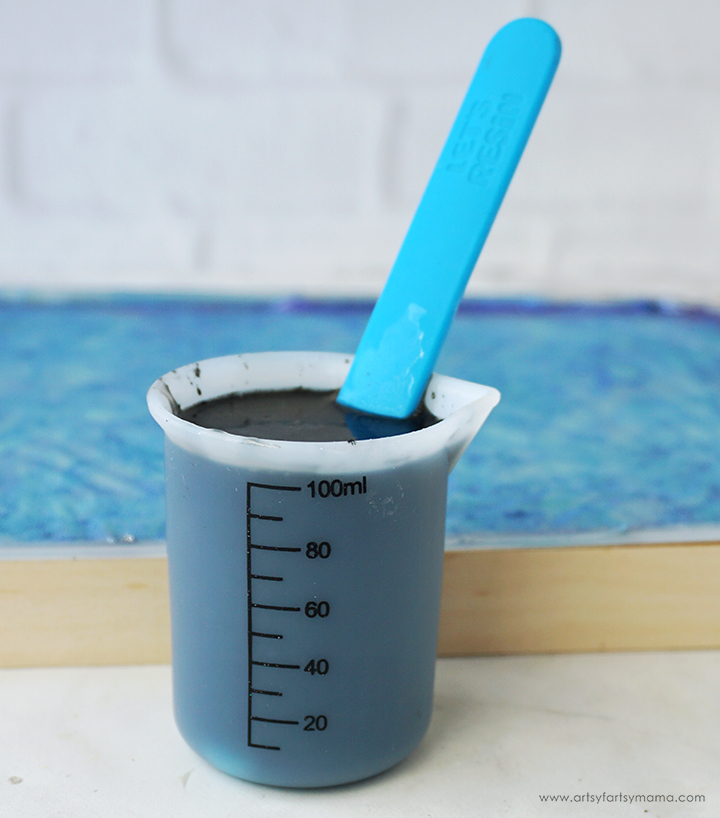
Prepare another 5oz of Amazing Clear Cast epoxy according to package directions. Pour in equal parts of resin and hardener to a large mixing cup. Slowly stir the resin together with a stir stick for two minutes or until combined. If the resin looks cloudy or has any streaks running through it, you need to keep stirring it until it becomes clear.
Add in a generous amount of black mica powder to the resin and mix with stir stick until evenly incorporated. Give the resin a few minutes to "rest" and allow the bubbles to rise to the top.
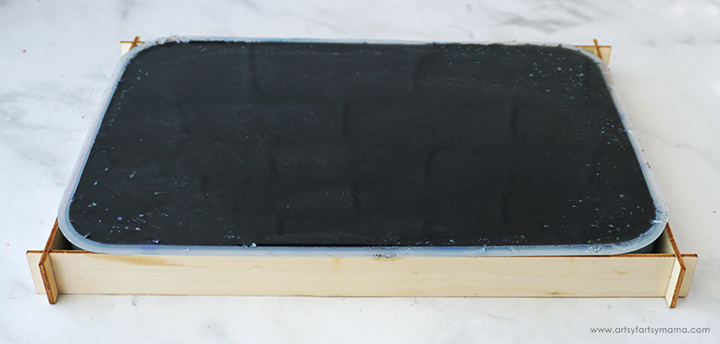
Pour the resin into the mold, filling it all the way to the top. Let the resin sit for a few minutes, then use a straw, heat gun, or spritz with 91% alcohol to remove any surface bubbles. You may notice some of the color shift pigment rise to the top of the resin. You don't need to worry, it's just excess mica powder and it won't affect your finished project.
Leave both resin pieces to cure in an undisturbed, well ventilated area for 24 hours. You will know that the resin is cured when it is no longer tacky to the touch and easily pulls away from the edges of the molds.
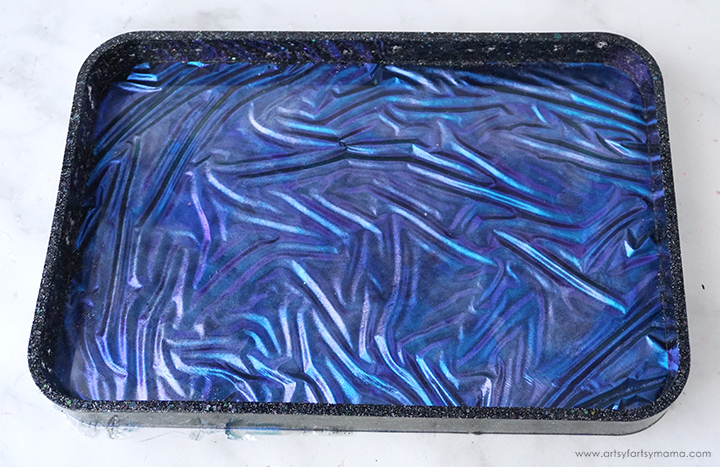
Now for my favorite step in the process: demolding! Especially with this technique, the big reveal is SO exciting! Carefully remove the tray from the mold. Trim away any excess resin with scissors or a craft knife. Sand down edges, if necessary, and bring back the shine with clear spray sealant.
I love how the resin actually looks like crushed velvet fabric, but the surface is perfectly smooth. The chameleon pigment looks like different colors in every angle from the wrinkles, and how vibrant the colors are!
If the resin still feels flexible, it may just need more time to cure. Let the pieces sit in a warm, flat area to cure for a few hours (or days) to completely harden.
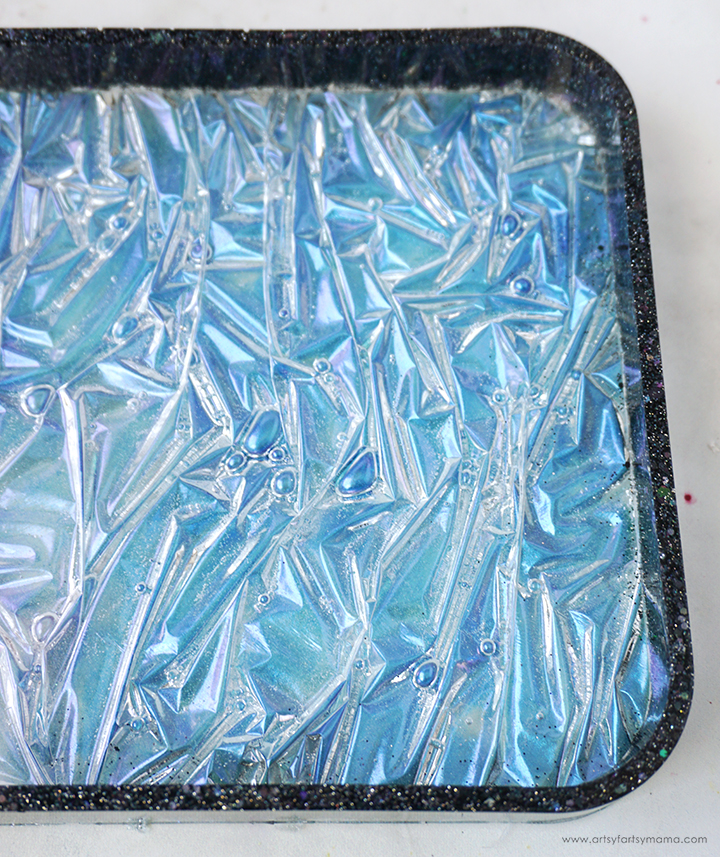
Remember earlier when I told you we'd talk about bubbles trapped under the plastic wrap? Here is an example of my first attempt at the tray, with many a bubble... I do love how there are so many more wrinkles made on this tray, but the bubbles kind of destroy the fabric-like effect.


If you want to add a little bit of storage to your tray, you can use resin mixed with the same holographic glitter to make little cups or jars like the one I have here. It's the perfect size to hold small earrings, paper clips, or other little trinkets. If you want the cup to be permanently attached, simply add a little bit of resin underneath and press it into place.
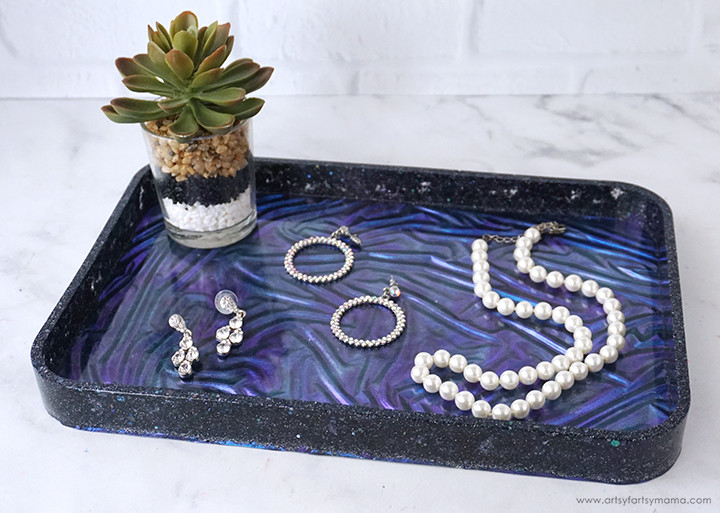
Once finished, the 'Crushed Velvet' Resin Tray can hold all of your favorite trinkets; like jewelry, treats, small plants, or even paperclips! This is such a fun technique, and I definitely recommend that you give it a try. I love how this tray turned out, and would love to hear what you think! Share your creations on Instagram, Facebook, or leave a comment/photo on the project pin on Pinterest! #AFMCrafts
Don't forget to Pin, Like, and Share!


