
Rest your Butterbeer on a set of rustic Three Broomsticks Wood Slice Coasters!

Every time I go to the Wizarding World of Harry Potter (in Florida), I HAVE to stop by the Three Broomsticks for an ice-cold Butterbeer. I also love the magical atmosphere and how it brings the rsutic description from the books to life. To bring a bit of that magic into my home decor, I used my Ikonart Custom Stencil Kit to add the Three Broomsticks emblem to a set of wood slice coasters. I absolutely love how they turned out, and have been so excited to show you how I did it!
New to making reusable stencils? Here's how to Get Started with Ikonart!

To make your own Three Broomsticks Wood Slice Coasters, you will need these supplies:
- "Three Broomsticks" Design (for personal use only)
- Ikonart Custom Stencil Kit
- Unfinished Wood Slice Coasters
- Sandpaper
- Torch Paste
- Squeegee
- Heat Gun
- Resin or Sealant
*Save 15% on Ikonart supplies when you shop with code AFM15
Printables and cut files from Artsy-Fartsy Mama are for personal use only. You may use these files for personal projects, but you may not sell them. If you'd like to share this project digitally, share a link to this post/website only. Do not share a direct link to the file.
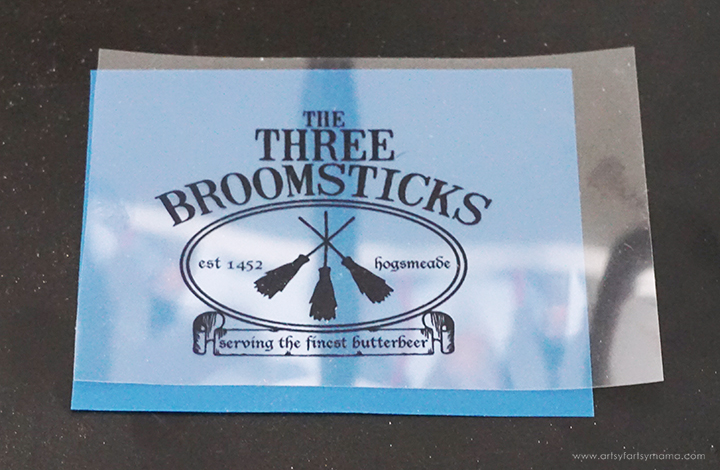
To make a stencil, you need to start with a printed design. Download the 3 Broomsticks design (for personal use only) and print the design as dark as possible on either inkjet or laser Ikonart Printer Film.
The next step in the process is exposing the stencil film. Set up the exposure stand with UV LED Light by following the directions included in the kit. Ikonart Stencil Film is light sensitive, so be careful to keep it out of sunlight and bright lights before exposure. Cut a piece of the film the slightly larger than the design print.
Lay the piece of film down on the base of the stand with the textured side facing up. Place the printed design on top of the stencil film, making sure it's right-side up - meaning that you should be able to read the words printed on the design.
Lastly, place the clear exposure sheet (found in the stencil film pack) on top and press it down well to seal the design tight against the stencil film. Turn the exposure light on and expose the film for 35 seconds.

The coolest step in the stencil-making process is to washout, or rinsing, the stencil. Clip the exposed stencil film to the Ikonart clipboard with the shiny side (carrier sheet) touching the clipboard. Use the kitchen sink sprayer to rinse the stencil film with warm water until the design shows through and becomes completely clear. The washout process shouldn't take more than 3 minutes.
Gently blot the excess water from the stencil, and hang or lay the stencil flat to dry for about 45 minutes. When the stencil is dry, you shouldn't see any water spots or discoloration. Once the stencil is completely dried, place the it back on the exposure stand and expose it again for at least 2 minutes without the clear cover sheet. This extra exposure time will increase the durability of the stencil so you can get as much use out of it as possible.


Peel the carrier sheet away from the stencil and set it aside (don't throw it away). Carefully rub the stencil down and apply pressure to help it stick to the surface and to get rid of any air bubbles.
You might notice that the stencil is discolored. That's because I've used this stencil before to make a Three Broomsticks Etched Mug, and a few other projects! Ikonart stencils are very durable, and here's the proof that they can be used again and again to make all kinds of projects.

When it comes to wood-burning, Torch Paste makes it easier than ever to create a professional-looking project with pretty much any image or text you want!
Use the squeegee to apply a thin layer of Torch Paste over the stencil. Be careful not to get any paste outside of the stencil area. If you feel like you need a little more wiggle room to work with, place some painters tape around the edges of the stencil. Scrape off any excess paste and put it back into the jar.

Slowly peel the stencil up, and pay attention to the design left behind on the coaster. If you see any parts of the design that need a little more Torch Paste, lay the stencil back down and cover the area(s) again. Repeat the process (without washing the stencil) to apply the design to all of the coasters.
Let the paste sit on the wood coasters to dry for at least 2-3 minutes.
Washing Stencils:
For best results, wash stencils while the paint/Torch Paste is still wet. To wash your stencil so that it can be used again and again, first get the clipboard wet so your stencil doesn't stick to it. Place the stencil on the clipboard with the textured side up, and lightly rub the stencil under cold running water to remove all the paint.
Do not rub or scrub the adhesive side of the stencil, and NEVER use anything other than water to wash the stencils. To prevent the stencil from breaking down, don't ever leave the stencils to soak.
Remove the stencil from the clipboard and lay it down with the adhesive side up. While the stencil is still wet, place the carrier sheet onto the stencil so that the word “BACK” is readable. Hang or lay the stencil flat to dry completely.

If you do happen to get some of the Torch Paste outside of the stencil area, wipe it away immediately with a wet cloth. If it dries, you can use some sandpaper to remove it.

Now it's time for some Torch Paste magic! Use a heat gun to apply heat to the design. Move the heat around continuously so that you don't burn one spot for too long. As you go over the pasted areas, the design will magically turn from a light orange to black. The longer you apply heat, the darker the burn effect will be.
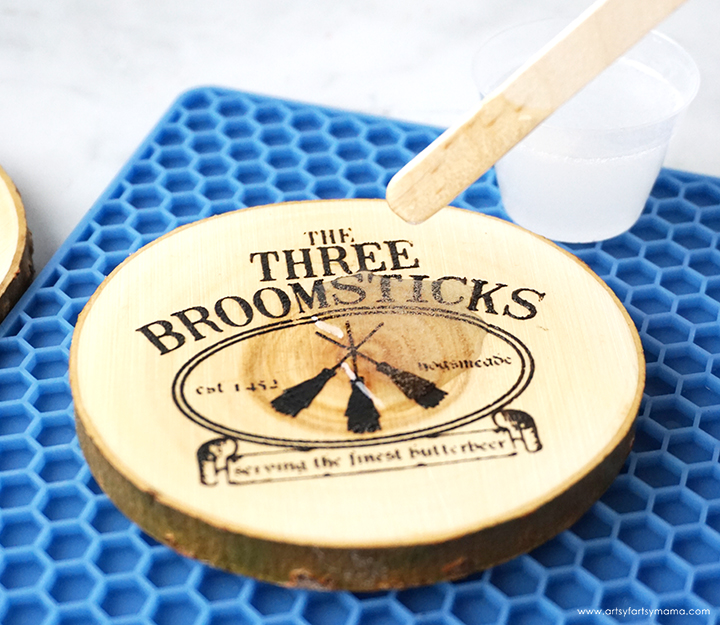
To keep your coasters protected, I highly recommend sealing them before use. You can spray the coasters with a few coats of clear sealant, or get cover the tops with a layer of resin.
Working with resin is actually very easy, especially if you are adding a simple topcoat to a project! If you're new to resin, definitely check out Resin 101: Getting Started with Resin.
SAFETY FIRST: Before getting started, wear disposable gloves, protect your workspace, and be sure to work in a well-ventilated area!
Prepare 30ml of Amazing Clear Cast resin according to package directions. Pour in equal parts of resin and hardener to a clean mixing cup. Slowly stir the resin together with a stir stick for two minutes. If the resin looks cloudy or has any streaks running through it, you need to keep stirring it until it becomes clear.
Use the stir stick to add some resin to the top of the coaster. Gently bring the resin near the edges of the coaster. To prevent the resin from spilling over the sides, you need to carefully bring the resin to *just* the edge. If you see any drips going down the side, wipe them away immediately.
If you tilt your head or angle yourself to see the light reflecting on the surface of the resin, you will be able to see any "bald spots" or areas that aren't covered in the resin. Use the stir stick to fill in any of these areas.
Add resin to the coaster until entire top is covered, but do NOT overfill. Too much resin will eventually spill over the edges. Let the resin sit for a few minutes, then spritz with 91% alcohol to remove any air bubbles.

Repeat the process to add resin to the rest of the coasters. Leave the resin to cure in an undisturbed, well ventilated area for 12-24 hours (depending on humidity, it could be longer).

These Three Broomsticks Wood Slice Coasters are so simple to make, and will definitely bring a bit of Harry Potter magic into your home. I'd love to hear what you think about this project, or if you want to know more about reusable stencils. If you've made your own stenciled projects, I would love to see your creations! Share them on Instagram, Facebook, or leave a comment/photo on the project pin on Pinterest! #AFMCrafts
Don't forget to Pin, Like, and Share!


