
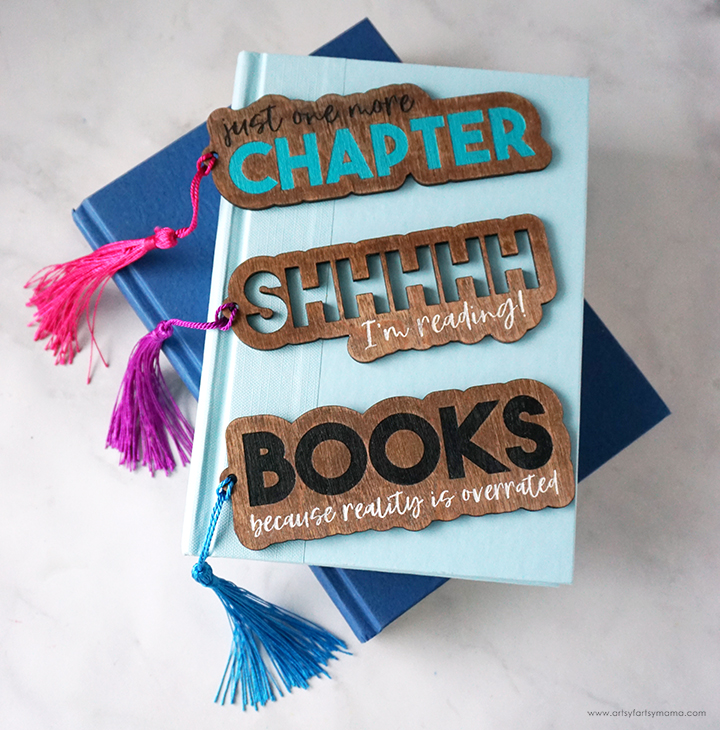
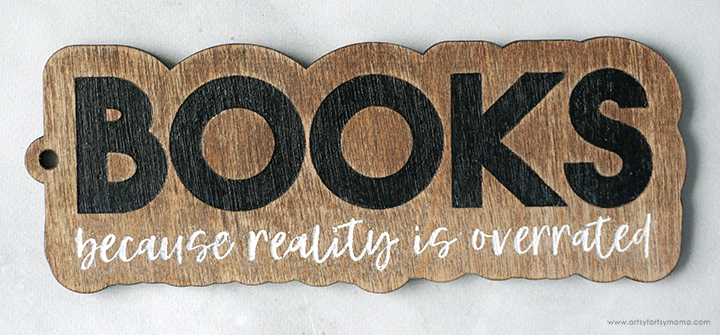
Save your spot with a set of laser engraved wooden bookmarks made just for book lovers!
Reading is one of my favorite things to do when I'm not crafting (follow along with what I'm reading on my AFMreads bookstagram). I've made it a goal to make time for more books this year, so I decided to treat myself to a handmade custom bookmarks made with my xTool M1. They turned out better than I ever imagined, and think these engraved wooden bookmarks will be a great gift idea for fellow book lovers! Not only am I going to walk you through the process of making the bookmarks, but I'm sharing the FREE cut files so that you can make some for yourself or your small business!

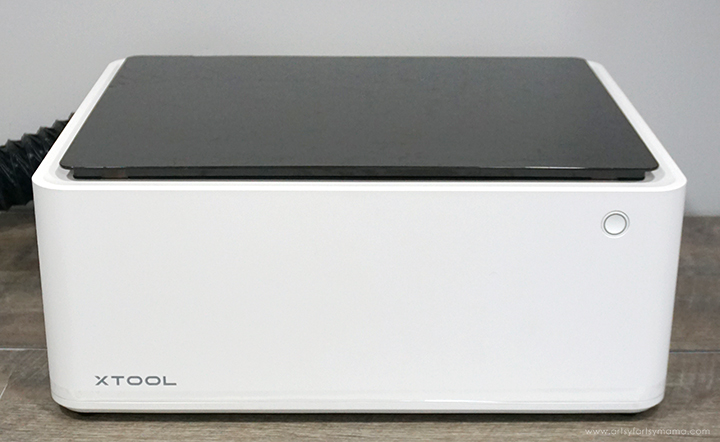
It's been so fun to create new projects using my xTool M1 hybrid laser machine. There are so many possibilities, and it's actually very easy to use. Honestly, the hardest part is deciding what to make first! If you want to learn more about how this incredible machine works, be sure to check out my complete xTool review.
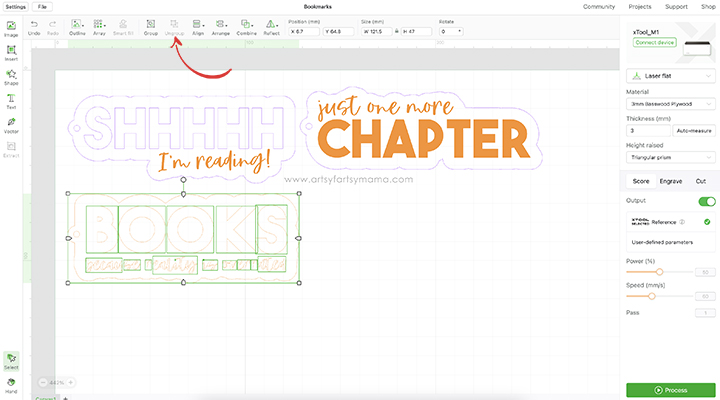
Upload the bookmark laser cut files into xTool Creative Space. Select the design and click "Ungroup" in the top menu bar. This will separate the parts of the design so that you can customize whether you cut, engrave, or score. Just as an FYI, I already made changes to the top two designs. This walkthrough is just for the "Books" bookmark design.
Next, select the material type from the drop-down menu on the right side of the screen. I used the pre-loaded settings for "3mm Basswood Plywood" material. Make sure that you also select "Triangular Prism" from the "Height Raised" drop-down menu. By selecting the material before you get started, it will automatically adjust settings for cutting and engraving your project.
Download Book Lover Bookmarks Laser Cut Files
**Cut files are for PERSONAL USE only**
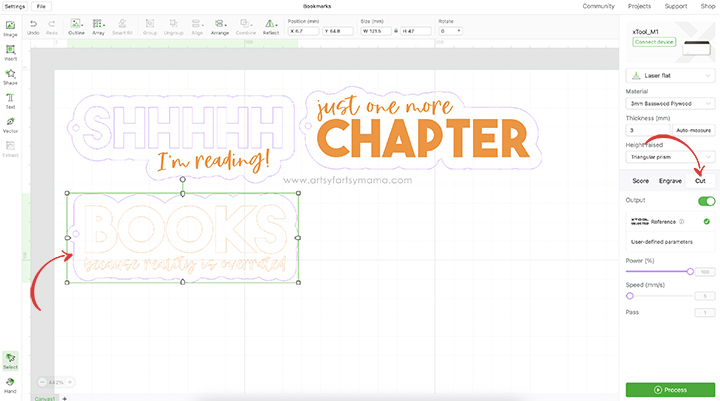
Select the outer border of the bookmark, and click on the "Cut" option in the right menu bar. As long as you set the material, the settings will be good to go, and you shouldn't have to adjust anything. Anything set to "Cut" will change to have a purple outline.
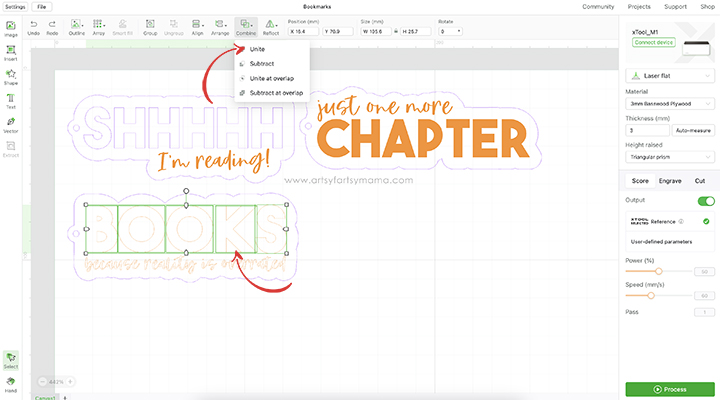
Now you need to combine the letters for engraving. Select just the letters for "BOOKS". Next, click "Combine" in the top menu bar, and select "Unite" from the dropdown menu. This will "weld" the letters together.
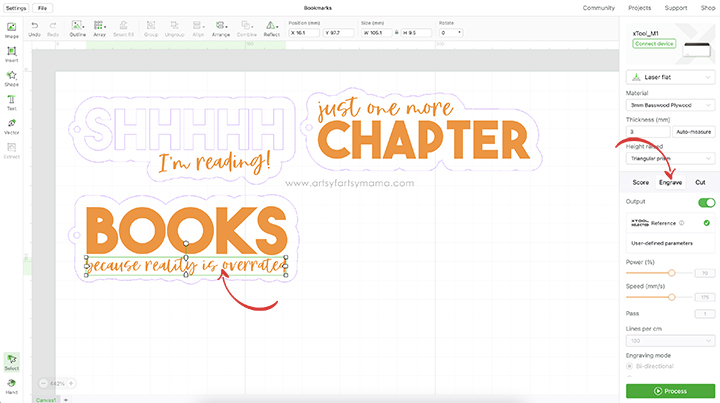
Once the BOOKS letters have been combined, click the "Engrave" option in the right menu bar. Engraved shapes will turn a solid orange.
Select the entire line of words below BOOKS, and Combine > Unite them the same way. This welding is much more important than the BOOKS, because cursive letters will become one piece instead of separate letters. Once combined, set this line of words to Engrave as well from the menu bar on the right.
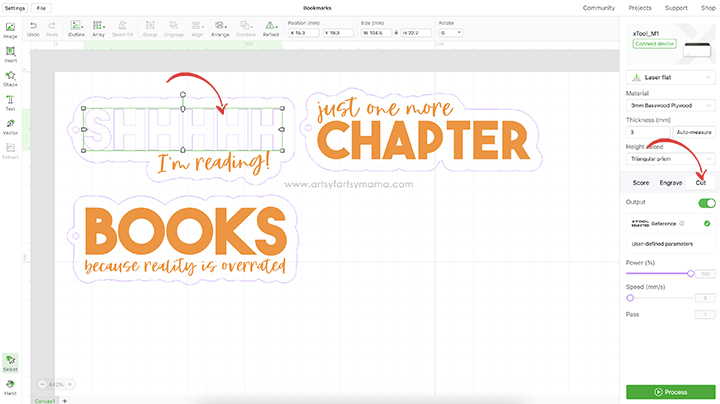
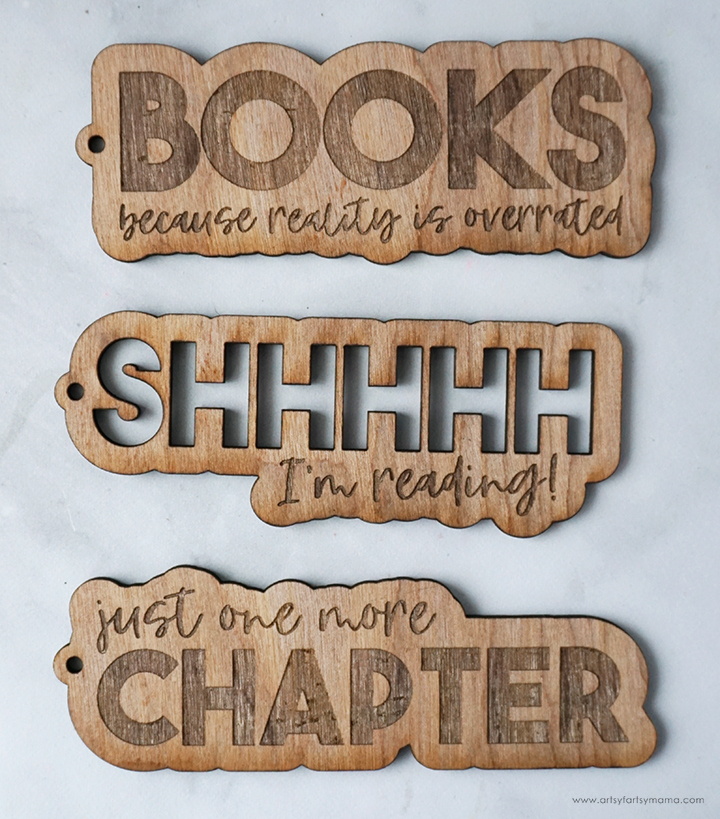
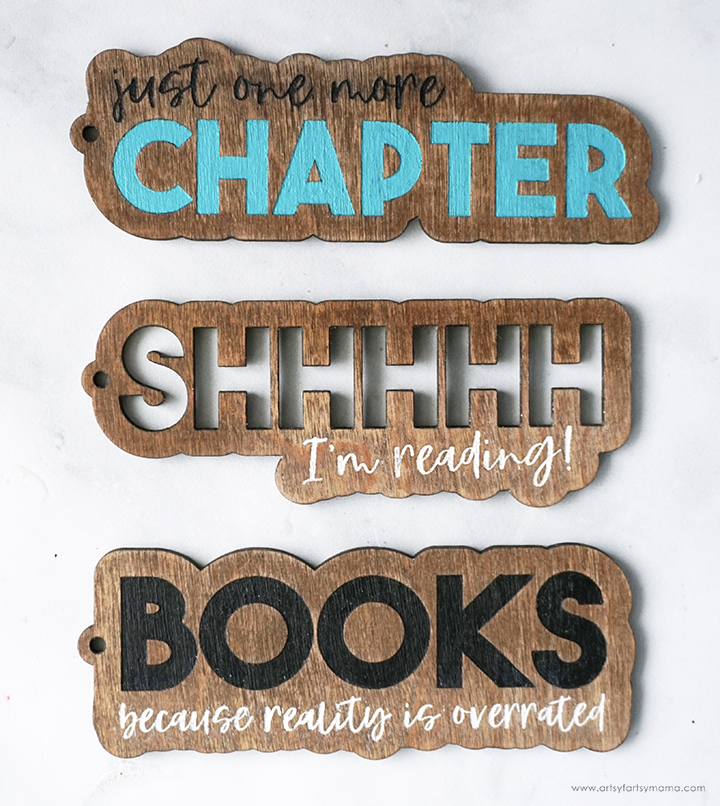
I wanted to see how a bookmark would look with letters cut out instead of engraved, so I designed the "SHHHHH" bookmark to do just this! The other words won't work as well, because some of the letters have smaller pieces in the center that you can't reattach.
To change this, simply select the "SHHHHH" letters, and change it to "Cut" in the right menu bar. The letters should change from an orange fill to a purple outline to let you know what setting it's on. However, do NOT change the line "I'm reading" below to cut! That still needs to be Engraved to be readable.
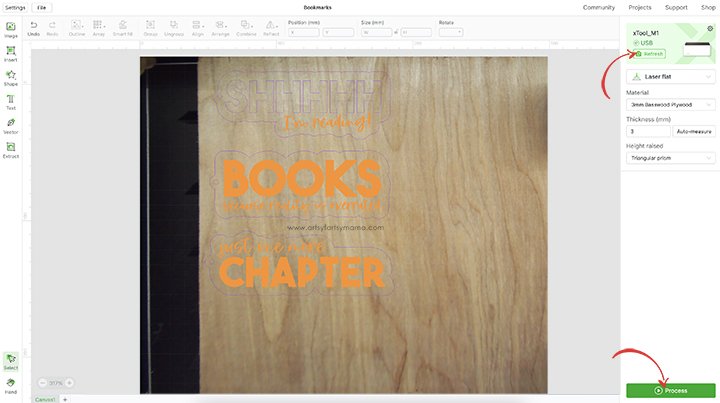
Select the bookmark designs and arrange them on the wood however they fit best. Once you are happy with the layout, click the green "Process" button in the bottom right corner.
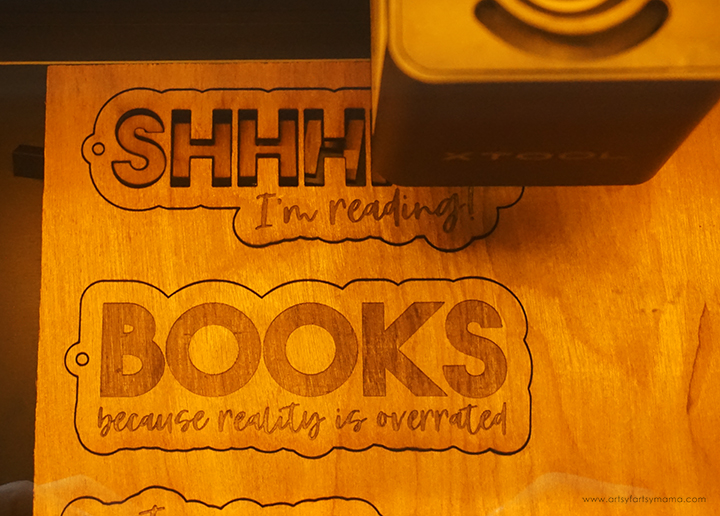

Press the large, lit button on the front of the machine to start the cutting and engraving. It's so fun to watch the laser in action! No matter what I'm making, I am always so impressed with the how precise the xTool is for even the smallest of details.
Once the cutting and engraving process is complete, you can remove the bookmarks from the machine. Technically, these bookmarks are good to go straight from the machine. However, I would recommend cleaning the soot away around the edges of the wood first using a Magic Eraser to prevent making marks in your books.
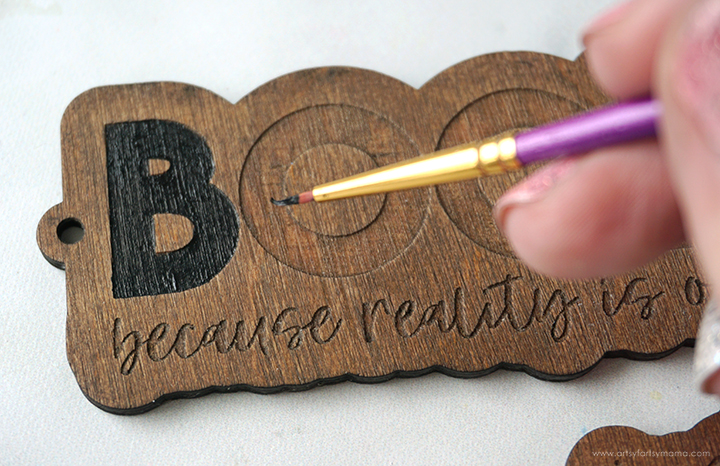
I love the look of the engraved wood, but wanted to see what it would look like if I added paint to those areas instead. Use a detail brush to carefully paint the larger engraved letters with any color of acrylic paint that you'd like.
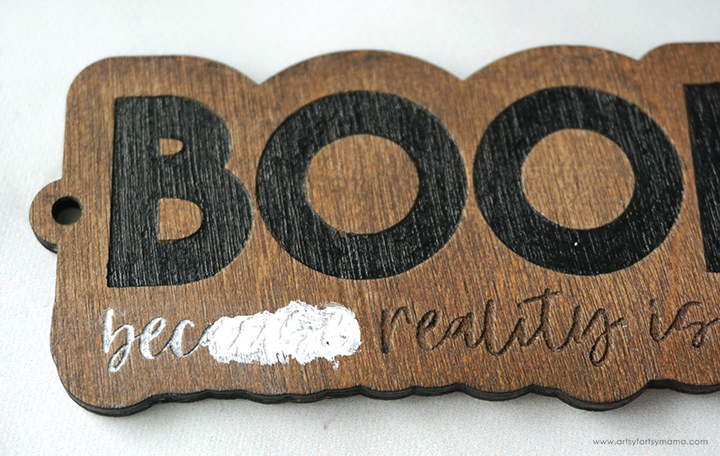
The smaller letters are a lot harder to cleanly fill in with a brush. Instead, I brushed paint over them, similar to how I darkened the design on my Wood Macrame Earrings. Brush some paint over the engraved words, and don't worry about going outside the edges (see image above).
After adding the paint to fill the engraving, there are two options:
- Wipe the excess paint off with a damp cloth immediately. Let the paint in the engraved areas dry, and repeat until you are happy with the result.
- Let the paint dry completely - mess and all. Use a sanding block to lightly sand over the words until the excess paint has disappeared. All that should be left is the engraved area, all filled in with paint!
Once the paint is completely dry, apply a thin layer of clear sealant or FolkArt Wax to the front and back of the bookmarks. Not only does this help to make the bookmarks look their best, but it will protect the wood and paint so you can use these for years to come.
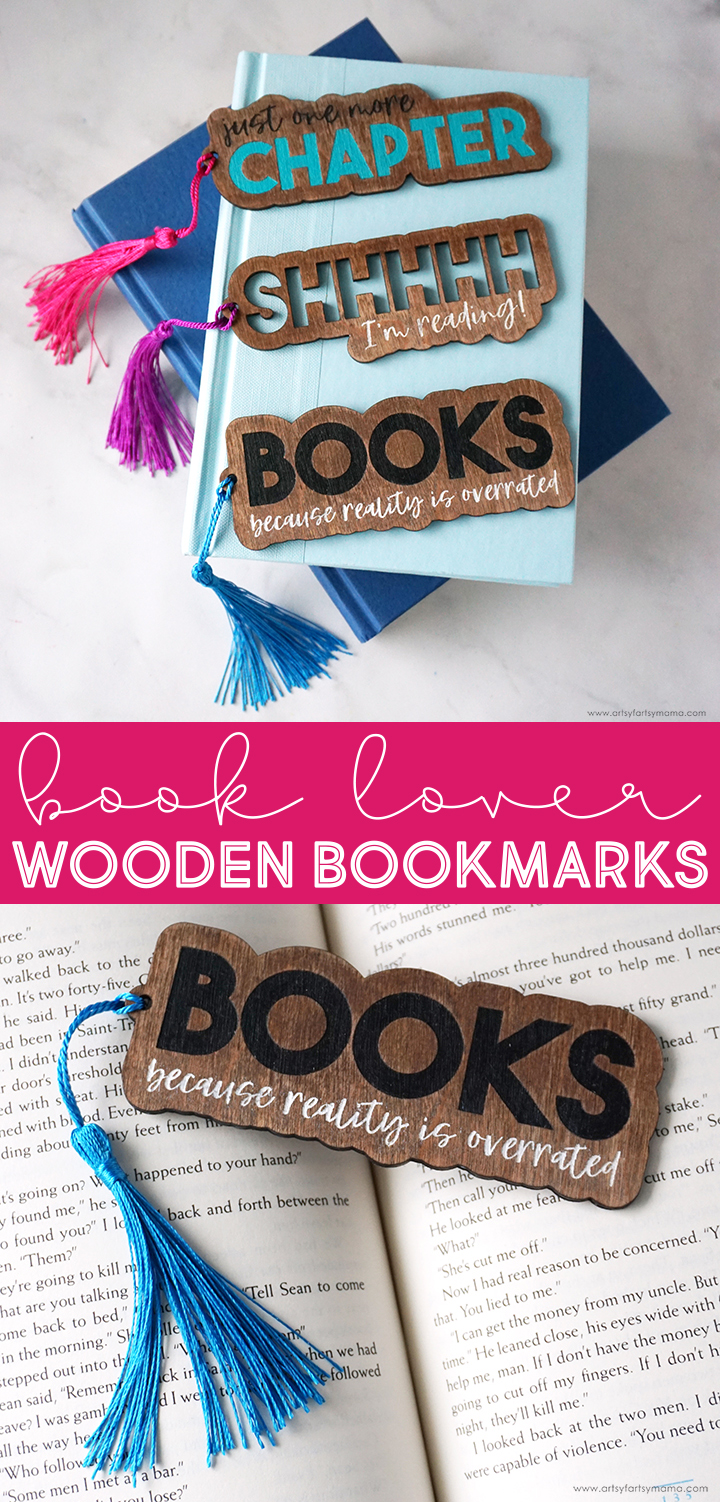
Last, but not least, loop a tassel through the hole at the edge of the bookmark. I love how it adds a pop of color and completes the look of the bookmark. These Book Lover Bookmarks are such a fun project to make, and would be a fantastic gift idea or item to sell in your small business.
I am so excited about how this set of engraved Book Lover Engraved Wooden Bookmarks turned out, and would love to hear what you think! If you are looking to start a small business using the xTool M1 hybrid laser machine, these bookmarks would be a great product to sell. As always, if you make these projects for yourself, I'd love to see your creations! Tag me on Instagram and Facebook, or leave a comment/photo on the project pin on Pinterest!
Don't forget to Pin, Like, and Share!


