
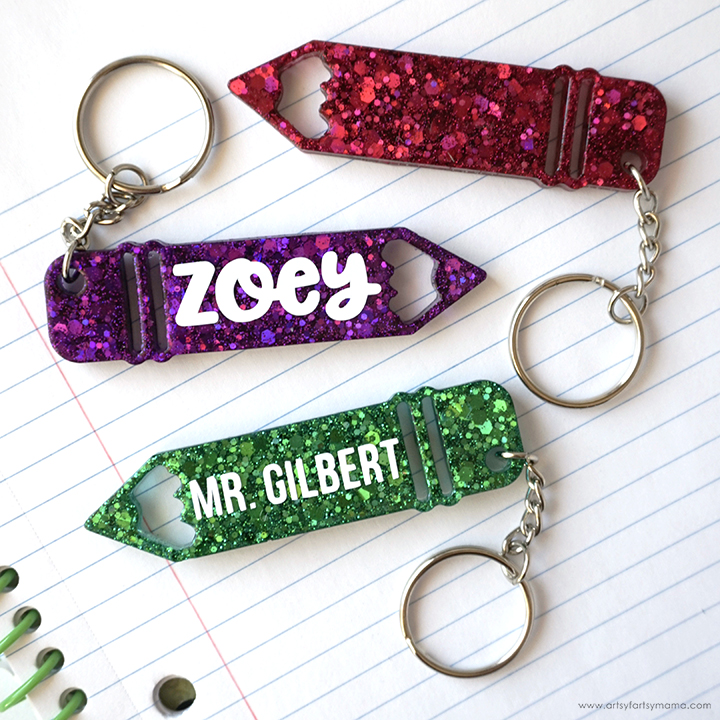
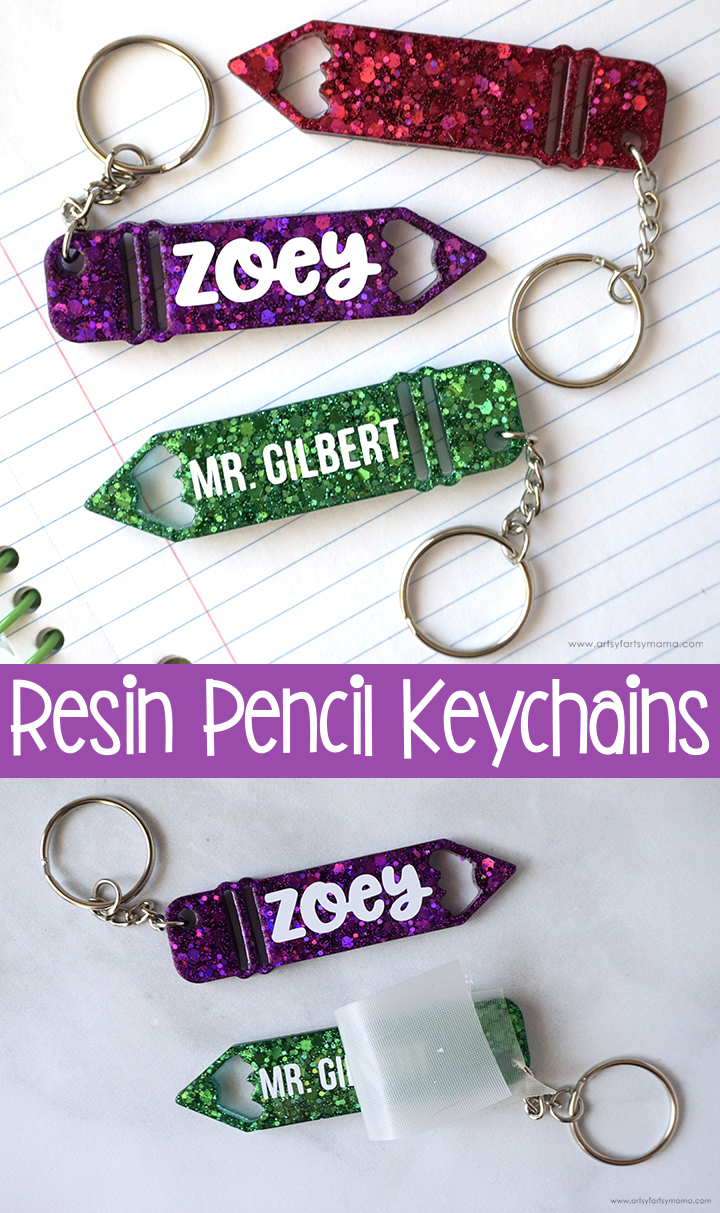
Make a custom Resin Pencil Keychain as a fun gift for teachers or students!
New to resin? Be sure to check out Resin 101: Getting Started with Resin!
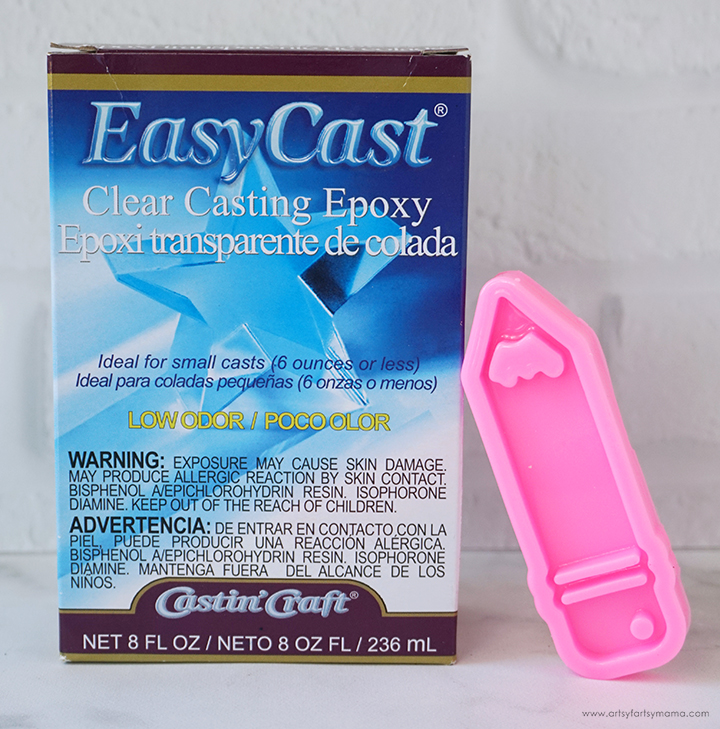
To make your own Resin Pencil Keychains, you will need these supplies:
SAFETY FIRST: Before working with resin, be sure to work in a well-ventilated area, wear disposable gloves, and protect your workspace!
To make one keychain, prepare about 5-10 cc of EasyCast Clear Casting Epoxy according to package directions. Be sure to protect your workspace, work in a well-ventilated area, and wear disposable gloves. Pour in equal parts of resin and hardener to the mixing cup. Slowly stir the resin mixture together with a stir stick for two minutes.
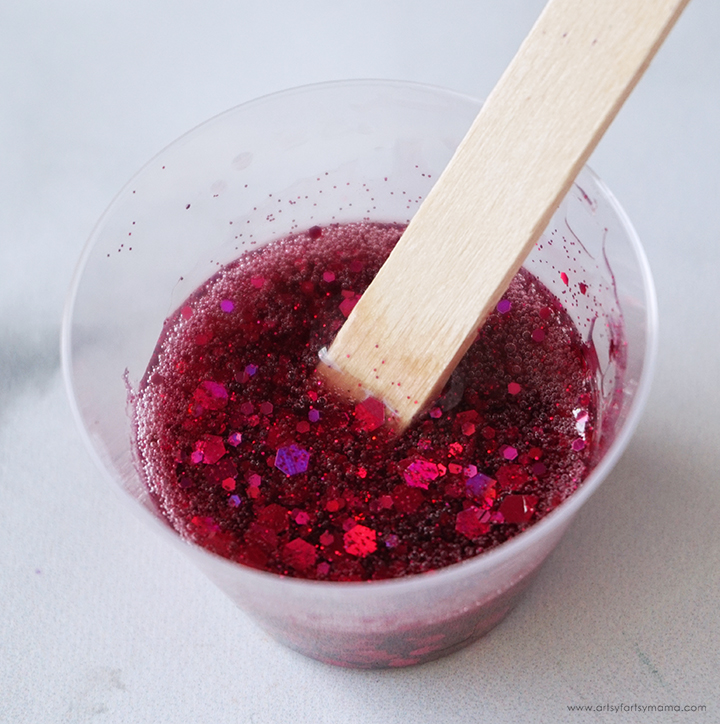
Pour the resin into the clean mixing cup. To make a pink pencil keychain, add one drop of red resin dye and sprinkle in a generous amount of both fine and chunky pink glitter*. Stir the resin mixture again for another minute or two with a clean stir stick until evenly incorporated.

Use a stir stick to carefully fill the pencil mold with the resin. Let the resin sit for 5-10 minutes and pop any bubbles that rise to the top using a heat gun, blowing through a straw, or lightly spritz the mold with 91% alcohol.
Leave the resin to cure in an undisturbed, well ventilated area for 24 hours. You will know that the resin is completely cured when it is no longer tacky to the touch and pulls away from the edge of the mold.

Carefully remove each of the pencil pieces from the molds. Trim away any excess resin with scissors or a craft knife. If the resin still feels flexible, it may just need more time to cure. Let the pieces sit in a warm, flat area to cure for a few hours (or days).
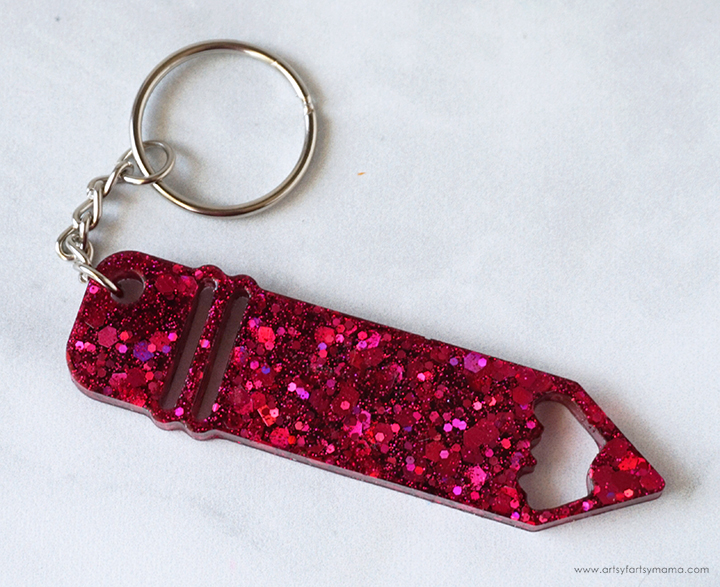
Hook a 8-10mm jump ring through the hole in the keychain, and then attach the key ring chain to the jump ring. Close the jump ring to connect the key ring to the charm. Now the keychains are ready to go - or you can choose to personalize them!

To personalize the keychains, type up the name of your child, a teacher, or even a phrase. Size it to be about 1.5" wide, and cut it out of adhesive vinyl using a Cricut (or vinyl cutting machine). Carefully weed out the excess vinyl using weeding tools, and apply the vinyl to the resin pencil using transfer tape.
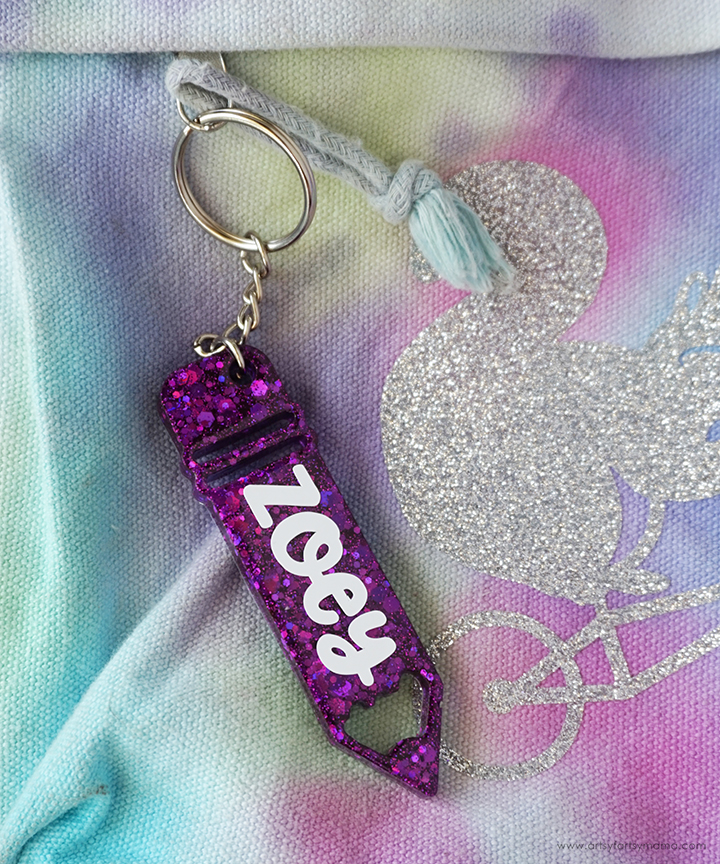
Now you can hook the Resin Pencil Keychains to anything you want! You can use them for your own keys, or make some for your kids to attach to their backpacks! These keychains would also make a great and unique gift for teachers!
I would love to hear what you think about these Resin Pencil Keychains! As always, if you make any of these projects for yourself, I'd love to see your creations! Tag me on Instagram and Facebook, or leave a comment/photo on the project pin on Pinterest!
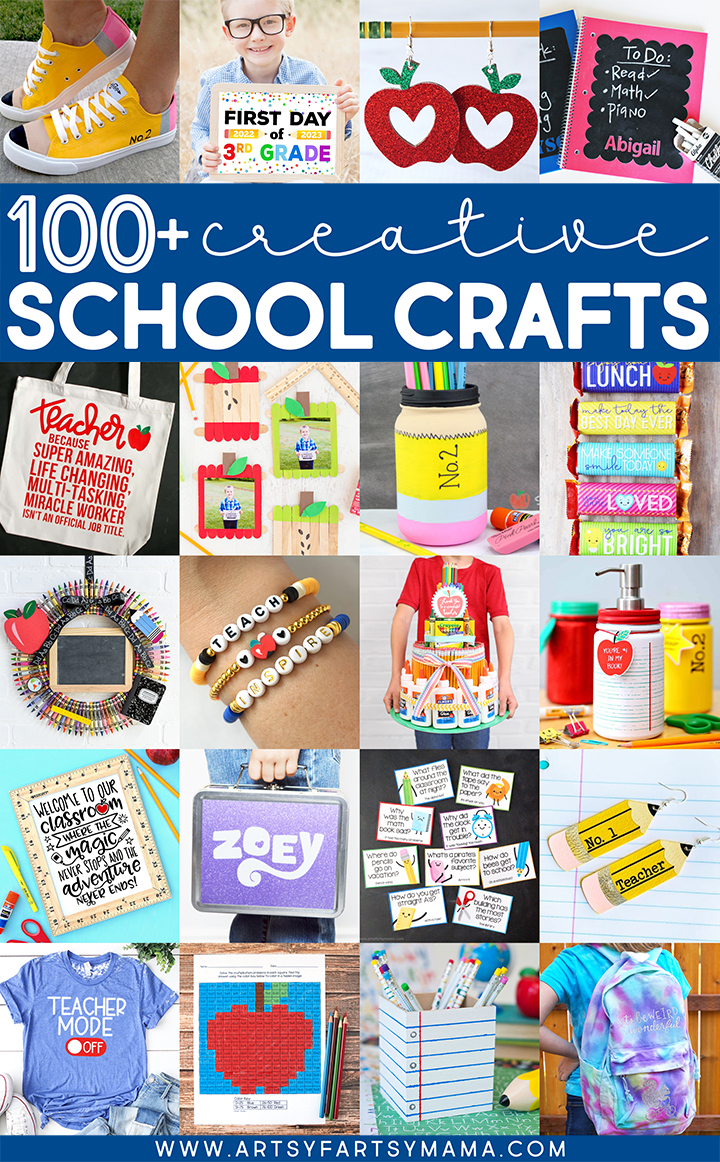
Looking for more back to school inspiration?
Check out this collection of OVER 100 creative back to school craft ideas!!
Don't forget to Pin, Like, and Share!


These keychains turned out so cute. I love the glitter! -Blanca (Creativities Galore)
ReplyDelete