
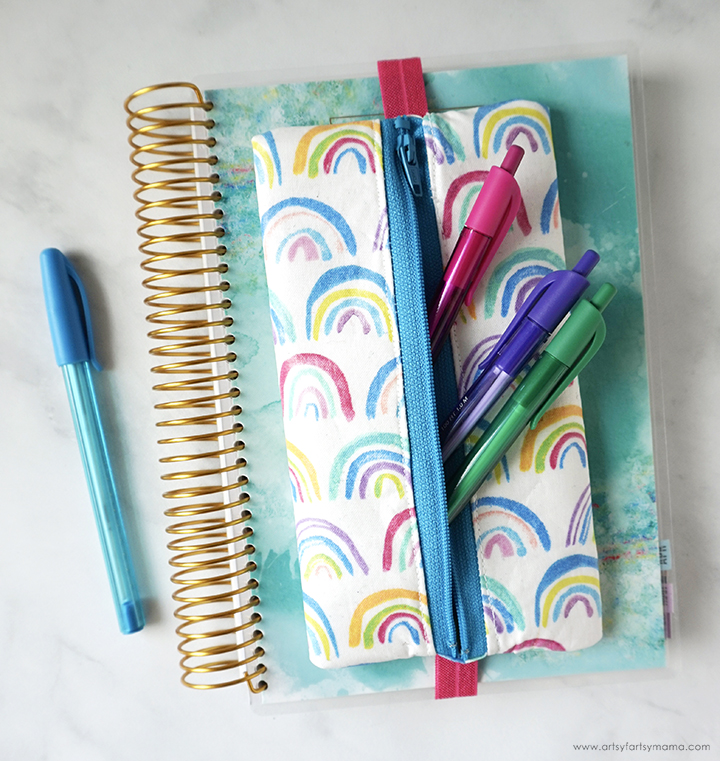
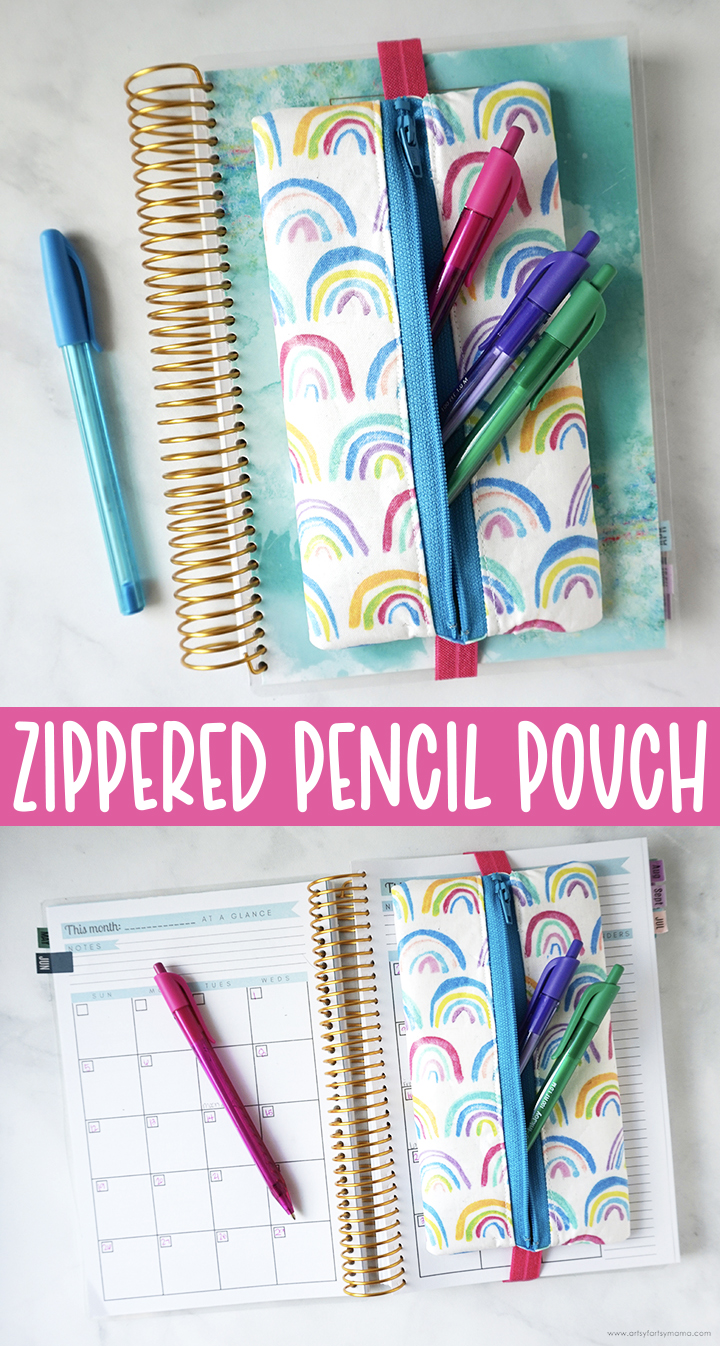
Keep your pens and planner accessories organized with a handmade Zippered Pencil Pouch!
I've just gotten myself a new planner, and I'm excited to make an attempt (ahem...again) at getting myself organized and planned out. As I've been traveling, it's been hard to keep my planner accessories organized along with my planner. I've tried a few store-bought pouches, but they didn't really work like I wanted. So, I took matters into my own hands I decided to try making my own Zippered Pencil Pouch. This was actually a lot easier than I thought it would be. Not only do I LOVE the fabric, but I am thrilled with how the pouch turned out and have had a lot of success with it! If you are in a similar predicament, I know you are going to love making a custom pencil pouch of your own.

To make your own Zippered Pencil Pouch, you will need these supplies:
- 2 Fat Quarters in coordinating fabrics
- HeatnBond Craft Fusible Interfacing
- HeatnBond Liquid Vinyl
- Wide Paint Brush
- Zipper (9"+ is best)
- Fold Over Elastic
- Sewing Tools: cutting mat, rotary cutter, etc
- Sewing Clips

Use your cutting mat and rotary tool to cut the fabrics into these measurements:
- Outer and Lining Fabrics (cut 1 each) - 8" x 8"
- Fusible Interfacing (cut 2) - 7 3/4" x 7 3/4"
- Lining Fabric (cut 2) - 4 3/4" x 1 1/2"
- Elastic (cut 1) - 9 1/2"
I would HIGHLY recommend using a longer zipper for this project, especially if you are a beginner at sewing. All I had was a 7" zipper, so I am sharing my experience and how to complete the project with a smaller zipper.
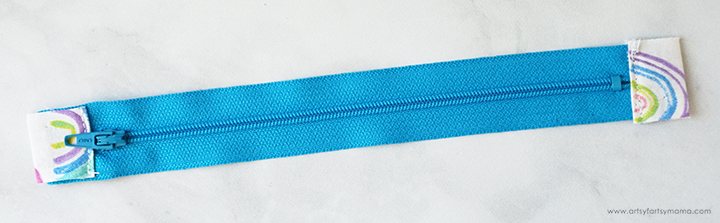
If your zipper measures 7" or less, you will need to lengthen the zipper by adding zipper tabs. Cut two pieces of the outer fabric measuring 1/4" wider than the zipper, and double the amount you need to lengthen the zipper by to get it to 9". For example, I cut the fabric pieces for my 7" zipper measuring 1 1/4" x 2 1/2".
Lay the fabric so that it is vertical. Fold the top and bottom ends over 1/4" and press. Then fold the fabric in half and press. Place the piece of fabric over the end of the zipper so that it is just next to the zipper stop and pin in place. Sew the bottom edges down, being careful to not sew over the zipper itself. Add th other zipper tab to the other end of the zipper. Trim the sides of the fabric so that they are the same width as the zipper.
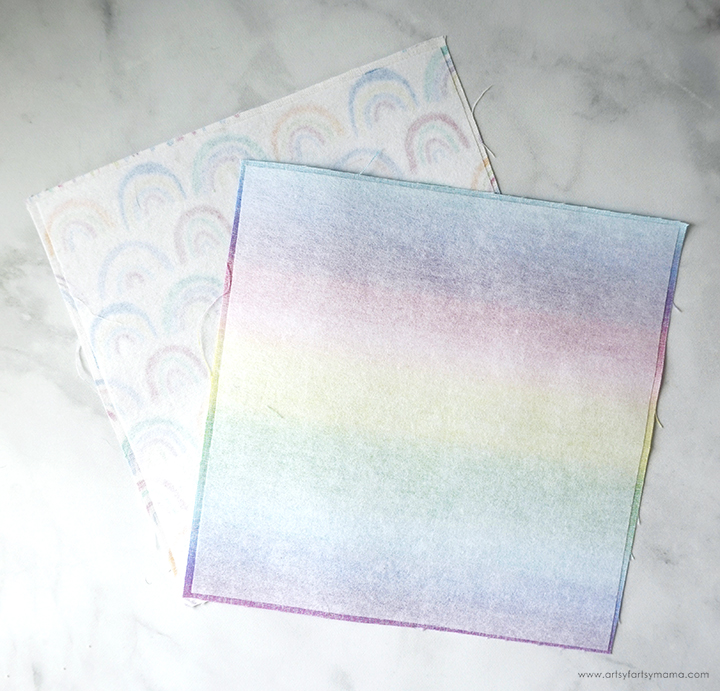
Using interfacing is essential for these kinds of projects to give the fabric more stability and stiffness than fabric alone. The interfacing has a smooth side and a glossy side that contains heat-activated adhesive. Place the interfacing adhesive-side down on the wrong side of both fabric squares. Use an iron to attach the interfacing to the fabric following the package directions. Let the fabrics cool completely.

Dip a wide paintbrush into the Liquid Vinyl and apply a thin coat on the front of all of the fabric pieces. Let the fabric sit to dry for 30-45 minutes. Cover the fabric with pressing paper and press with a warm iron for 45 seconds. Once pressed, you can repeat the process to add additional coats.
One coat of Liquid Vinyl makes the fabric water and stain resistant, so I stopped after this for all of the lining fabric. 2-3 coats make the fabric stain resistant and waterproof, but the third coat gives the fabric a semi-gloss finish that is similar to oilcloth. After 24 hours, the Liquid Vinyl is fully cured and is machine washable!
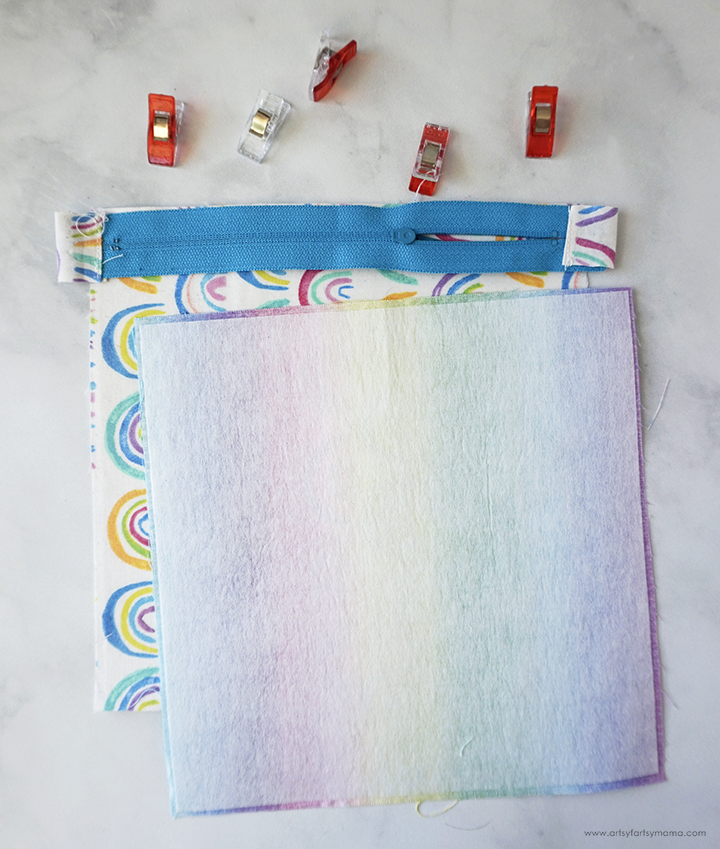
Now that the fabric has been prepped with Liquid Vinyl, it's time to assemble the pencil pouch! Place the outer fabric piece right-side up, with the zipper face-down on top with the top edges lined up. Turn the lining piece face-down and place it on top of the zipper with the top edges aligned. Pin or clip the "zipper sandwich" in place and sew along the top edge with 1/4" seam allowance.
When you get near the zipper pull, stop sewing and lift up the foot with the needle still down. Carefully unzip the zipper to move it out of the way, and then put the foot back down to sew past the area.

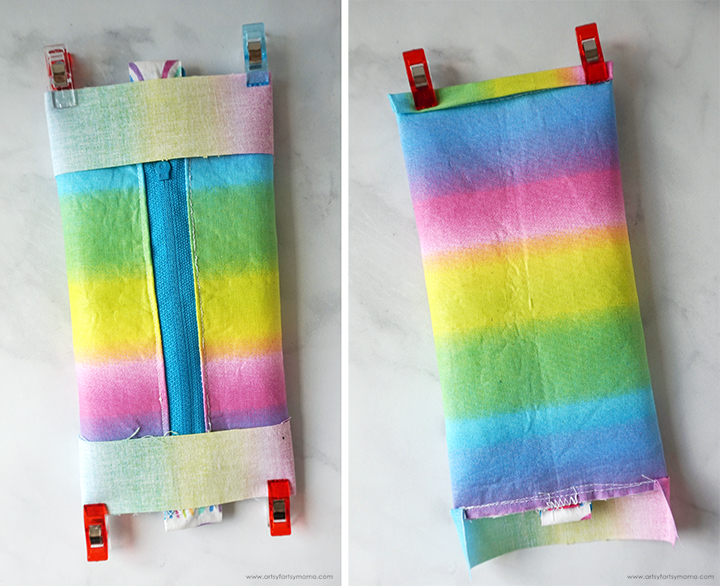
Flip the fabrics over so that the zipper is out. Gently press the seams so that the fabrics are laying flat, and topstitch along the edge
Fold the fabrics around to line up with the un-sewn edge of the zipper (refer to the image above) and pin or clip the fabrics in place. Sew along the edge, making sure to move the zipper pull as necessary.

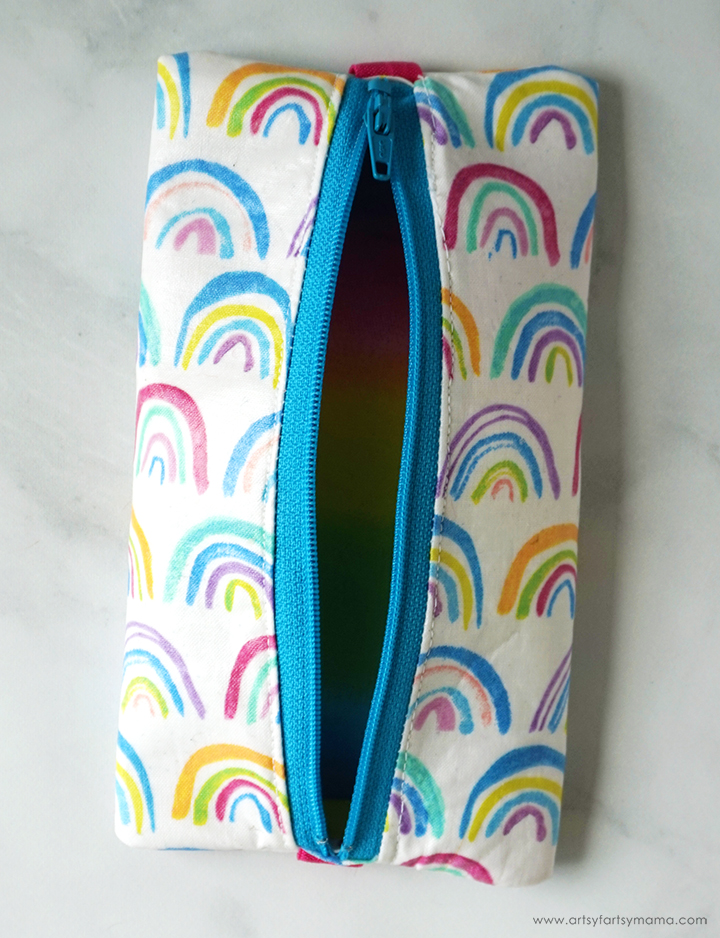
Unzip the zipper and turn the fabrics right-side out. The outer fabric and liner fabric should be facing the right way. Now, press the edges near the zipper, and carefully topstitch near the seam. This is a little more difficult with a shorter zipper, but is doable. When completely unzipped, longer zipper gives you a little more room to sew.
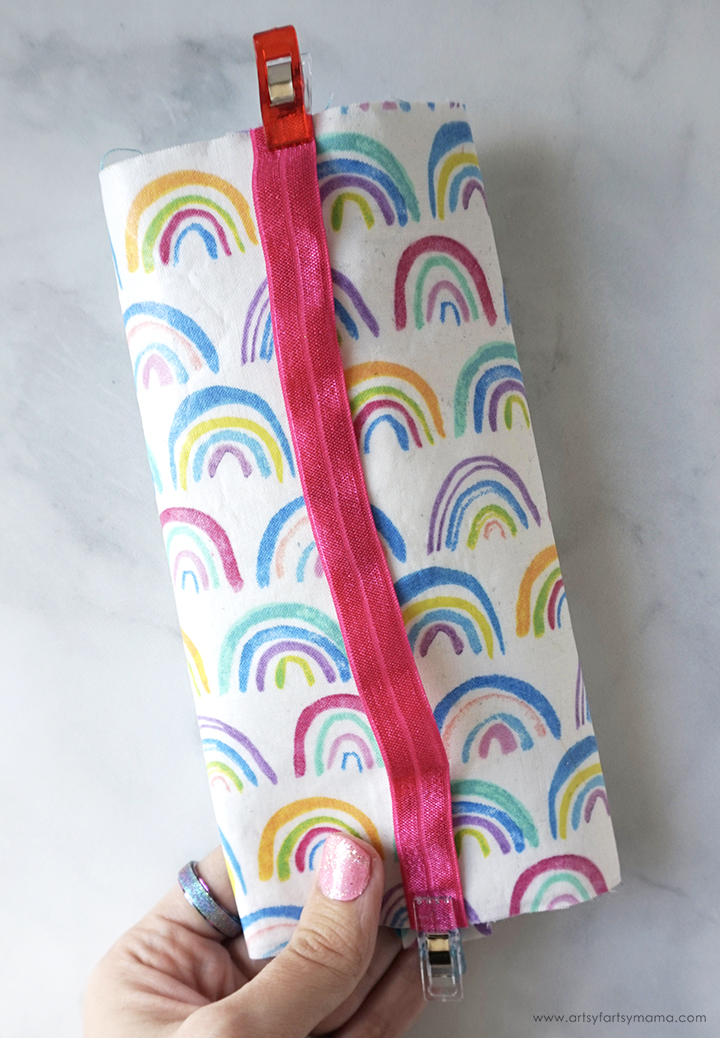
With the zipper in the center, press the pouch flat to find the side seams. Fold the pouch the opposite way to then find the center and mark the top and bottom on the back of the pouch. Fold the pouch back so that the zipper is in the center. Place the elastic over the marks and clip in place.
Sew along the top and bottom edges of the elastic to hold it in place.
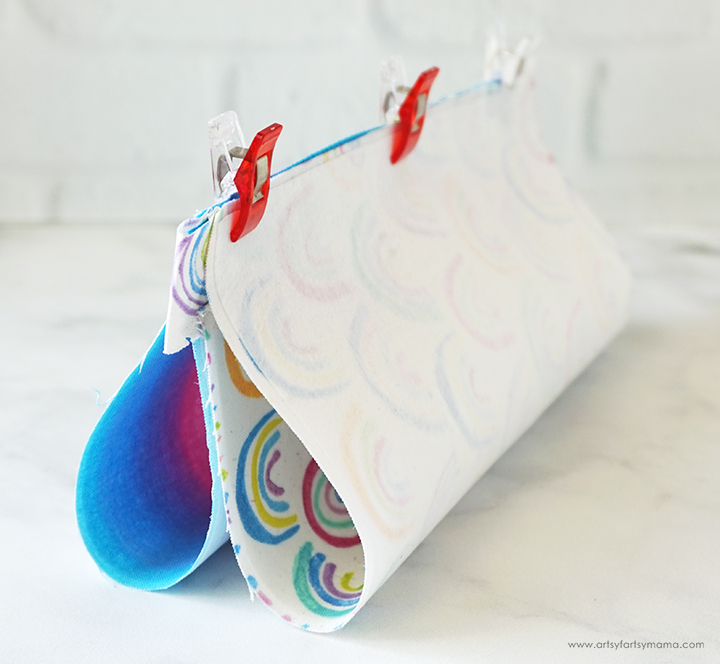
Turn the pouch inside-out and sew along the top and bottom edges. To hide the raw edges inside the pouch, here's a little trick! Center the small liner fabric pieces right-sides together over the zipper side of the pouch, with the top edges lined up. Fold the edges over the sides of the pouch and clip the fabric in place.
Sew along the edge of the fabric, and then flip the fabric piece out. With the sides of the fabric folded in, fold the end piece of fabric in half, and then half again. Clip in place, and then sew along the edge. Repeat for the other end of the pouch.
Flip the pouch right-side out and use a point turner or chopstick to poke the corners out as best you can. All of this turning the pouch inside-out can add extra wrinkles to your fabric, so if you want to smooth things out you can press the pouch at this point.

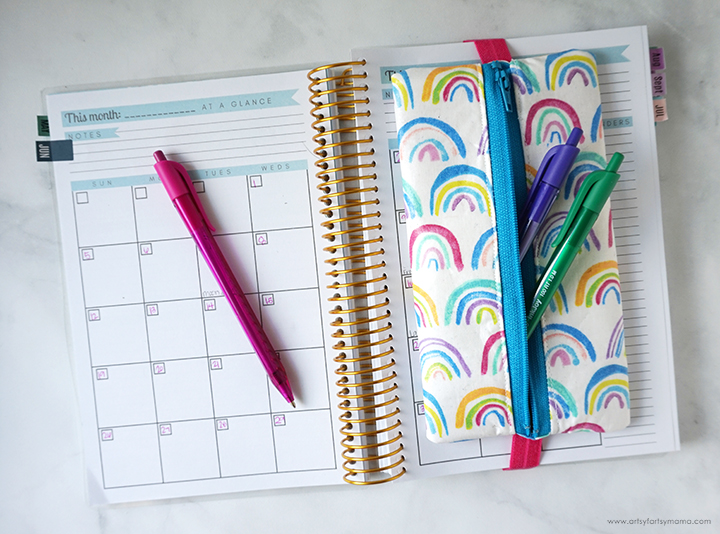
Fill the pouch with your favorite pens, and hook the elastic strap around your planner or journal. Zip the pouch back up, and you can easily pack up your planner and accessories to take anywhere you need.


This is so cute. I want to try the liquid vinyl now
ReplyDeleteAmazing product! I wish I’d known about it when I made a poop bag/treat holder for my girl. Now it’s filthy and I don’t think it will come clean.
ReplyDeleteI love your project,I want to make one for my daughter and for myself. Oftentimes I cannot find my pen when I need to write something down. Also, I didn't know liquid vinyl existed. It sounds like a great product. tkmattson@hotmail.com
ReplyDeleteLove this idea. You did a great job on making it and creating the tutorial for it. Good luck with sticking to your planner strategy. #HomeMattersParty
ReplyDeleteI carry a cloth bag for church, has my small bible, other items like tissues, and a container of pens, pencils. One time the pen just burst and stained the inside of the pocketbook I was carrying. This is a great idea to carry the pens and pencils with my small notebook along with the bible. Love the idea. Also, I carry a cloth bag with the phone, pocketbook, and other items all week long. I found if I put a small cardboard box in the bottom of the bag, all items stand up including my H2Fuel bottle and glass for water. And when I put the bag down it stands nicely and does not fall over.
ReplyDelete