
Make your little one an Embroidered Baby Onesie using this free pattern and tutorial!
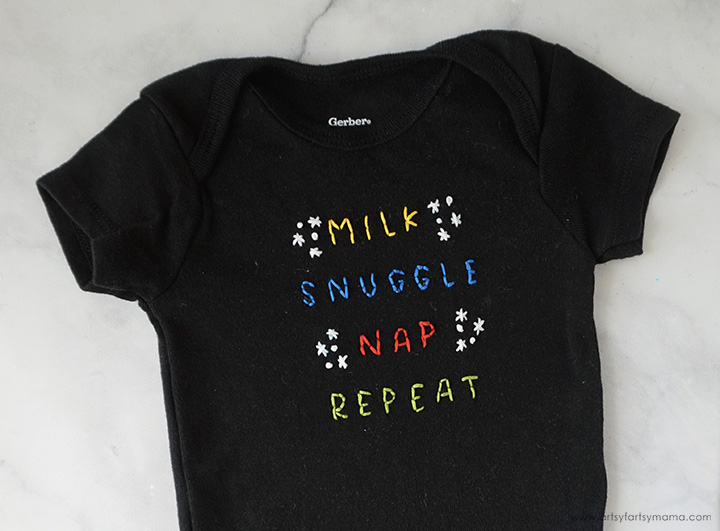
Customizing onesies for babies is so much fun, and there are so many ways to do it! I have never embroidered on a onesie before, because I was worried about stitching on the knot fabric. I finally built up the courage to give it a try, and I am so happy that I did. This embroidered baby onesie using Anchor embroidery floss was so easy to do, and I love how it turned out! If you want to give it a try, I am sharing the pattern here for free as well as some helpful tips to make your project a success.
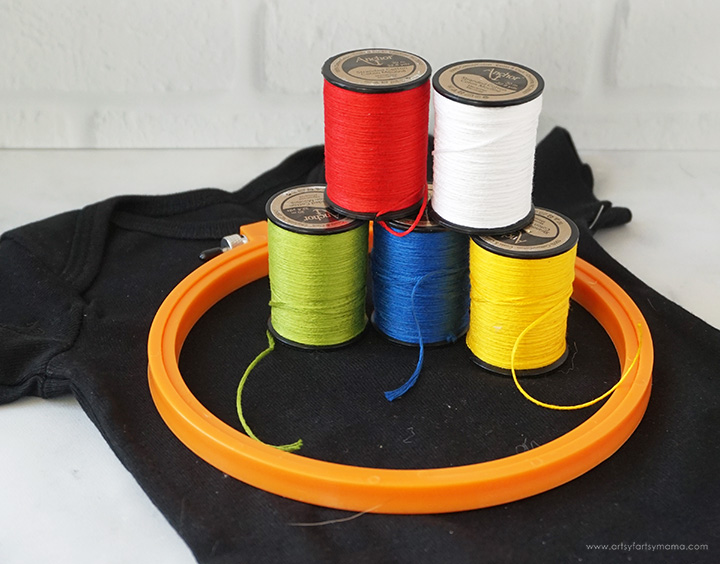
To make your own Embroidered Baby Onesie, you will need these supplies:
- Free Baby Onesie Embroidery Pattern (personal use only)
- Baby Onesie (any size)
- Water-Soluble Stabilizer
- Water-Soluble Marker
- Embroidery Hoop
- Anchor Embroidery Floss
- Embroidery Needle
- Scissors
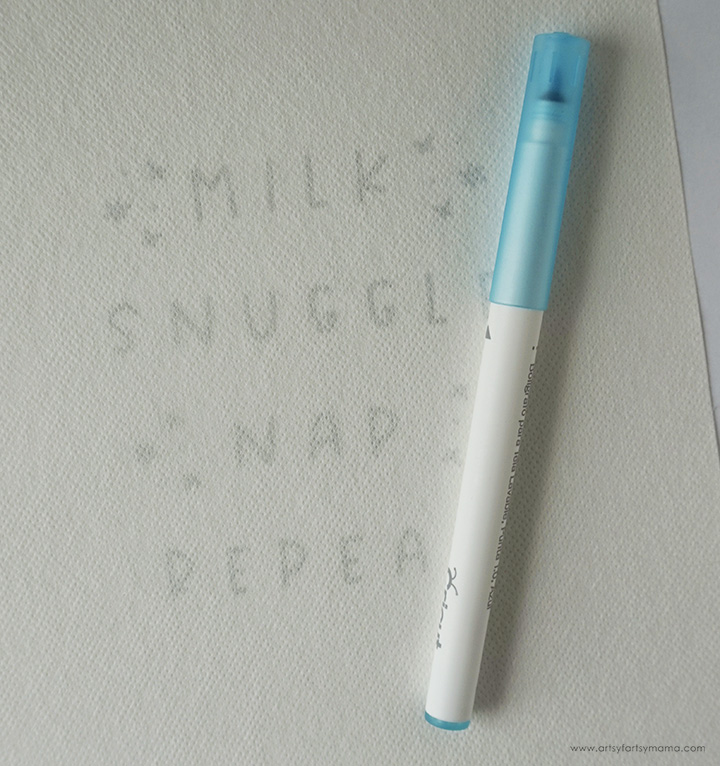
Download the baby embroidery pattern and print it out on regular copy paper. Cut a piece of stabilizer about 2 inches larger than the design. Lay the stabilizer over the paper, and trace the design onto the stabilizer using a water-soluble marker.
Why use a stabilizer? Embroidering on knit fabrics can be difficult because it's so stretchy. When you use stabilizer, it makes the fabric a little more, well, stable! The stabilizer keeps the fabric from stretching or distorting too much while in the hoop, and keeps the embroidery stitches where they belong. There are many types of stabilizers - some removable, some not. It's always good practice to research which kind is best for your embroidery project before getting started.
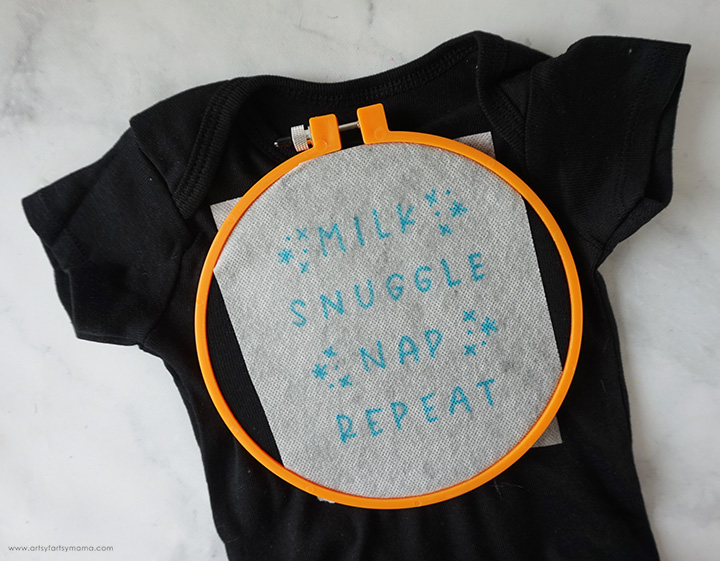
Center the stabilizer on the onesie and press it into place. Fit just the front side of the onesie into a 4-6" embroidery hoop, with the smaller/inner piece of the hoop going on the inside of the onesie. Tighten the hoop so that the fabric is pulled taut.
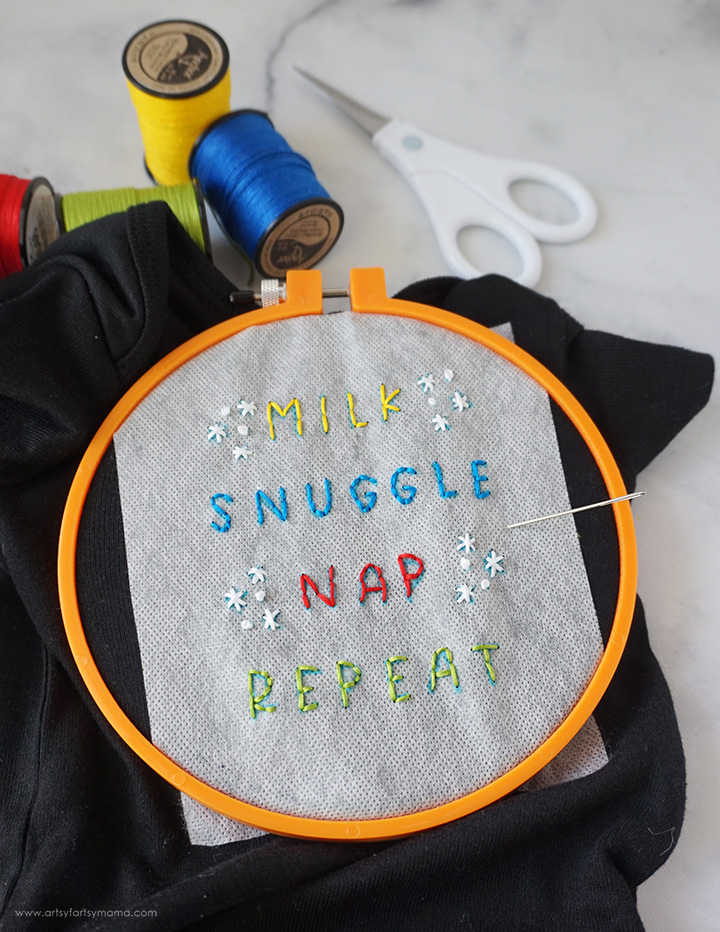
Follow the marker lines to stitch the design onto the fabric. There are multiple embroidery stitch styles you can use to get a different look to your project. I used a simple backstitch for this onesie and added a few French knots.
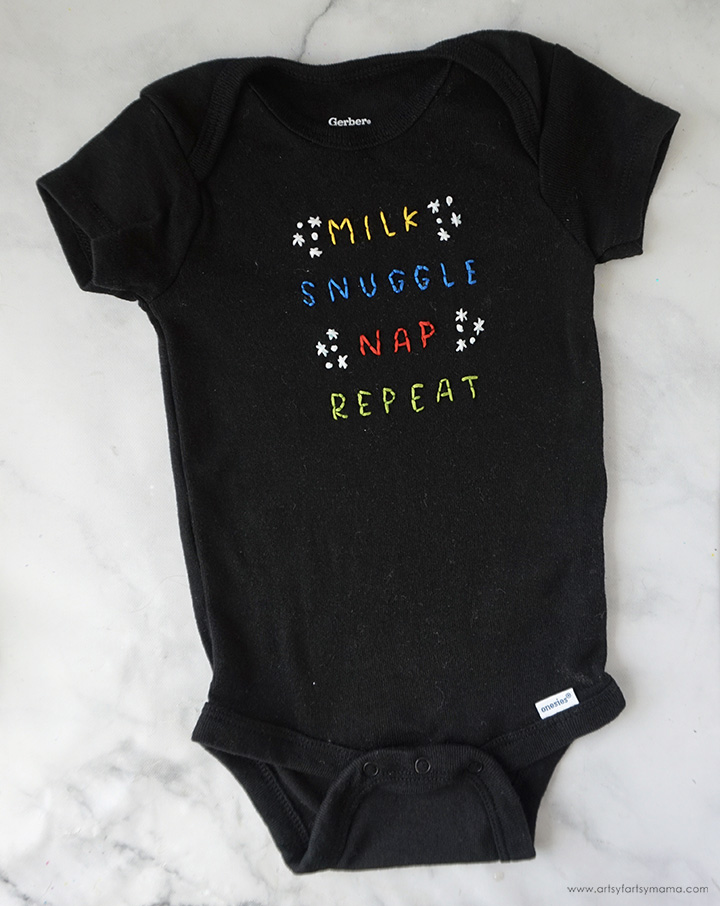
Remove the stabilizer according to package directions. For the one I used, simply run the onesie under warm water, and the stabilizer immediately broke down and washed away. Once dried, the onesie is ready for baby to wear!
As always, I would love to see your creations! Leave me a comment, or tag a photo on Facebook, Twitter, or Instagram! #AFMcrafts
Looking for more embroidered fashion ideas? These ones from Team Creative Crafts are so fun!
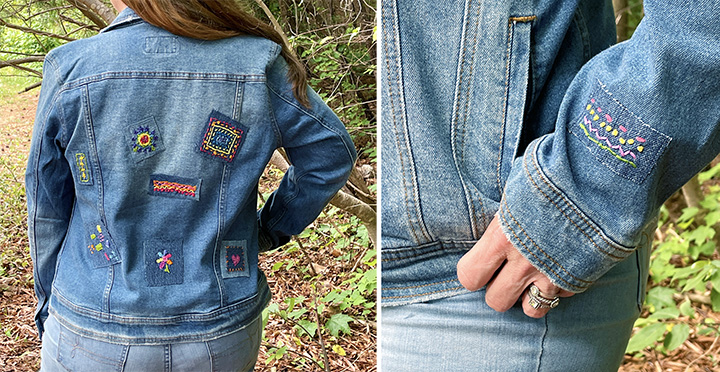
Laura from Me & My Inklings made embroidered denim patches that can be added to practically anything! I love how they look on the back of her denim jacket!!

Beth from Creatively Beth embroidered this gorgeous floral pattern onto a shirt. Isn't it amazing?!
Don't forget to Pin, Like, and Share!


