
Your lunch won't be the only thing that's cool with this DIY Insulated Lunch Box in your favorite fabric!

It's back to school season, which means shiny new school supplies! This year, instead of getting the same-old lunch boxes, you should try making your own Insulated Lunch Box using a fabric that fits your personality! I made this one using Spider-Man fabric for my husband to take to work with him, and he's pretty excited to show it off to his students. Not only does it look awesome, but it will keep your lunch cool with the insulated fabric on the inside!
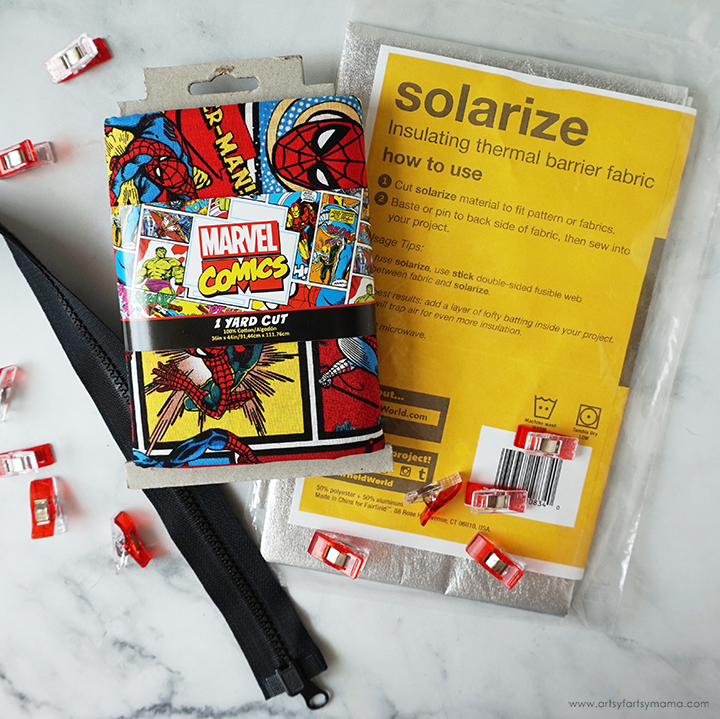
To make your own Insulated Lunch Box, you will need these supplies:

Use a rotary cutter + mat cut out all of the pieces to make the lunch box.
The measurements are indicated below:
1/4" seam allowance for the entire project
2 - 9" x 9" squares
2 - 10" x 2" rectangles
1 - 27.5" x 3" rectangle
1 - 27.5" x 1" rectangle
1 - 5.5" x 5" rectangle
2 - 9" x 9" squares
1 - 8" x 1" rectangle
1 - 27.5" x 3" rectangle
1 - 27.5" x 1" rectangle
1 - 5.5" x 5" rectangle
2 - 9" x 9" squares
1 - 27.5" x 3" rectangle
1 - 27.5" x 1" rectangle
1 - 5.5" x 5" rectangle
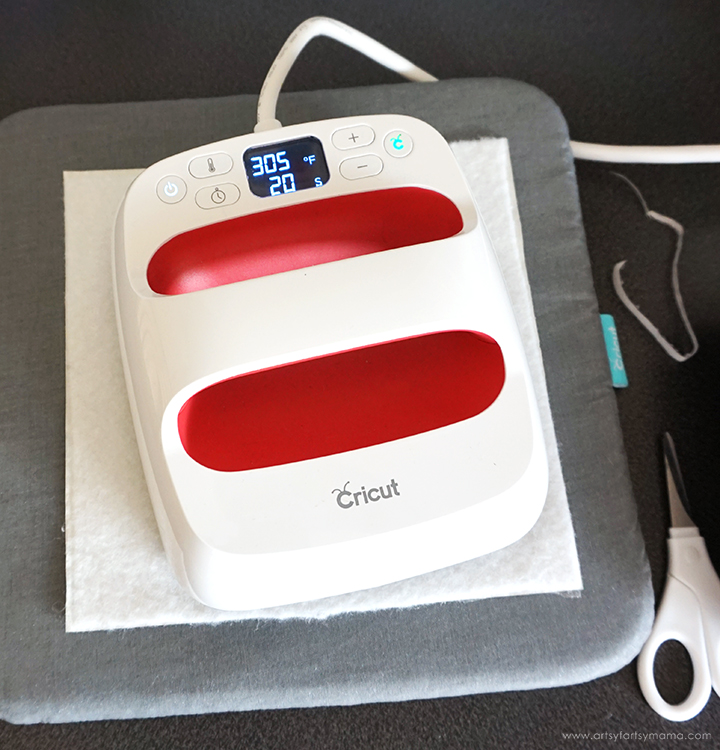
Cut two 9" x 9" squares of HeatnBond Lite. Turn the EasyPress or iron on and adjust settings according to the HeatnBond package directions. Lay one of the square pieces of batting down on an EasyPress mat and place the HeatnBond piece face/adhesive side down on the batting. Press it onto the batting using the EasyPress. Let it cool completely. Apply the other piece of HeatnBond to the other piece of batting and let it cool.
Carefully peel the HeatnBond backing paper away from the adhesive. Line one of the 9" x 9" squares of Solarize over the adhesive. Cover the fabric with a protective liner and press the fabric pieces together. Turn the batting over and press it again to make sure the two layers are stuck together well. Repeat for the other piece of fabric and let both of them cool completely.
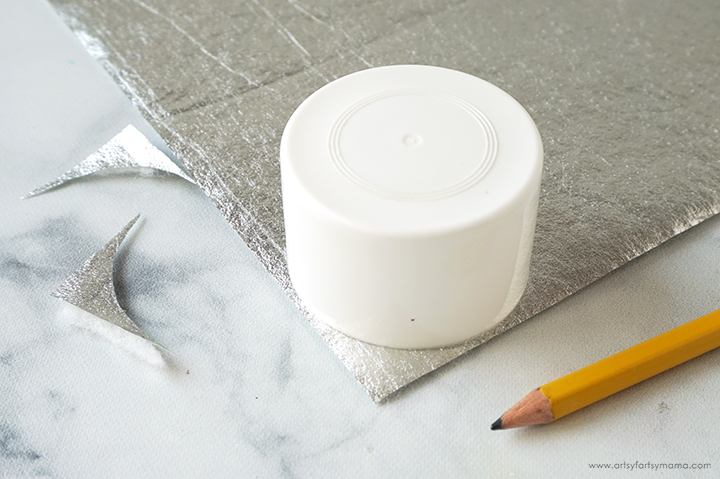
Use something (like a small spray paint can lid) and line it up with the corners of each of the square Cotton pieces the fused batting/Solarize pieces. Use a pencil or fabric marker to trace the lid. Follow the marks with scissors so that all of the squares have rounded corners.
Set the pieces aside to use later.

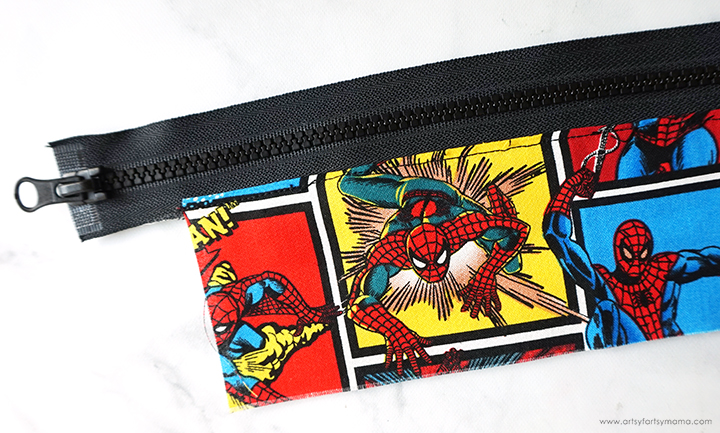
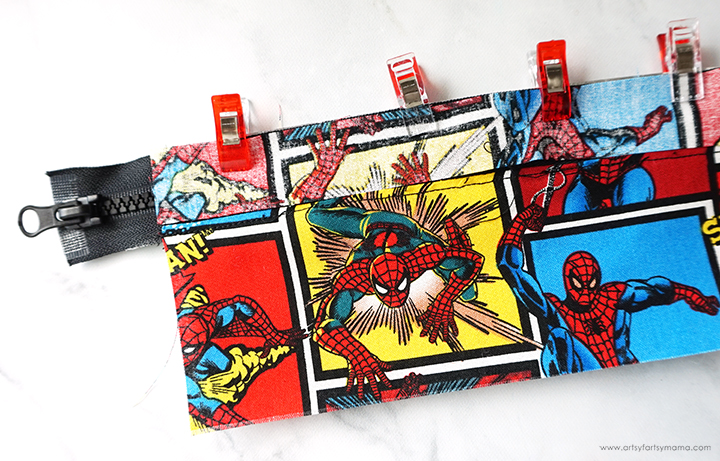
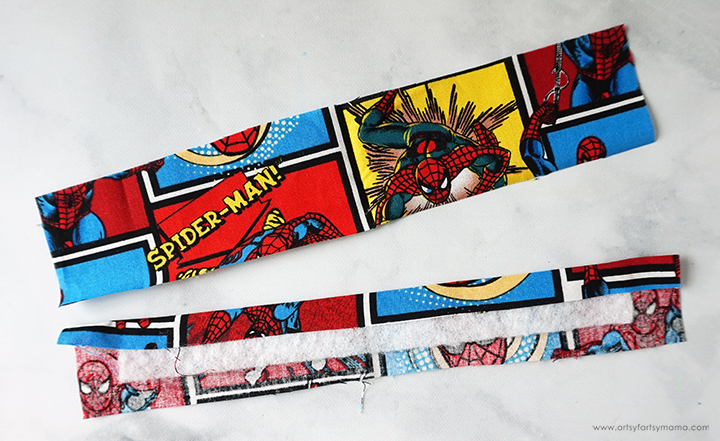
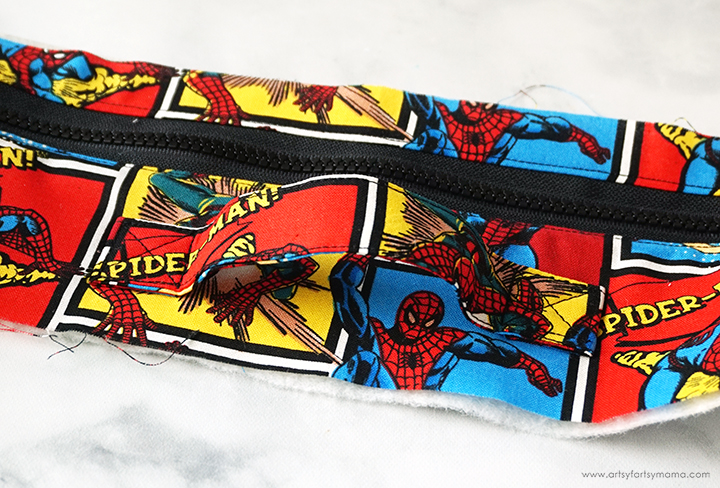
Next, grab the 27.5" x 3" pieces of cotton, batting, and Solarize fabric. Center the fabric pieces with the zipper, lining up the top edges. Use clips to hold everything in place. Sew the pieces together with a 1/4" seam allowance.
Layer the fabric, with the zipper, in this order:
- fabric (face-down)
- zipper (face-up)
- Solarize (face-up)
- batting
Flip both fabric pieces over, and press the seams down. Topstitch along the entire edge.
Next, align the 27.5" x 1" pieces with the edge of the other side of the zipper in the same order as above. Except this time, make sure the cotton fabric piece is UPSIDE-DOWN (and also face-down) so that it will face the right direction once it's sewn down. Clip in place and sew the edge together.

Flip the top edge over and press the seams. Topstitch along the entire edge. The opposite side should have the silver Solarize fabric facing up.
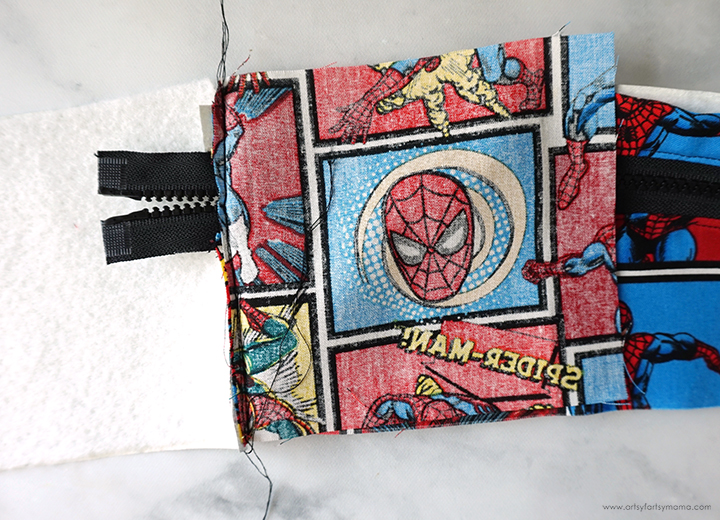
Unzip the zipper a little bit. Line the 5.5" x 5" rectangle up with one end of the fabric. Layer it the same as before: fabric (face-down), zipper, Solarize, and then batting. Sew the edges together, and make sure to go slowly over the zipper! As long as you go slow, the needle finds a way around the zipper teeth.
Flip the fabric over, and topstitch in place. Again, go slow over the zipper area!

This part is a little tricky, but you can do it! You need to bring the other end of the 5.5" x 5" rectangle to the other end of the zipper. It took a little bit of twisting, but it's doable. Line the edges up in the same layers as before. Carefully sew the ends together, going slow over the zipper.

Flip the fabric back around so that it's right-side out. You should now have a loop with Spider-Man fabric is on the outside, and the silver Solarize fabric is on the inside.
Grab your scissors and carefully cut off the ends of the zipper inside the 5.5" x 5" rectangle pocket.
To make the lunch box handle lay one of the 10" x 2" pieces face-down and center the 8" x 1" piece of batting in the center. Fold the long end of the cotton fabric over the batting and tack it in place with a little bit of fabric adhesive or fabric tape. Fold the other end over and tack it down as well.
Fold the edges of the other piece of fabric over the same amount, and line the two pieces of fabric up, with the seams together. Clip the pieces together, and topstitch the two long ends.
Fold the ends underneath about 1-1 1/2" and clip to hold them in place. Fold the zipper loop in half and mark where the center is. Measure about 2-3 inches over from the center in each direction, and pin the ends of the handle in place. Sew the handle ends down with a square and "X". This will give them an extra strong hold!
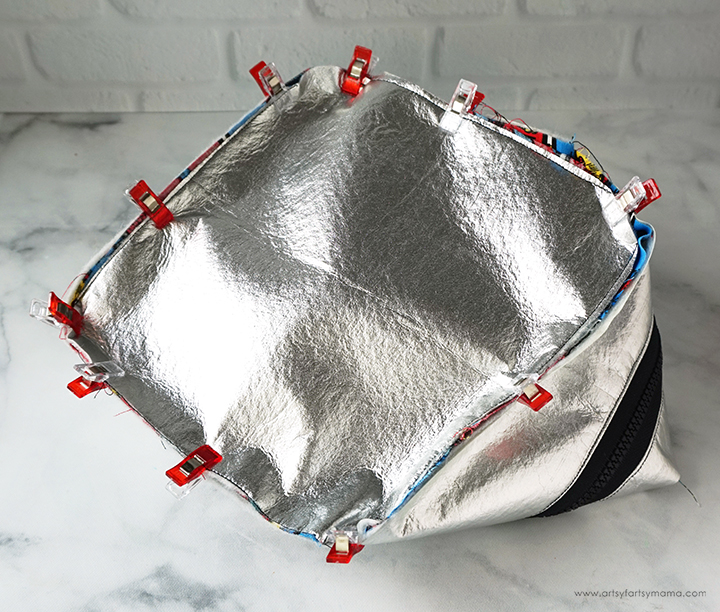
Fold the zipper loop in half in both directions and mark where the centers are with a fabric pen. Do the same for the bottom piece. Turn the zipper loop inside-out (silver-side out) and line up the center marks of both the 9" x 9" bottom piece and the bottom edge of the 27.5" x 3" piece. Clip the pieces together, and sew all the way around.

Undo the zipper a little bit, and then repeat the center mark process for the top of the lunch box. Clip the fabric in place, and sew all the way around. Check ALL of the corners to make sure all of the seams are sewn together. Re-sew any edges, if necessary.

Flip the lunch box right-side out through the zipper, or undo the zipper all the way and then pop out the corners. Press the seams down, if necessary. Once you finish this step, the lunch box is complete!! Doesn't it look so fun?!
*I was inspired by Mister Domestic to make this lunch box. Check out his video tutorial if you need any extra helpful tips!
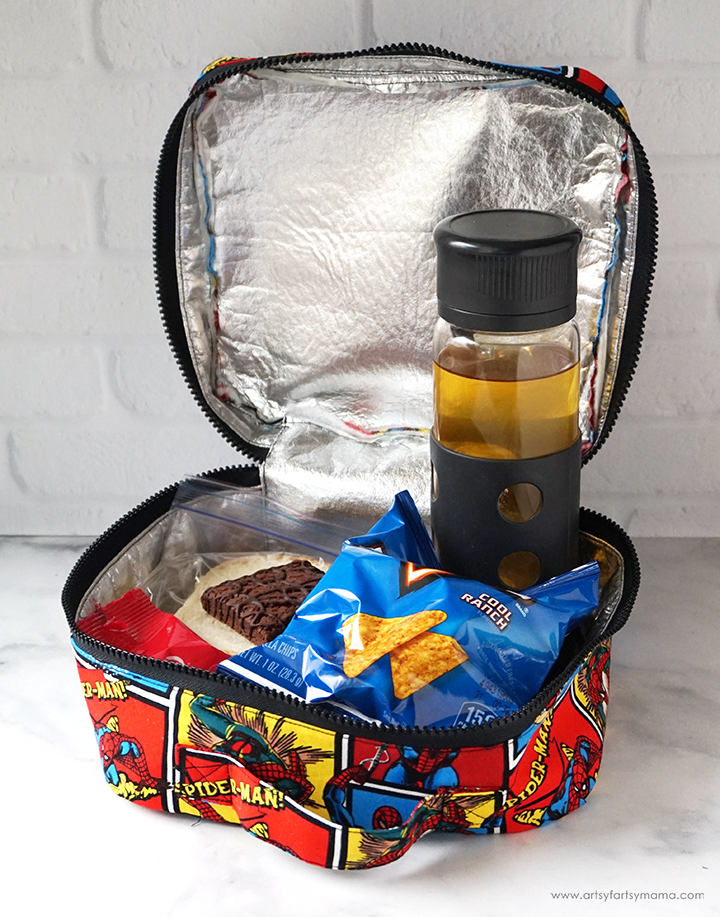
Not only can the lunch box hold my husband's lunch, but there's even extra room for snacks AND his drink! Because it's insulated with both batting and Solarize fabric, his lunch will definitely keep cool for a lot longer than his other lunch boxes. Add an ice pack, and he's all set! Another great thing is that if anything spills, we can simply throw it in the wash. The only thing you absolutely CANNOT do is pop it in the microwave!!
As always, I would love to see your creations! Share your creations on Instagram, Facebook, or leave a comment/photo on the project pin on Pinterest! #AFMCrafts
Don't forget to Pin, Like, and Share!


