
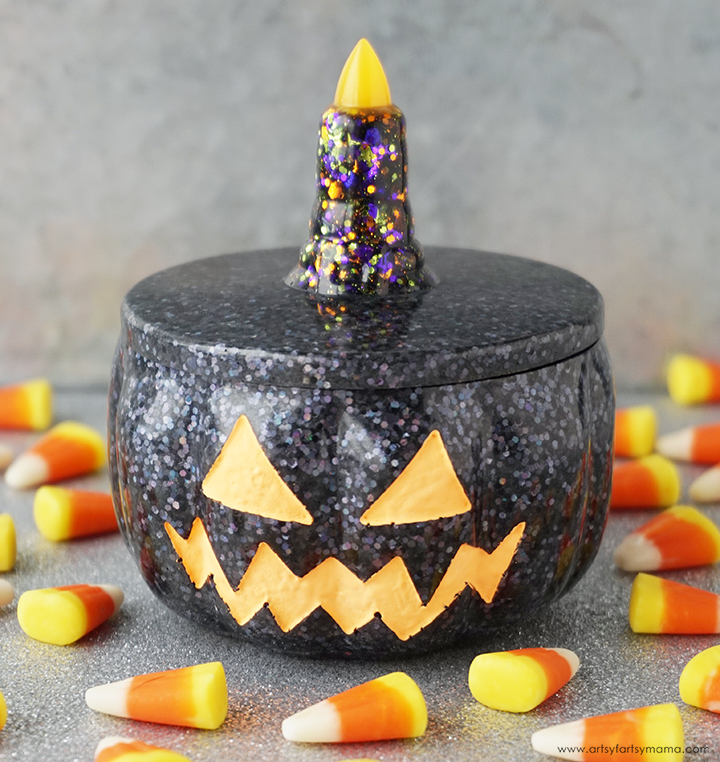
Create a Pumpkin Trinket Box using resin and your favorite glitter to store your favorite Halloween treats!

Who's counting down the days until Halloween?! I was recently given a Halloween-themed mystery box from Resin & More, and was so excited to find this Pumpkin Trinket Box mold inside (along with a lot of other fun surprises). Whether you are new to resin or a pro, these subscription boxes are a fun way to try new products. The monthly boxes are filled with a variety of materials from different companies to create unique resin projects and inspire creativity. I was so excited to share how this Pumpkin Trinket Box turned out using products from the October box, and hope you love it as much as I do!
New to resin? Be sure to check out Resin 101: Getting Started with Resin!

The pumpkin trinket box mold comes with two pieces: the box and the lid. Make sure the molds are clean, dry, and that there isn’t any lint or dust hiding in the folds.

Prepare about 2 oz epoxy resin according to package directions. Be sure to work in a well-ventilated area, protect your workspace, and wear disposable gloves. Pour in equal parts of resin and hardener to the mixing cup. Slowly stir the resin mixture together with a stir stick for two minutes.
Add a little bit of black mica powder and sprinkle in a generous amount of black holographic glitter. Stir the resin mixture again for another minute or two with clean stir stick until evenly incorporated.
*Save 10% on resin supplies when you shop ETI with code AFM

Slowly pour the resin into the bottom piece of the pumpkin mold until it's filled about halfway. Squish the mold a little to move the resin around (especially around the bottom edges) to bring any bubbles to the top. Fill the mold up the rest of the way and pop any bubbles that rise to the top using a lighter, heat gun, or by blowing through a straw.
Leave the resin to cure in an undisturbed, well ventilated area for 24 hours. You will know that the resin is completely cured when it is no longer tacky to the touch.

After filling the pumpkin mold, work on the lid. To make the "flame" of the candle glow, I mixed up some "Orangesicle" glow in the dark powder with about 5 ml of resin and filled up just the flame part of the mold (in the center). The mold is transparent enough that you can look on the underside of the mold to make sure you filled up the flame section only.
Leave the resin to cure for at least 3-5 hours before moving on to the next step.

Again, let the resin cure for at least 3-5 hours before moving to the next step.

Mix up another ounce of resin with black mica powder and black holographic glitter to match the bottom part of the mold. Pour the resin into the lid mold until it's full, and pop any bubbles that rise to the top using a lighter, heat gun, or by blowing through a straw. Some stubborn bubbles like to hide under the lip on the mold, so use a toothpick to pop them and/or bring them to the surface.
Leave the resin to cure in an undisturbed, well ventilated area for 12-24 hours. You will know that the resin is completely cured when it is no longer tacky to the touch.

Carefully remove the pieces from the molds. Place the lid on the box and make sure that it fits perfectly. Sometimes the the resin can be a little soft when removing it from the mold, so the lid won’t fit right because it gets a little warped. If you put the lid on right after removing it from the mold, it will adjust back into place as it finishes the curing process.

I wanted the face of the pumpkin to glow like the candle flame, but pouring resin onto the pumpkin wasn't working. Instead, I mixed up a tiny amount of white and neon orange acrylic paint with some of the glow in the dark powder. Mix it up really well!
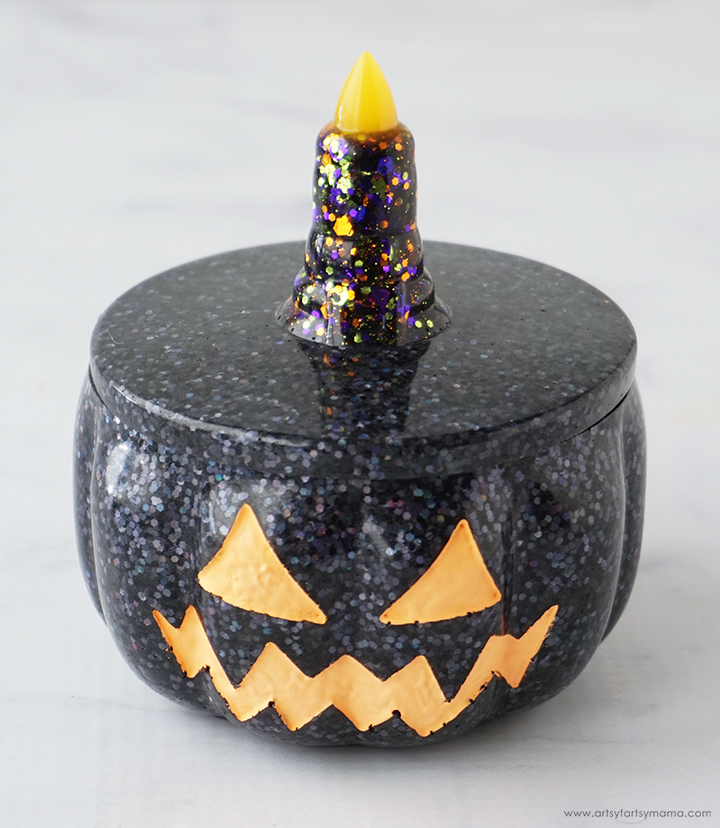
Use a small detail brush or a toothpick to fill in the pumpkin face with the glow in the dark paint mixture. One coat of paint should be enough, but you can add another if you need more coverage. Just make sure to let the paint dry before adding another coat.


Once you turn off the light - BAM - that jack-o-lantern and candle flame glow like crazy in the dark! It's the perfect look for a spooky Halloween night!!
As always, I would love to see your creations! Please tag me on Instagram and Facebook, or leave a comment/photo on the project pin on Pinterest!
Don't forget to Pin, Like, and Share!


Great idea, can be done with children. Thanks!
ReplyDelete