
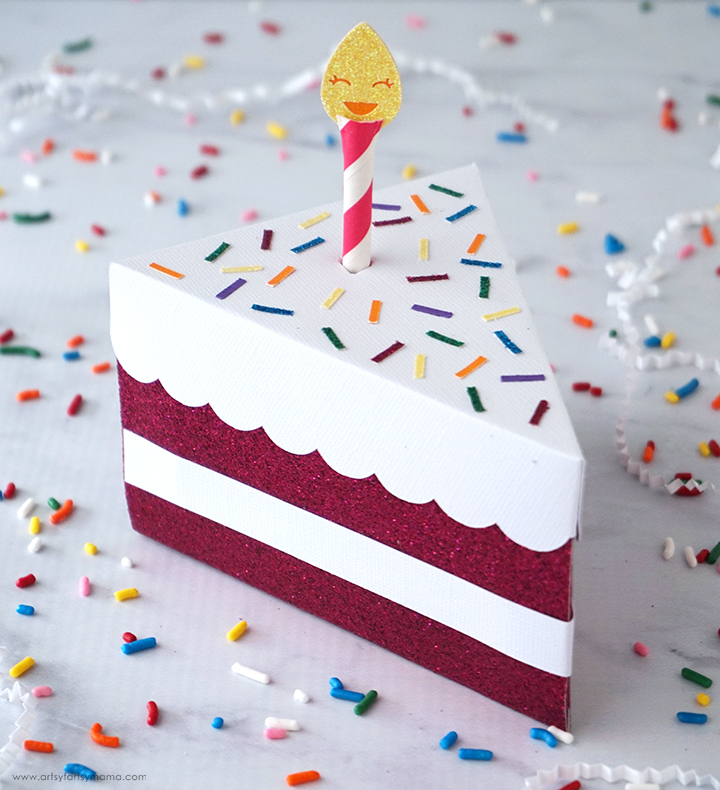
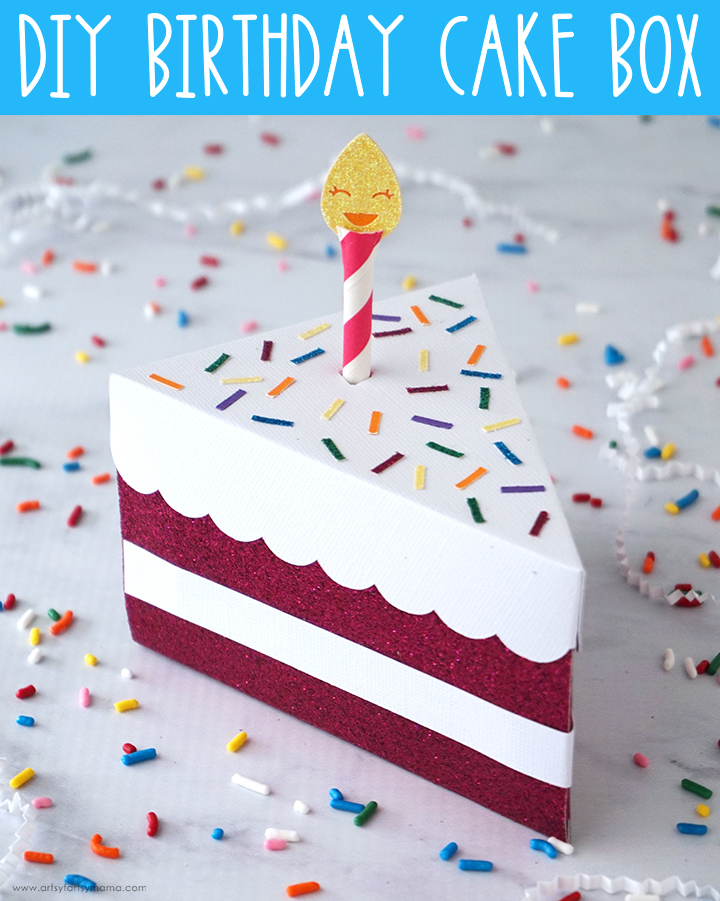
Give the gift of a Birthday Cake Box that looks good enough to eat!
I love using my Cricut to make creative paper boxes! They make gift-giving even more fun, because the packaging is almost as fun as what’s inside. This Birthday Cake Box is the perfect size to fill with candy, a pair of cute socks, or even something like a custom keychain! These boxes are so easy to make, that you can make a bunch all at once to send to every birthday girl/guy you know!
To make your own Birthday Cake Box, you will need:
- Birthday Cake Favor Box Design Space Project
- Cricut Maker or Cricut Explore machine
- Scoring Wheel or Scoring Stylus
- Cricut LightGrip Mat (blue)
- Cardstock - white, orange
- Glitter Cardstock - pink, yellow, blue, purple, green
- Adhesive Dots or Quick-Drying Paper Adhesive
- Paper Straws
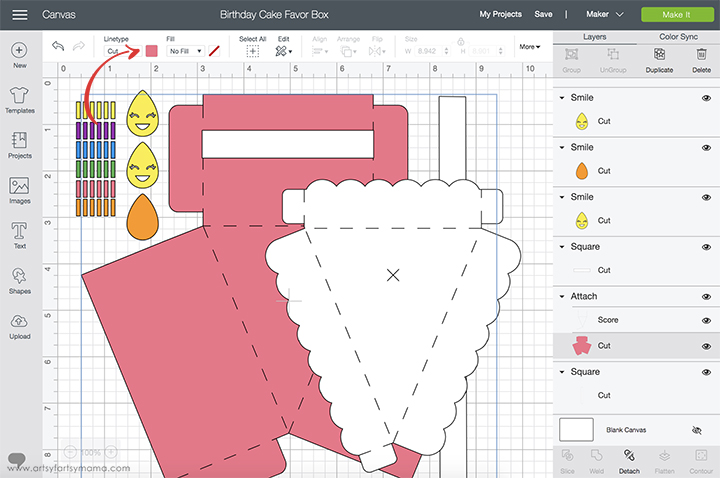
Open the Birthday Cake Box Project in Design Space. You can also find the project in my Cricut Design Space Profile. To make the project as-is click on the green “Make It” button to go straight to cutting.
If you want to make any edits, click the “Customize” button. This will take you to the project canvas, where you can make changes to the project. To change paper colors, select the image and click on the colored square in the top menu bar and choose the new color from the drop-down menu. Once you are done making edits, click the green “Make It” button in the top right corner.
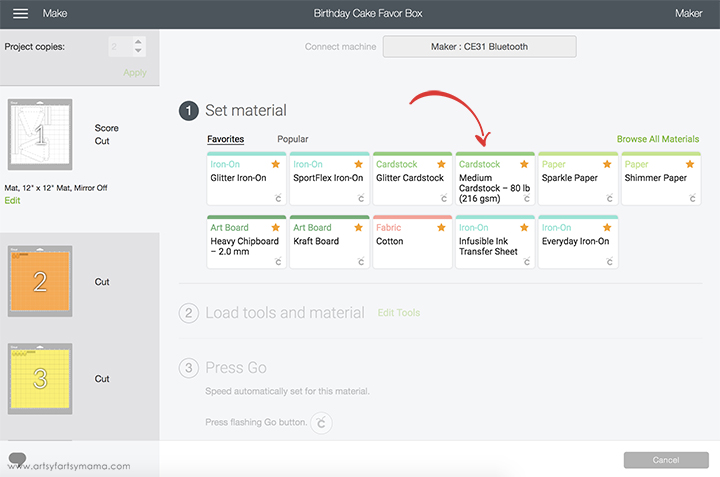
If you're using a Cricut Explore machine, turn the Smart Dial to “Cardstock” or to “Custom”. If you turn it to "Custom" or are using a Cricut Maker machine, it's important to select your specific material from the Material drop-down menu. I cut the top of the box out of white cardstock and the bottom out of pink glitter cardstock.
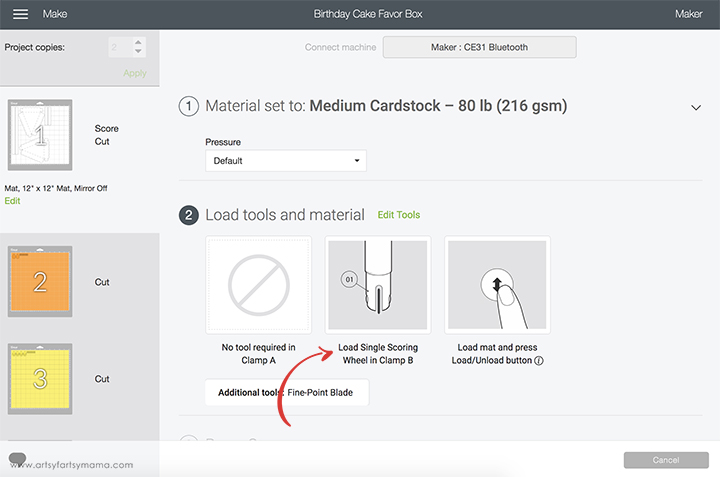
In Step 2, you will see what scoring tools, or pens you need to keep nearby to load into the machine when prompted. Place your paper on the blue LightGrip Mat and load it into the machine and follow the prompts to cut out the project.
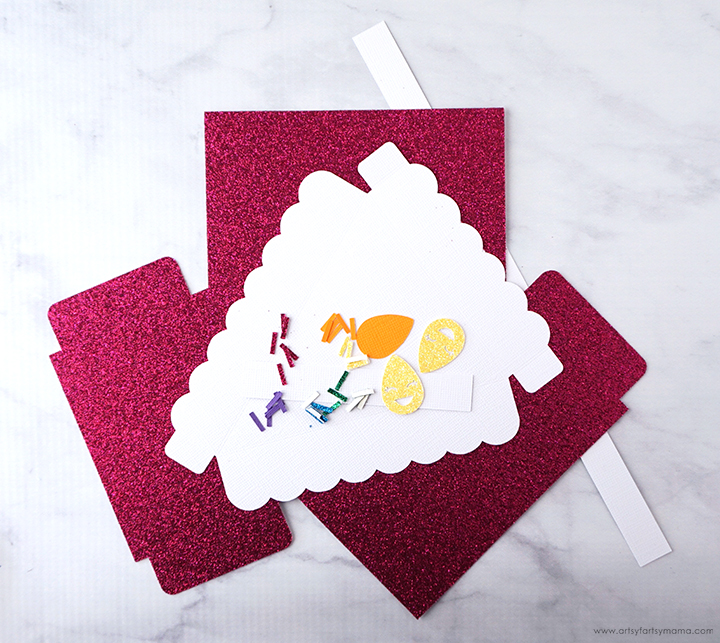
Here is the project all cut out. If you are cutting out multiple boxes, separate each set to make sure you have all of the pieces before assembling them.
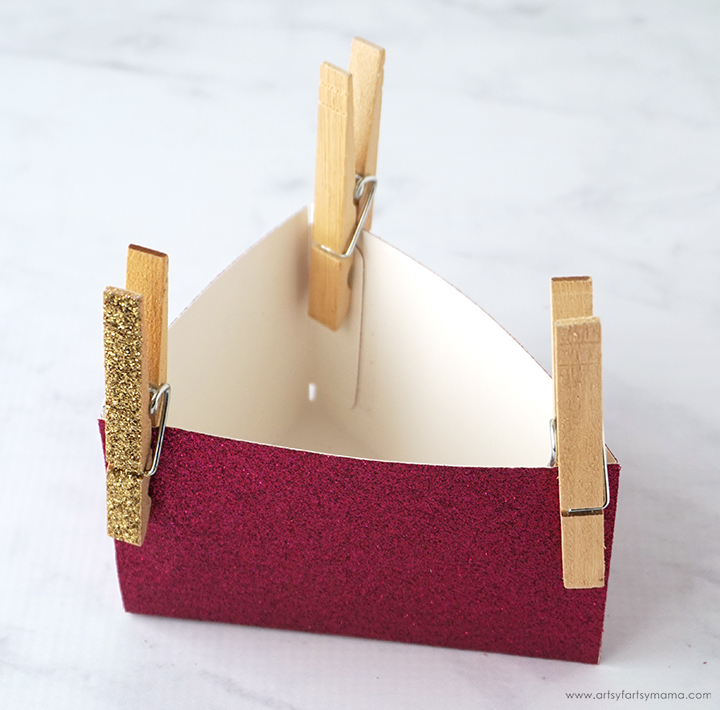
Start by assembling the bottom part of the box. Carefully fold along all of the score lines. Add some adhesive dots or quick-drying adhesive to each of the tabs. Sometimes glitter cardstock can be a little stubborn with adhesive, so I like to use clothespins to keep the tabs in place until the glue has set.
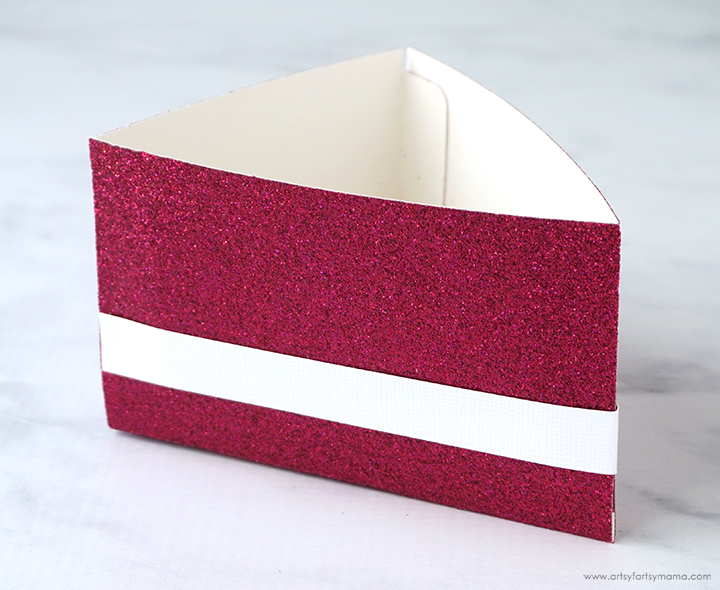
Next, place some adhesive dots or quick-drying adhesive to the back of the white cardstock strip. Stick it to the outside of the box, about a third of the way down. Hold the paper strip in place until the glue has set. The bottom of the box is complete!!
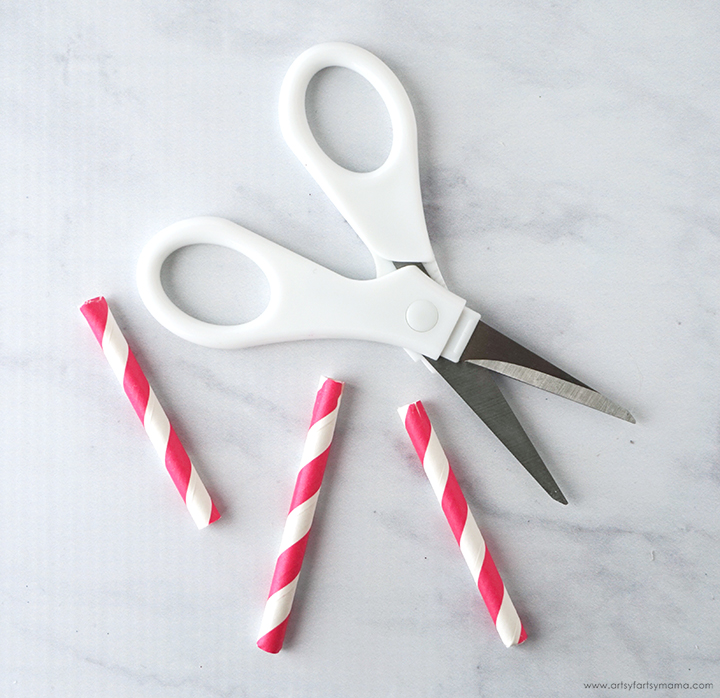
Use scissors to carefully cut a paper straw into thirds or fourths. Then make two small cuts across from each other into the top of the straw pieces.
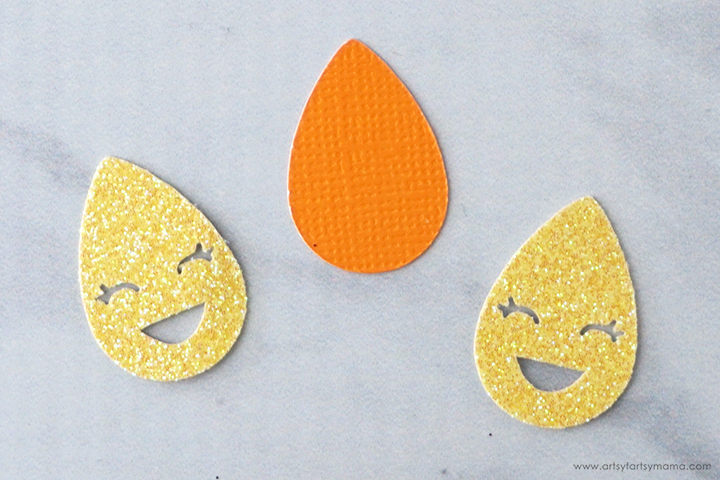
There are three pieces for the flame of the candle because I didn't want it to have a front or back. Use adhesive or a glue pen to sandwich the orange piece of cardstock between the yellow glitter cardstock pieces. Hold the pieces in place until the glue has set.

Stick the flames into the small cuts you made at the top of the straw pieces. You can add some adhesive if you want, but they seem to stay in place pretty well without it.
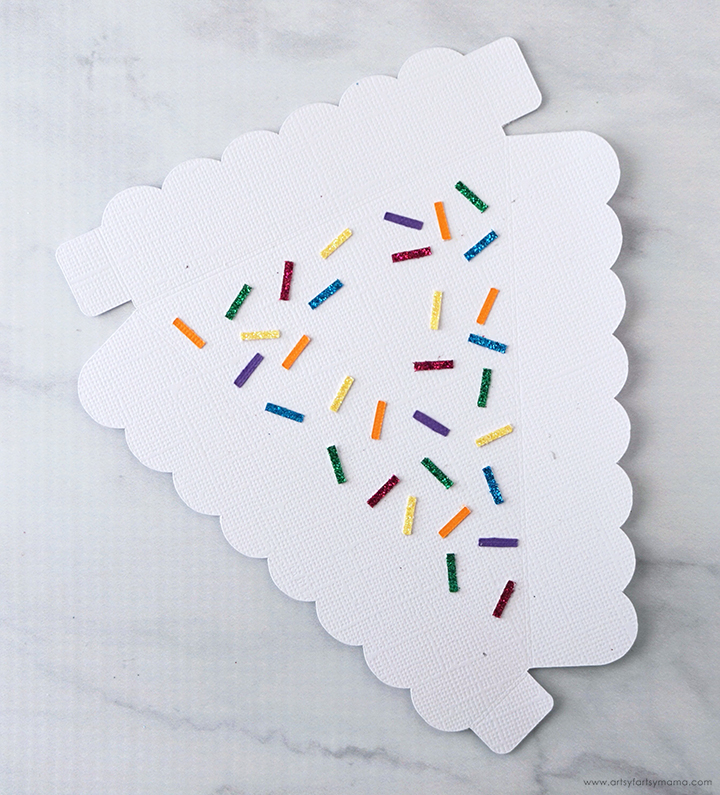
Leave the top of the box flat, and add your sprinkles! Because the pieces are so small, I definitely recommend using a glue pen. Have fun and alternate colors and directions. Be sure to leave a space around the "X" cut in the center of the box (hard to see in the image).
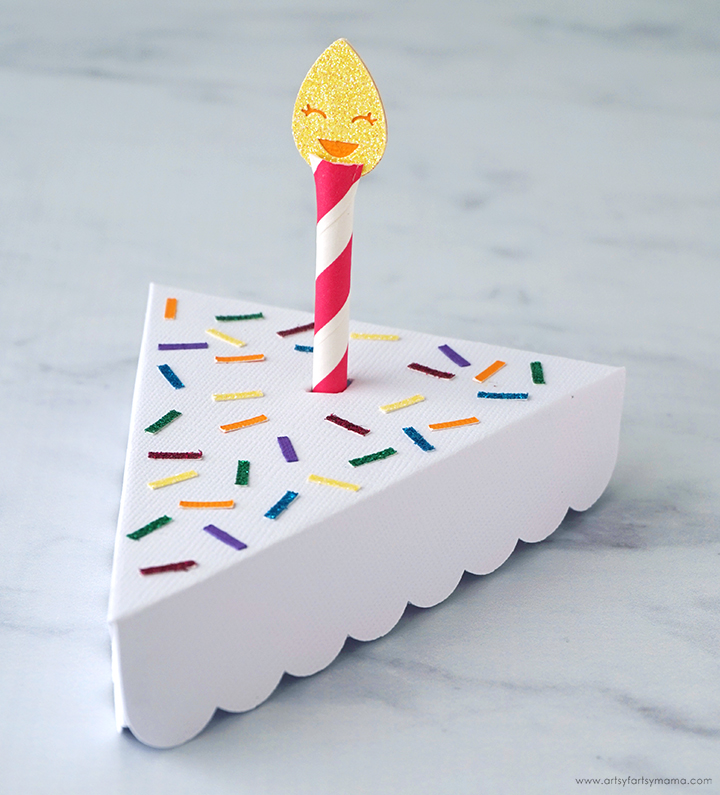
Carefully fold the box along the score lines. Add some adhesive dots or quick-drying adhesive to each of the tabs and hold the corners in place until the glue sets. Stick the end of the straw into the "X" cut in the center of the box. You can use some tape underneath to hold it in place, or leave it as-is.
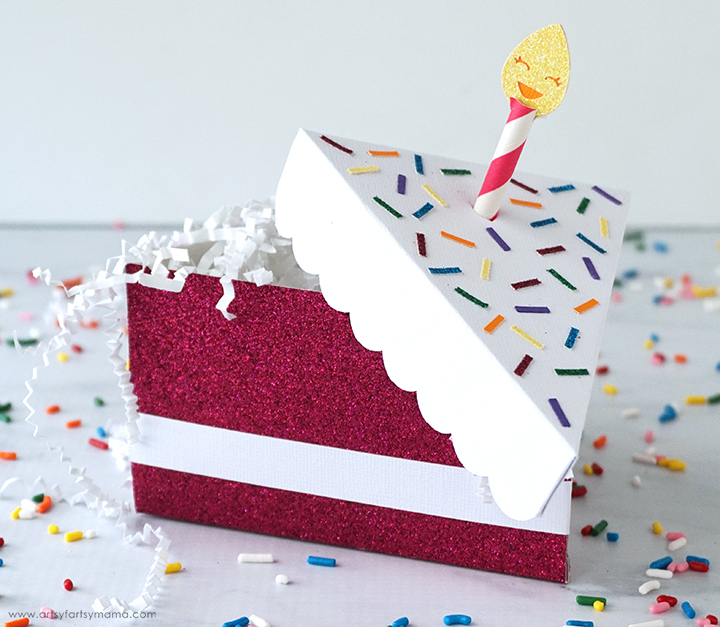
Fill the Birthday Cake Box with small treats, or other party favors and place the lid on top.
I love how this Birthday Cake Box turned out, and I can't wait to share some birthday goodies with friends, family, and teachers! What kind of gifts would you put in a DIY Birthday Cake Box?
I'm teaming up with some of my favorite crafters to share some fun party project ideas you can make with your Cricut. The Country Chic Cottage, 30 Minute Crafts and Mad in Crafts are all co-hosting this week-long event! Check out the project ideas below for more Cricut Party ideas and inspiration!

Don't forget to Pin, Like, and Share!


These are really cool, I lovely cricut but this idea has never even entered my head. Thanks for sharing
ReplyDeleteI would love to make this box for a quarantine birthday for my daughter but all of the the links only lead me to the design space log in page, then the homepage when I do log in. When I search for it in design space I don't see this cake box.
ReplyDeleteI am so sorry! Cricut has changed a lot of things, making a lot of links not work anymore. Try this link instead: https://design.cricut.com/landing/project-detail/5e4b7c7b32cee706ae1622cb
DeleteI can't find this project in Design Space either.
ReplyDeleteI am so sorry! Cricut has changed a lot of things, making a lot of links not work anymore. Try this link instead: https://design.cricut.com/landing/project-detail/5e4b7c7b32cee706ae1622cb
DeleteDo you have this available in SVG or DXF format so that I can use this in Silhouette software and not Cricut? Thank you.
ReplyDeleteI dont think this project exists in design space anymore. I can't find it in the projects anywhere. bummer.
ReplyDeleteSo sorry about that. Cricut keeps changing things and project links change without notice. Here is the new link (also updated in the post): https://design.cricut.com/landing/project-detail/5e4b7c7b32cee706ae1622cb
DeleteWhen you search for it,you have to set it to community and then its there ,hope this helps
ReplyDelete