
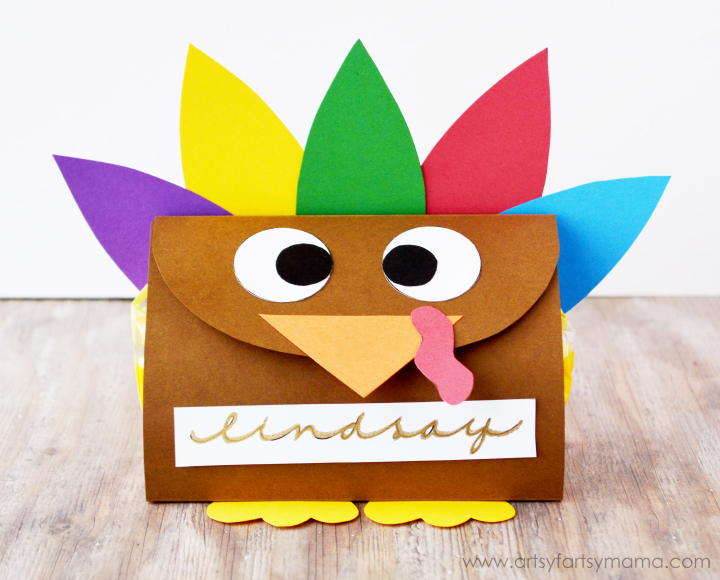
My daughter and I enjoy making holiday crafts together. This year, we have decided to create some fun Thanksgiving Turkey Treat Bags for our Thanksgiving dinner and to give to her school teachers. These turkeys are so fun to make, and I'm sure you'll love them, too! To make things easier, I've also created a free printable template for you to use so you can enjoy making some for your family and friends as well!

Print out the turkey body template on brown cardstock. Cut it out, then use a scoring tool or bone folder to crease the horizontal lines on the pattern so you can easily fold the body to assemble the turkey.
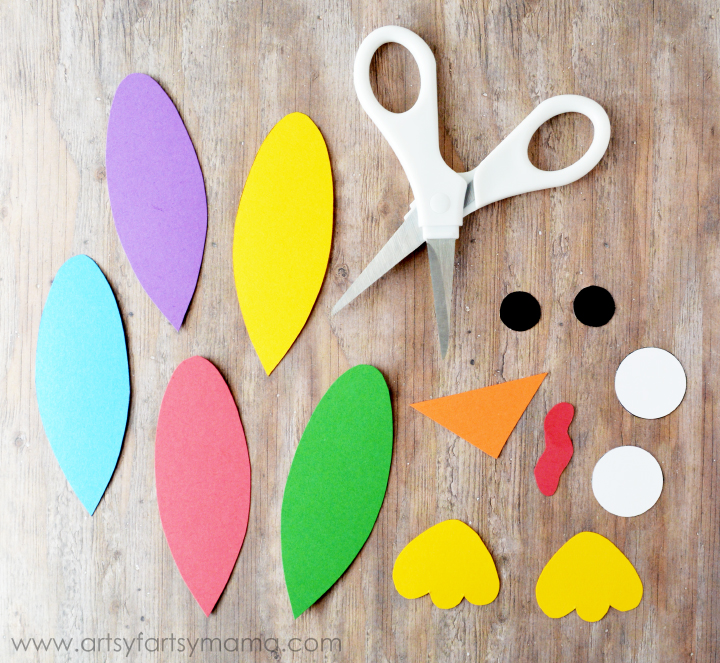
Print out the second page of the template on white cardstock. Cut out one feather, one foot, beak, wattle, and both sets of eyes. Use the feather foot, beak, and wattle as templates and trace them onto cardstock in the colors of your choice. You will use the eyes as-is, so you can glue the pupils on the white circles.
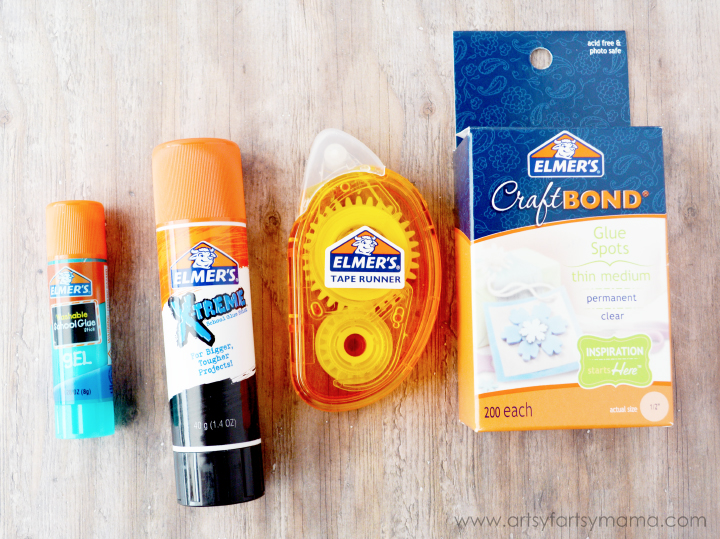
Speaking of glue, I would recommend using any of these kinds of Elmer's glues. For kids, the Gel School Glue Sticks work wonderfully since it's washable and dries clear. The X-TREME School Glue Stick is also washable and dries clear, but is formulated for bigger, tougher projects and is sure to give your turkey a stronger hold. The CraftBond® Permanent Tape Runner and CraftBond® Glue Spots are convenient and easy to use as a quick way to put your turkeys together.
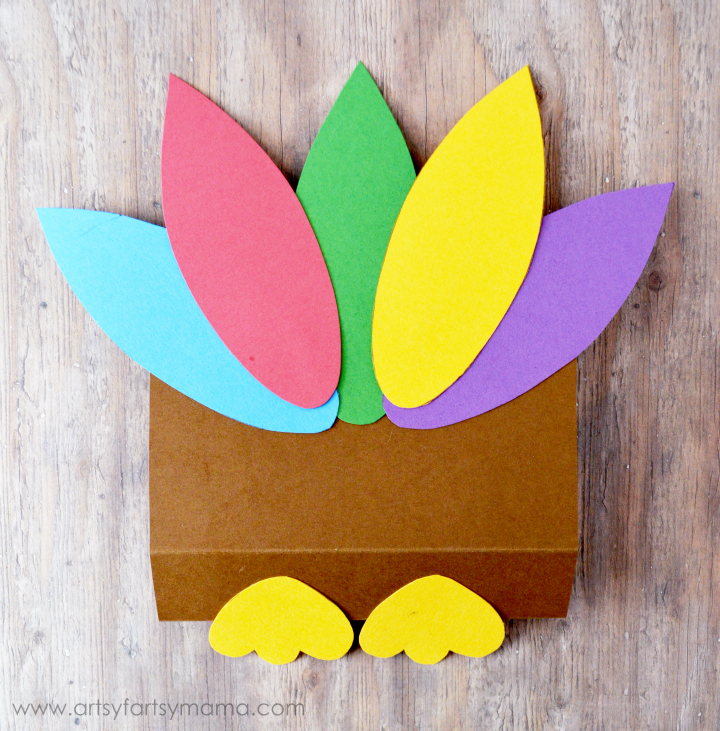
Fold your turkey body template. On the back, glue one feather in the center. Make sure you place it so you can see about half or more of the feather from the front. Glue the remaining feathers next to that center feather.
On the bottom of the body, glue both feet down at the heels and place them so you can see the turkey's toes when the bag is standing up.
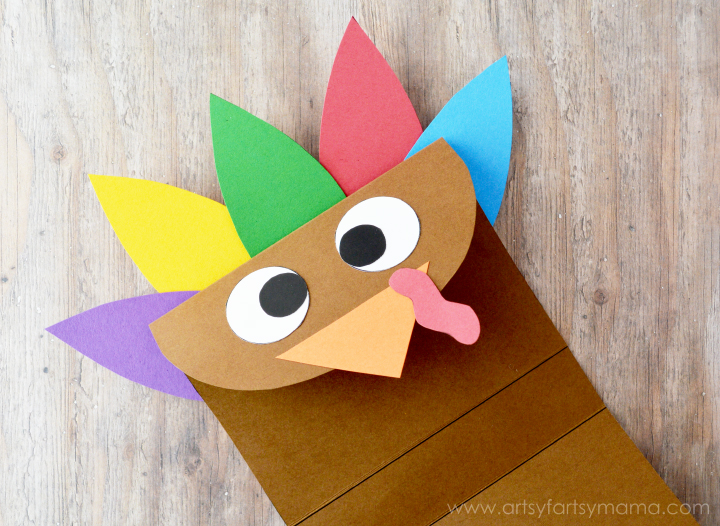
Turn the turkey's body over, and glue the eyes, beak, and wattle on the front flap. The wattle can go over the beak or under the flap - the choice is up to you!
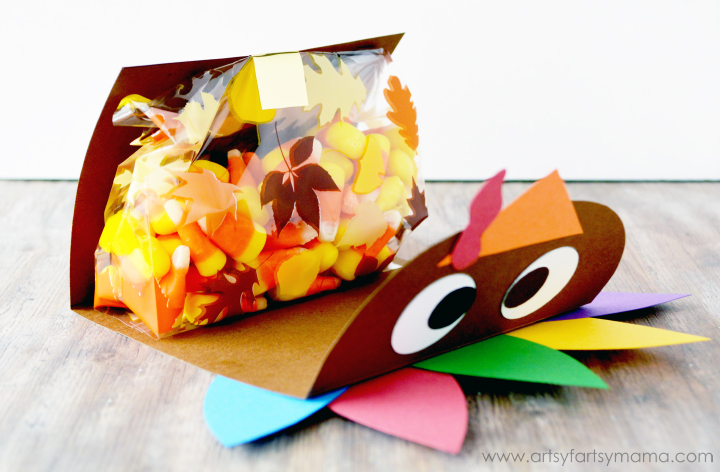
Next, I cut an autumn cellophane bag in half and filled it with treats. Tape it closed with some washi tape. Place the bag inside the turkey standing up. Fold the front of the turkey up next to the bag. Cut another piece of washi tape and tape the bag to the turkey by going from the back of the bag to the front of the paper. You could also staple the treat bag if you don't have tape.
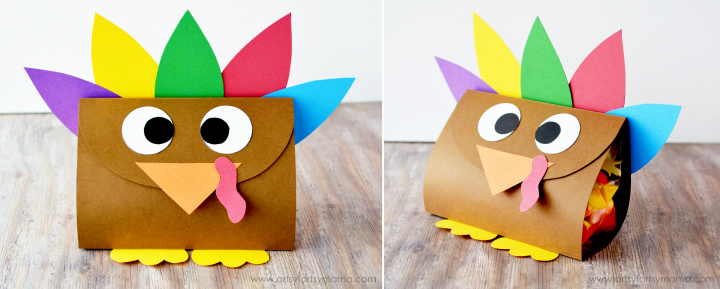
Pull the face of the turkey up over the front of the turkey body to cover the tape (or staple). Glue the face in place and hold until it has set. Now your turkey treat bag is complete!!
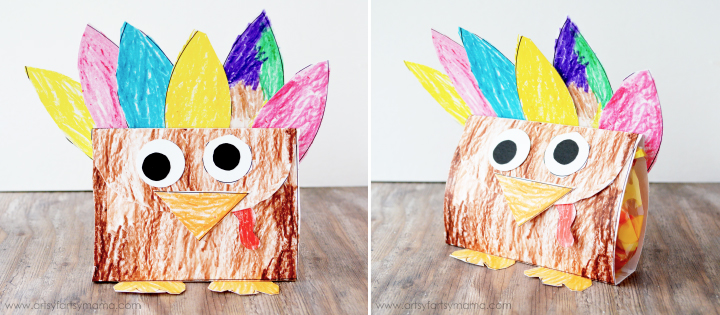
This is also a fun project for kids from start to finish! Print out the template on white cardstock instead of using colored cardstock. Let them color away with crayons*, markers or colored pencils. Then cut out the pieces, score the body along the lines and glue the pieces on with the Elmer's glue of your choice. Place a bag of candy in the center and your kids can place their custom turkeys on the Thanksgiving table or give them to their school teachers as a sweet gift before Thanksgiving break!
*Keep in mind that turkeys colored in crayon will need more glue or a stronger glue than turkeys colored in colored pencil or marker due to the waxy finish.
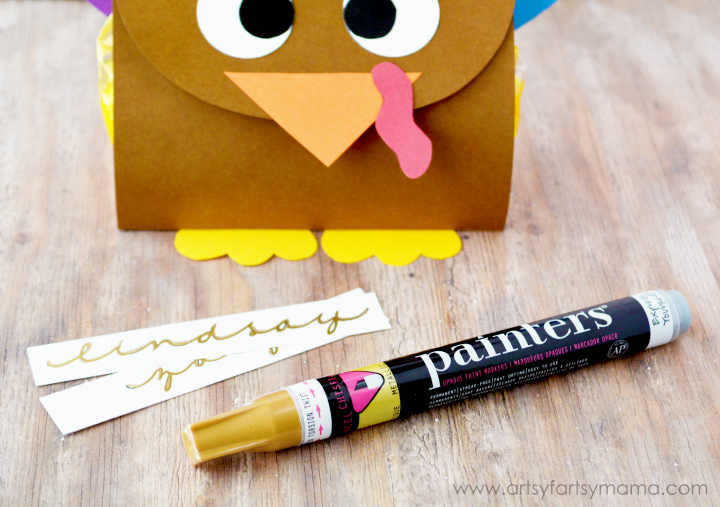
You can also turn this sweet turkey treat bag into a customized place setting at your Thanksgiving table! Cut a strip of cardstock and pen in your guests names with a metallic gold (or any color you like) Painters® Paint Markers.
If stunning penmanship isn't your forte, here's a secret tip: print out all of your guests names in a font you love, and simply trace over the print with your paint marker!
Some things you should know before downloading:
*Artsy-Fartsy Mama printables are for PERSONAL USE ONLY.
*You may NOT modify, re-sell, redistribute, or claim the design as your own.
*Please do not remove the credits/watermarks.
*If you share this on the internet, credit must be given to Artsy-Fartsy Mama & linked back to this post.
Have fun! I'd love to hear if you make these for your Thanksgiving table. Leave a comment here or send me a picture of your project via email or tag me on Instagram (@artsyfartsymama)!!
Be sure to check out these other fun Thanksgiving activities:
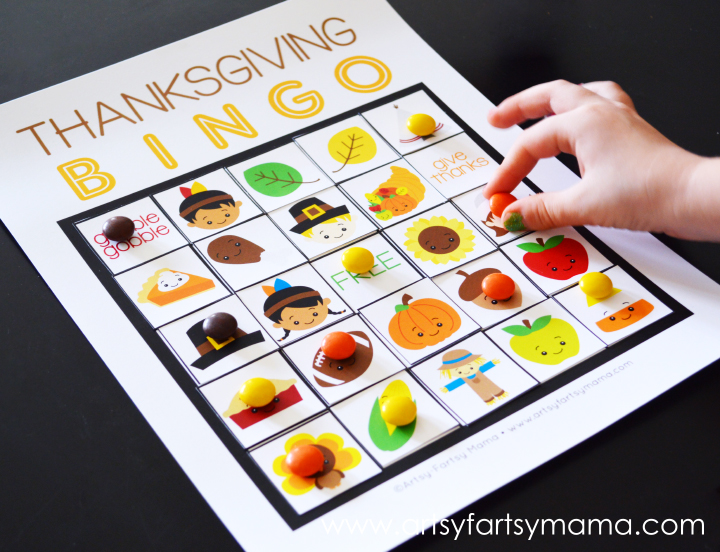


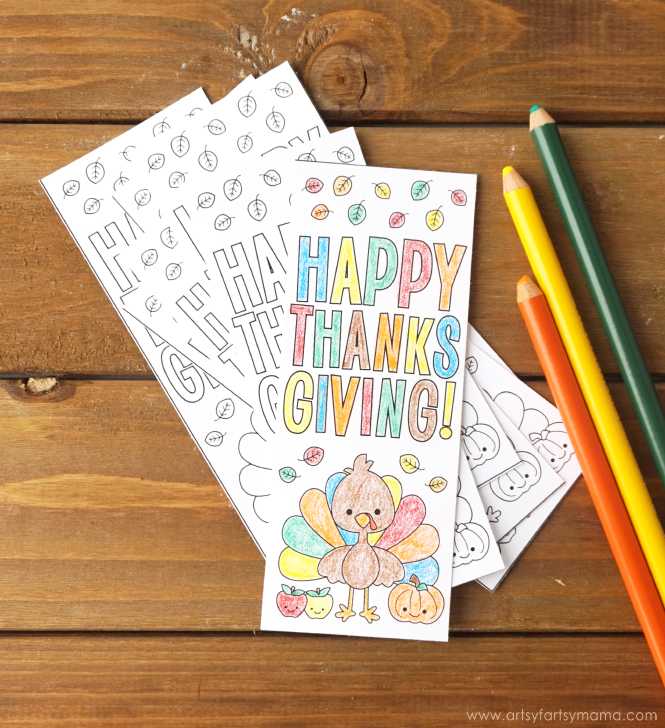



These are adorable! Perfect to set at each place setting. :)
ReplyDeleteThis is absolutely adorable! Our students will not only love making it, but maybe even giving it to their teachers at school. My nieces would also have a blast making these. So excited Thanksgiving is around the corner!
ReplyDeleteSuch a great idea, I will try it with my nephew, he loves crafts.
ReplyDeleteSuch a great idea, I will try it with my nephew, he loves crafts.
ReplyDeleteThese are so cute! My kiddos would love doing this!
ReplyDeleteThese are darling! I'm always so impressed with your projects. Thanks for sharing so many fun and approachable ideas!!
ReplyDeleteJust pinned this fun project to our Thanksgiving For Kids' Pinterest Board!
ReplyDeleteSuper cute!!! Thanks for linking this DIY up to my craft party!!
ReplyDelete