
Use this tutorial to create some turtle-y awesome color-shifting Resin Turtle Keychains!

Keychains are one of the easiest things you can make with resin, and are a great place to start if you are a beginner to the craft. These Resin Turtle Keychains have an eye-catching metallic color-shifting finish that will add such a fun and bright pop of color to any backpack, purse, or set of keys. Not only are they a simple resin project, but they also make a wonderful gift idea (even for yourself!). I hope you love this turtle-y awesome project as much as I do!!

To make your own Resin Turtle Keychains you will need these supplies:
- KHKD Resin
- Turtle Silicone Molds
- Chameleon Flakes
- Measuring Cups
- Stirring Sticks
- Disposable Gloves
- Black Opaque Resin Dye
- Micro Hand Drill
- Jewelry Eye Screw
- Jump Ring
- Key Ring with Chain
SAFETY FIRST: Before getting started, wear disposable gloves, protect your workspace, and be sure to work in a well-ventilated area!
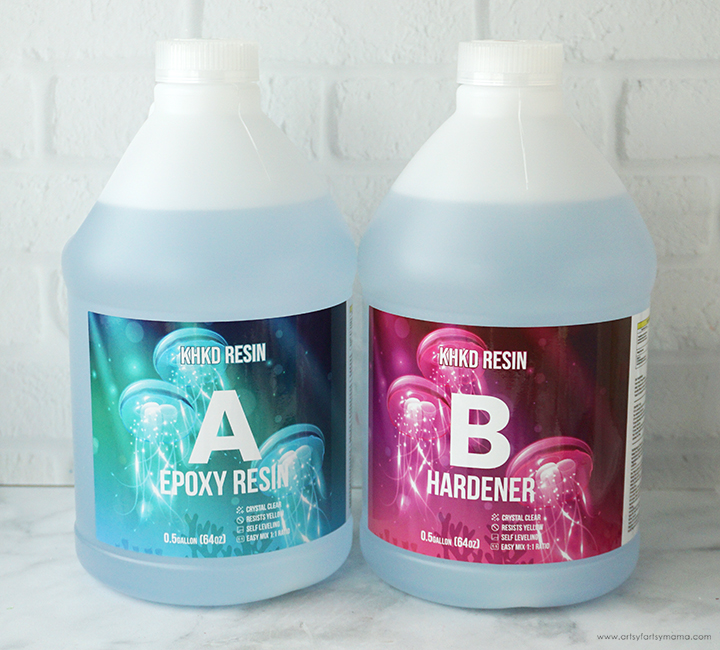
To make these keychains, you need a good epoxy resin. This KHKD Resin worked great for this project, and mixes together beautifully in a 1:1 ratio without too many micro-bubbles. It does cure crystal clear, but for this project that won't matter because we'll be adding dye.

Use a small brush to coat the inside of the turtle molds with chameleon flakes. For this project, I used Lime, which shifts from green to blue (as seen above), and Green which shifts from green to purple.

Make sure the entire mold has been covered with the pigment. If there are any missed spots, the black resin will show through. Tap away any excess flakes back into the container or onto a paper and funnel it back in.

Next, prepare about 10ml of KHKD Resin per turtle according to package directions. Pour in equal parts of resin and hardener to a mixing cup. Slowly stir the resin together with a stir stick for two minutes or until combined. If the resin looks cloudy or has any streaks running through it, you need to keep stirring it until it becomes clear.
Add a small drop of black opaque resin dye to the resin and stir together until evenly incorporated. A little bit goes a LONG way, so you can evens start with a small drop on a toothpick and then add more, if necessary.

Use the stir stick to fill the turtle mold to the top, but be careful to not overfill.
Use a straw, heat gun, or spritz with 91% alcohol to remove any surface bubbles. Leave the resin to cure in an undisturbed area for at least 12 hours.

Now for my favorite part, demolding! Once the resin has completely cured, you can remove the turtles from the molds. Isn't that metallic color-shifting finish amazing?!
Trim away any excess resin with scissors or a craft knife. Sand down edges, if necessary, and bring back the shine with clear spray sealant. If the resin still feels flexible, it may just need more time to cure. Let the pieces sit in a warm, flat area to cure for a few hours (or days) to completely harden.

This step is totally optional, but I love the detail of filling in the eye. Use a black paint marker to fill in the eye and allow it to dry completely. Add a second coat, if necessary. Next, use a white paint marker to add a highlight dot to the eye.

Allow the paint to dry completely and repeat the process for all of the turtles. To protect the paint, you can cover with some clear sealant or a small drop of UV resin.

Now it's time to transform the turtles into keychains! Use a microdrill and drill a hole right where the nose would be on the turtle. If you don't want to drill into the face (understandable), you can drill by the tail instead. You don't have to drill in very far, this is a start so that you can put the eye screw in easier.

Twist an eye screw into the hole until it is all the way in and fits tightly. For a more secure hold, add a drop of strong adhesive to the end of the screw before twisting it in.

Use pliers to hook a jump ring through the eye screw, and then attach the key ring chain to the jump ring. Close the jump ring to connect the key ring to the charm.
Aren't these little Resin Turtle Keychains the cutest?! I love their little faces, and that metallic color-shift finish so eye-catching. I would love to hear what you think of these keychains and who you would share them with! Share your resin creations on Instagram, Facebook, or leave a comment/photo on the project pin on Pinterest! #AFMCrafts
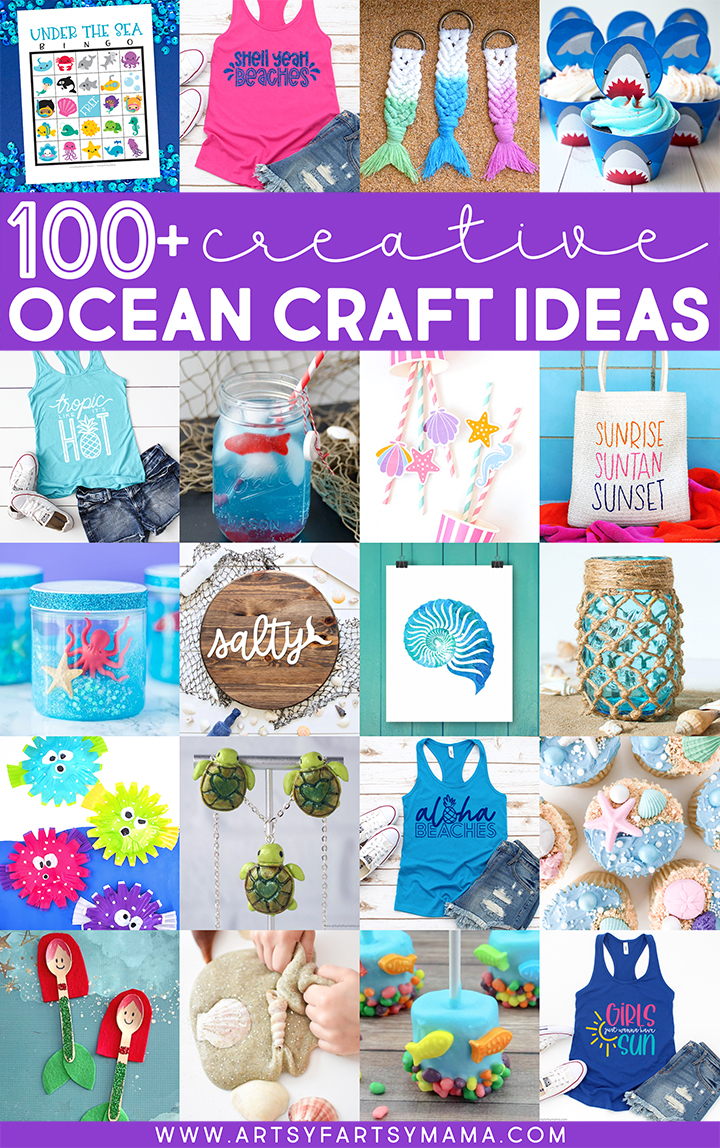
Looking for more ocean craft inspiration?
Check out this collection of OVER 100 creative ocean-themed craft ideas!!
Don't forget to Pin, Like, and Share!


