

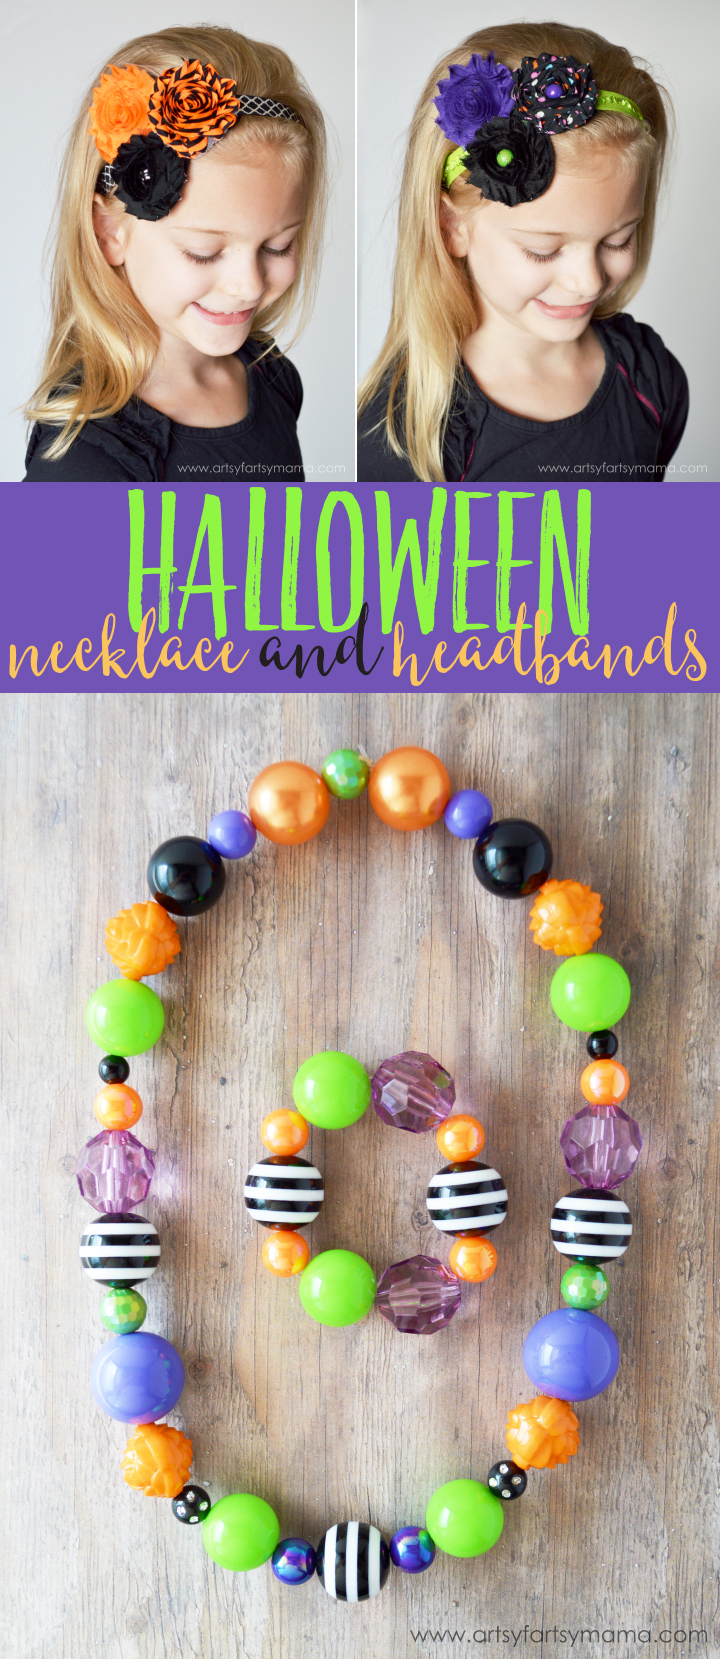
My daughter is a girly-girl and loves making and wearing jewelry. I surprised her this month by creating some fun Halloween accessories for her to wear, which included a chunky bubblegum necklace and bracelet and some adorable Halloween headbands made with supplies from Fizzy Pops. Even if you have never tried jewelry making or putting a headband together, I promise you can do this!! It's so easy.

To make your Easy Halloween Necklace, you'll need:
- Beading Wire
- Lobster Clasp
- Jump Ring
- Crimp Beads
- *OR use some Stretch Magic elastic cord
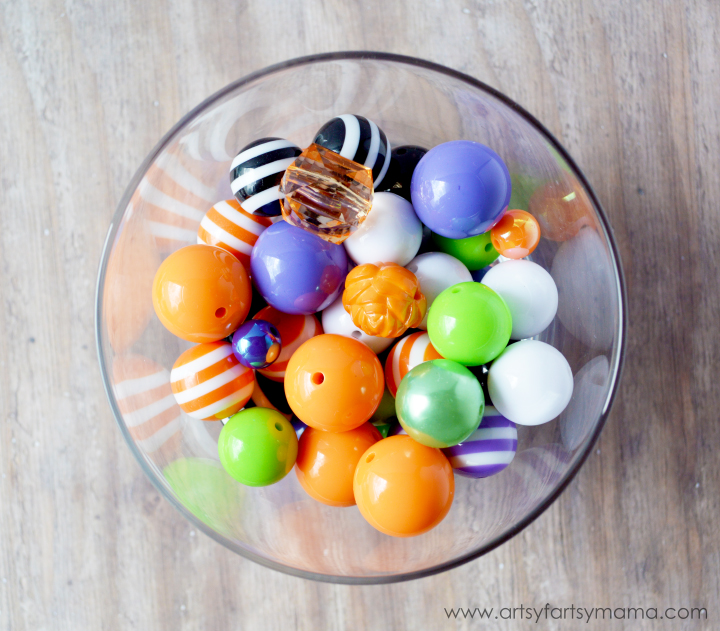
- Chunky Beads in multiple colors and shapes
*My daughter has been a little rough on her jewelry. So to make it a little more kid-friendly, the elastic cord has been very helpful! To create a necklace using the elastic cord, unravel a length of cord and stretch it out a few times. This will prevent your jewelry from stretching out over time. Thread the beads onto the elastic, then cut the cord when you're finished. Tie the ends into a few square knots. Pull the knots tight, and add a drop of super glue. This will help keep the necklace from coming undone.
If using beading wire to create your jewelry, add the lobster clasp and a crimp bead to the end of the wire. Thread the wire through the lobster clasp then back through the crimp bead and crimp it closed. Start threading your beads onto the wire. When you get to the end, add the small chain and crimp bead and crimp it closed. Now your necklace is finished!
Now, to make some Halloween headbands - Headbands Etc and More has TONS of flowers and elastics in different pattern and color options so you can create a headband for every occasion (and more)! If you've never made any before, don't worry! They really are easy to make and you'll be addicted to creating hair accessories in no time.
As far as supplies go, you'll need:
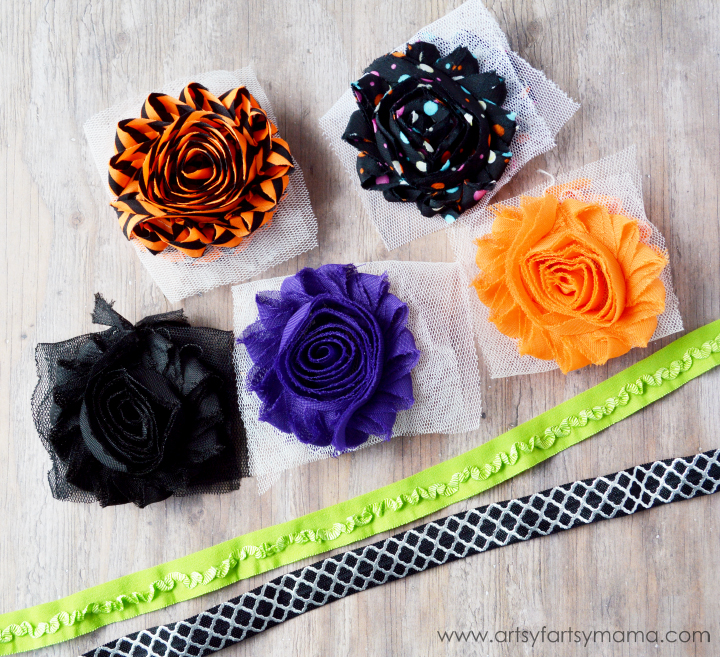
Fold Over Elastic in your choice of color/pattern
Felt
Hot Glue/Glue Gun
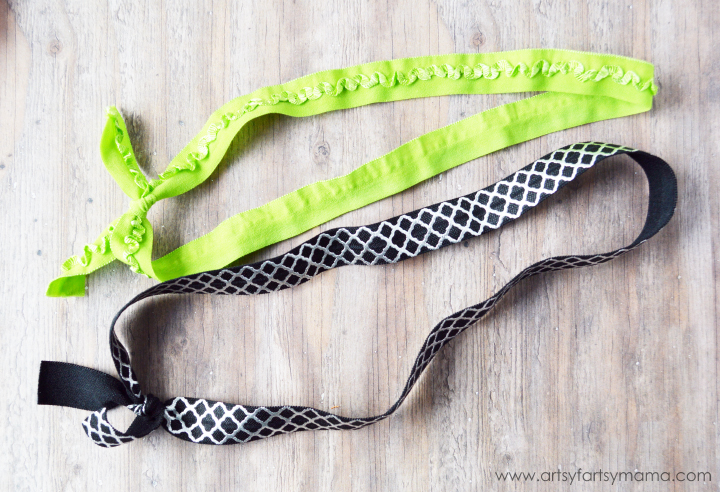
Cut the elastic to fit around your head (or the child's head), then tie the ends in square knot.
Decide how many roses you want to use, then arrange them how you want them over a piece of felt. Keep the edges close together, and trace around them on the felt. Cut the felt out and set aside.
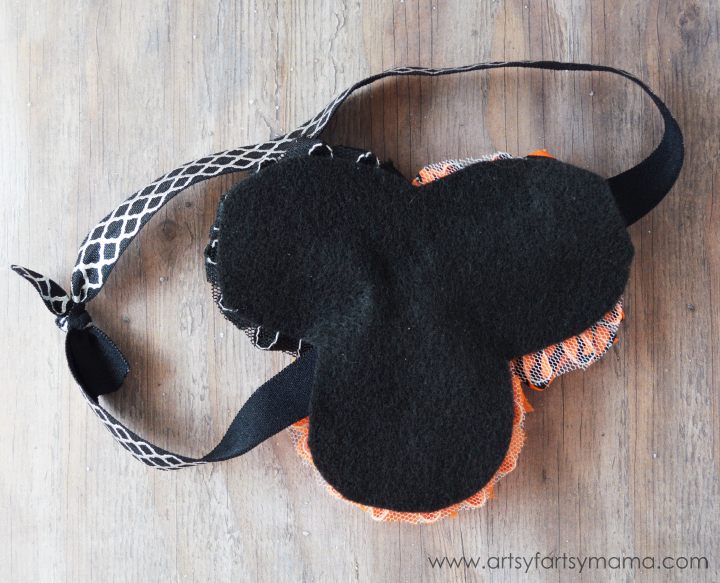
Lay the felt underneath the headband (place on the head if you need to) to figure out placement. Add some hot glue over the felt and headband. Quickly (and carefully) place the roses over the felt and hold until the glue sets.
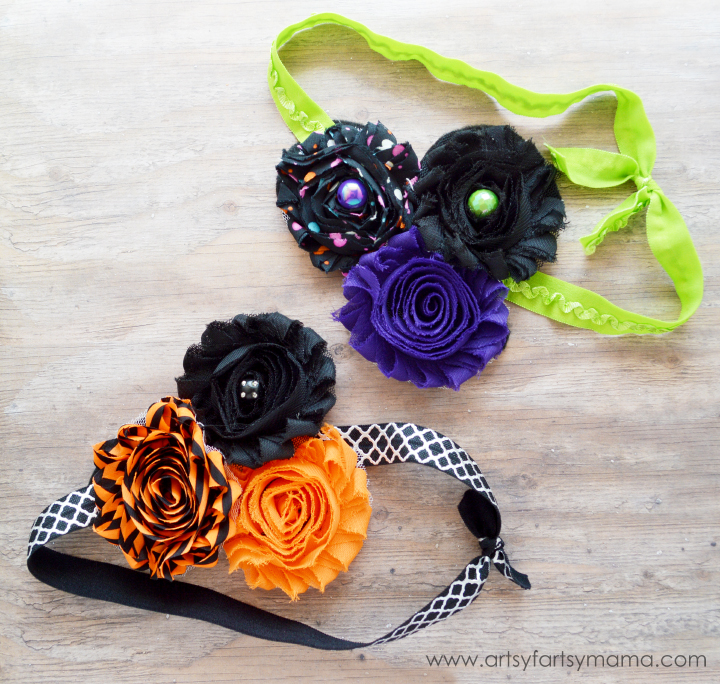
The headbands are finished at this point, but you can add some embellishments for some extra detail if you want. Add gems, or some extra beads from your necklace in the center of the roses (with the bead holes on the sides) with some hot glue.

Depending on the colors and patterns you choose in roses and elastic, you can create headbands for every occasion. These headbands are fun to make for both babies and little girls and come together in just a few minutes.

My daughter is going to love wearing her new Halloween necklace, bracelet and headbands through the month of October (and I'm sure afterward as well)! I'm excited to make more for gifts this holiday season as well.
Don't forget to Pin, Like, and Share!


I would love to make these for my girlies!
ReplyDeleteThe headbands are so cute! My oldest daughter would love making the necklaces too.
ReplyDeleteI need some of these beads! The necklace is adorable!
ReplyDeleteThese are adorable!! Super cute. Thanks for sharing.
ReplyDeleteMy granddaughter whose birthday is in October and loves to be fashionable.
ReplyDeleteThis is so stinking adorable! Would love to make a few of these for my friend's little girl!
ReplyDeleteSo, so cute! Love those headbands.
ReplyDeleteVery cute. Unfortunately I have little boys so I can't make these for them but my nieces will love these.
ReplyDeleteI would make it for my girly girls.
ReplyDeleteI would make them for my friend's daughter, Rose!
ReplyDelete