

Making jewelry with Premo Clay is so fun, and a lot easier than you'd think! If you are new to clay, don't be scared to try it. This tutorial will hopefully help you see that you CAN make your own jewelry, even if you are a beginner. This necklace was so fun to make, and I love how bright the colors are. It'll be perfect to wear this spring and summer!
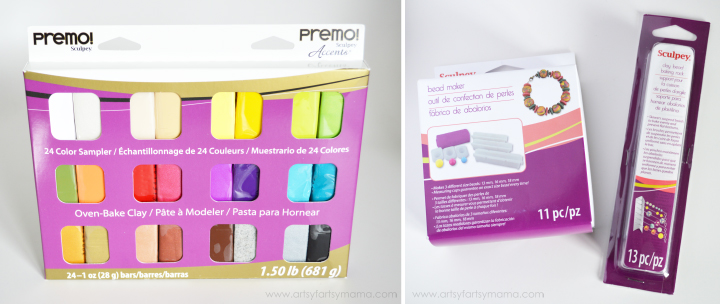
If you're just starting out and wanting to experiment with Premo Clay, I'd highly recommend getting the Premo Clay 24 color sampler set. I personally loved that there was a sparkly/pearlescent of each color, along with a solid, including a silver and couple shades of gold. Having a selection both saves money in the long run, and most importantly, gives you options when you are working on a project.
The Sculpey Bead Maker kit definitely impressed me. If you're into working with beads at all, this kit is extremely user-friendly and fun to use! Even my four year old practiced making a few beads for herself!! The Sculpey Clay Bead Baking rack came in handy to bake the beads without getting any flat spots from placing the round beads on a baking sheet. So you get perfectly round beads every time!!
I usually purchase chunky beads from various craft stores and sites to use for making statement jewelry, but now I'm able to make my own beads instead with a little help from the Sculpey Bead Maker kit. The few times I've tried to make my own without the kit, they came out a little wonky and misshapen.
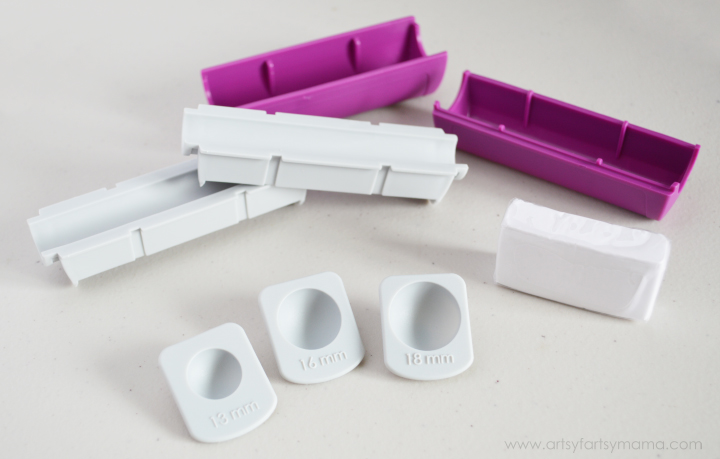
The kit includes all the parts to make 13 mm, 16 mm, and 18 mm beads, including measuring cups and inserts. Everything is even labeled so you are sure to be making exactly what you need. The best part is, since you are making them yourself, you can choose any colors of clay to make your project unique and just how you want it!
Like I mentioned before, the kit is super simple to use. In four simple steps, you can create beads and create jewelry the very same day! Work on a washable surface, and keep in mind that clay *can* stain your work area, hands, and clothing. Wash hands between each color of clay to prevent accidentally mixing any colors together. Keep clays wrapped when not being used.
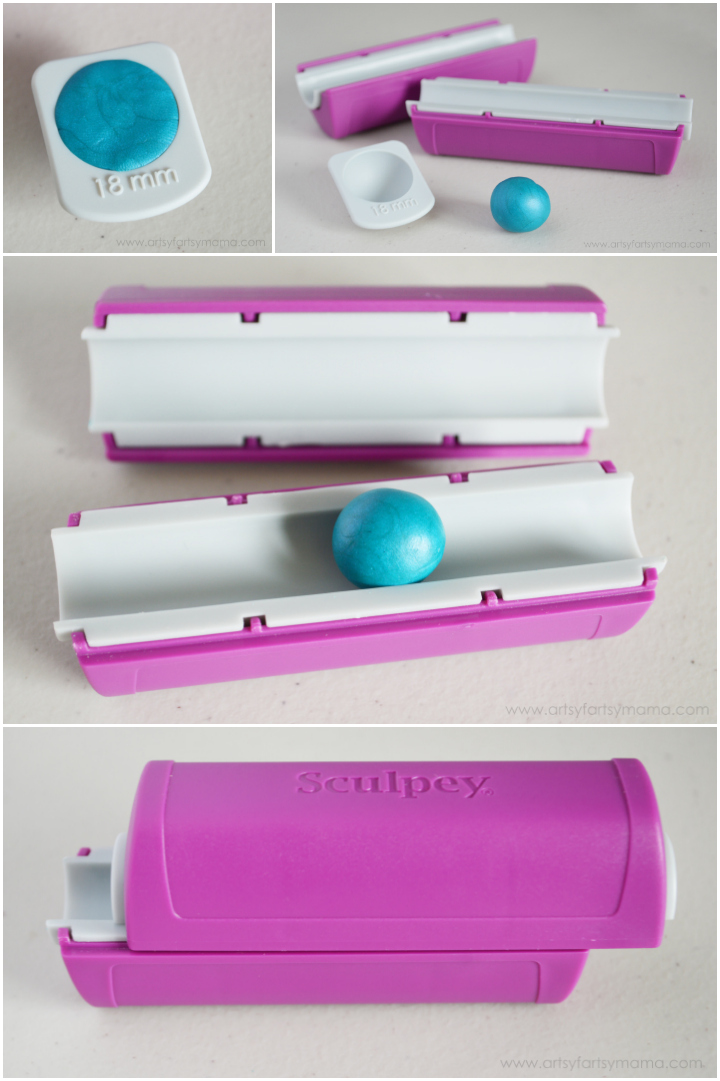
Step 1: Fill the measuring cup with clay. Press the clay down in so you don't have any air bubbles. Like with cooking measuring cups, you want the top of the cup to be flat. Remove any excess clay from the top with your fingers or a knife.
Step 2: Remove the clay from the cup and roll it in the palms of your hands to create a ball. It doesn't have to be perfect, but try to get it smooth. Remove any dings or scrapes in the clay by rubbing it with your finger.
Step 3: Place the ball into the insert. It should fit snug, but you shouldn't have to push it in. It should fit perfectly if it fit in the measuring cup. If you have to force it to fit, it's too large. Remove a little bit of clay and place it back with the block. If it's too small, the bead maker won't help much and it will just fall out. After you work with the bead maker, you'll be able to get a feel for how it works.
Step 4: Place the top of the bead maker on top over the clay ball (make sure the inserts line up), and slowly slide the both sides of the bead maker back & forth 1-2 inches in each direction. This is smoothing out the ball and making it more even. Remove the bead from the roller. If it looks perfect, then remove the bead. If it needs a little more rounding, put it back in the roller and slowly roll back & forth a few more times.

Once your bead is done, open the Sculpey Clay Bead Baking rack and carefully get out a skewer. Be careful, the edges are VERY sharp!! While the bead is still in the holder, poke the skewer down the center of the bead until it goes all the way through. You will need to add a little pressure, and that will squish the bead a little.
To fix the bead if it gets misshapen, pull the skewer back out, and re-roll the bead in the bead maker. I found that sliding the top over the bead a couple of times worked just fine, and kept the hole from the skewer visible. If I slid it too many times, I couldn't see the hole anymore and had to poke it again.
Add a skewer to every bead, and place the bead skewers and plate on a baking sheet. If you are making multiple beads, you can add multiple beads to each skewer, and add a skewer to both sides of the plate so you can bake them all at once.
Follow cooking instructions on your specific clay packaging, and let cool completely before working with the beads.
Now for the necklace tutorial!! The beads are all ready to go, and the skewer helped in making a hole in each bead for easy threading. This necklace looks a little complicated, but is quite simple to make and goes pretty quick. You can find all the jewelry supplies and almost any craft or jewelry supply store.
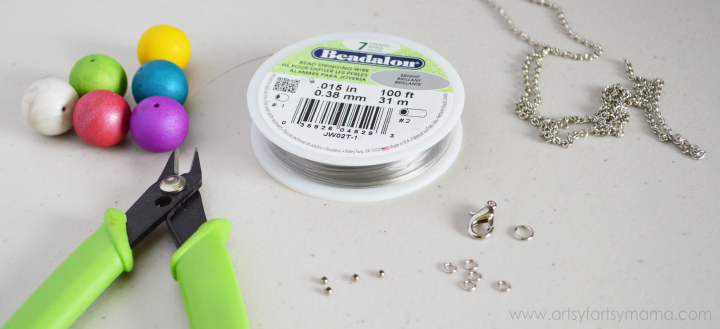
Supplies:
6 18mm Beads, any color
Bead Wire
Chain
4 Crimp Beads
5 Small Jump Rings
1 Large Jump Ring
1 Lobster Clasp
Jewelry Tools: Wire Cutter, Pliers, Crimping Pliers
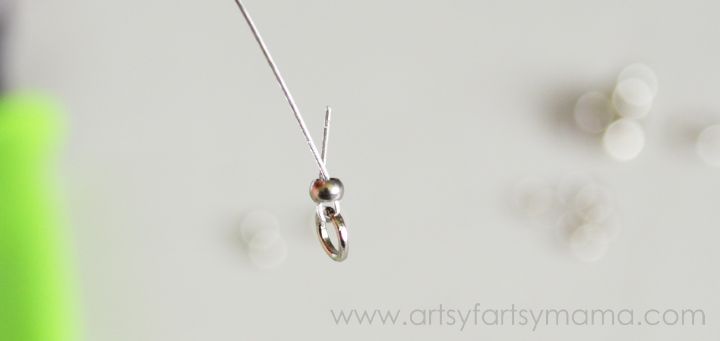
Cut a length of beading wire (about 8 inches or so) with the wire cutters. At one end of the beading wire, add a crimp bead, then a small jump ring. Thread the end of the wire back through the crimp bead and pull down so that the jump ring is attached to the wire loop (see above). With crimping pliers, crimp or squish the crimping bead closed to keep the jump ring attached.
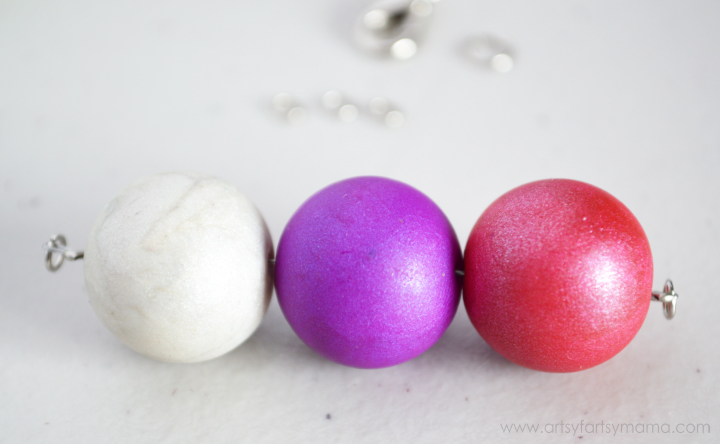
Add three beads to the wire, then add the crimping bead & jump ring to the other end and crimp closed. Repeat for the remaining three beads.
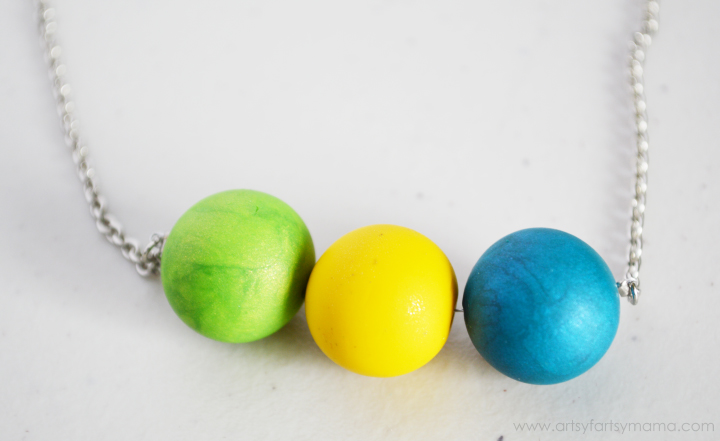
Decide which length of beads will be the bottom of your necklace. Open one of the jump rings with the pliers, and attach it to one end of the necklace. Repeat for the other side.
Count up about 8 chain links (could be more or less depending on your specific chain) and add the other length of beads like you did the bottom set.

Since the chain is still one piece, it may or may not fit over your head. Just to be sure you don't break the chain trying to see if it does or not, find the center of the chain by laying the necklace down on a table and pulling the top of the necklace up to a point. Eyeball the center link and cut it with your wire cutters. Be careful to aim the chain down when cutting so you don't get a rogue chain link to the eye!!
Add the large jump ring to one end of the chain, and the small jump ring to the other. Close the large ring with the pliers. Add the lobster clasp to the small jump ring, then close with the pliers. Now you can take the necklace on and off with ease.
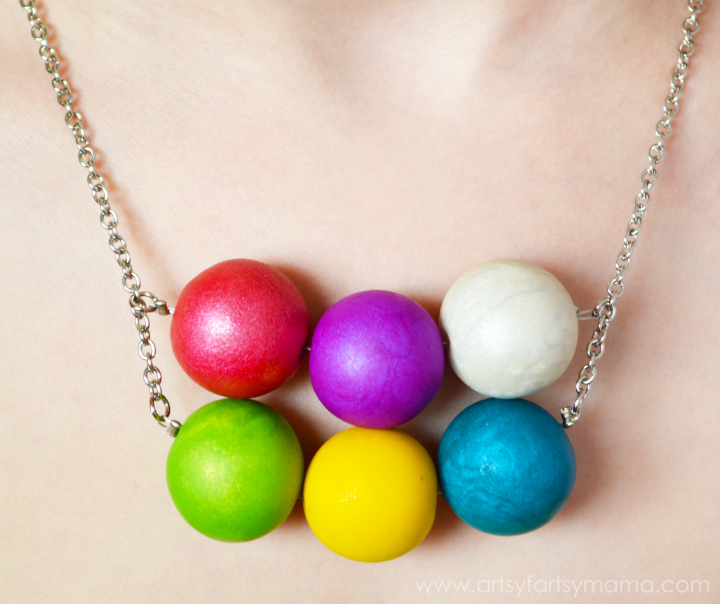
Now your necklace is ready to wear!! They make great gifts, or fun ways to dress up your wardrobe. Plus, you can proudly say you made it yourself when someone compliments you on it!! Bead making has never been easier, and I'm starting to think it has become one of my new favorite hobbies.
For more clay inspiration, be sure to follow Premo Clay on Facebook, Twitter, Pinterest, and Instagram!
For more beginner projects using polymer clay, visit the links below:


I love doing crafts with my girls with our clay. We've always just hand rolled ours to make beads, but it's nice to know there are actual molds to do the work for us! Going to have to see about doing this over summer vacation! So so cute!
ReplyDeleteOh, this is so fun! I have never heard of this before but I think it looks quite addicting!!
ReplyDeleteThat necklace is adorable! I was wondering how you got the balls so perfectly round, I love that there's tools to help with that.
ReplyDeleteI love that this is so colorful!
ReplyDeleteI am really intrigued by that bead mold system. That is awesome! The perfectionist in me would love it!
ReplyDeleteWow, this necklace is so colorful....definitely something to make to accent your spring wardrobe!
ReplyDeleteOhhh...I need those bead molds!!!
ReplyDeleteI love the bright colors. Perfect summer jewelry.
ReplyDeleteMy daughter would love this! I'm adding this project to our summer fun list. Love it!
ReplyDeleteThis looks so cute {and fun to make}! Love the different colors :o)
ReplyDeleteThat kit looks awesome!
ReplyDeleteGorgeous necklace. I think I need that kit!!
ReplyDeleteCute! That is totally something I could do! Thanks for linking up to the Creative Exchange!
ReplyDelete