
Create your own winter wonderland with an easy-to-make DIY Snow Globe!
Thanks to Peanut Butter & Co. for sponsoring this post. As always, all opinions are my own.
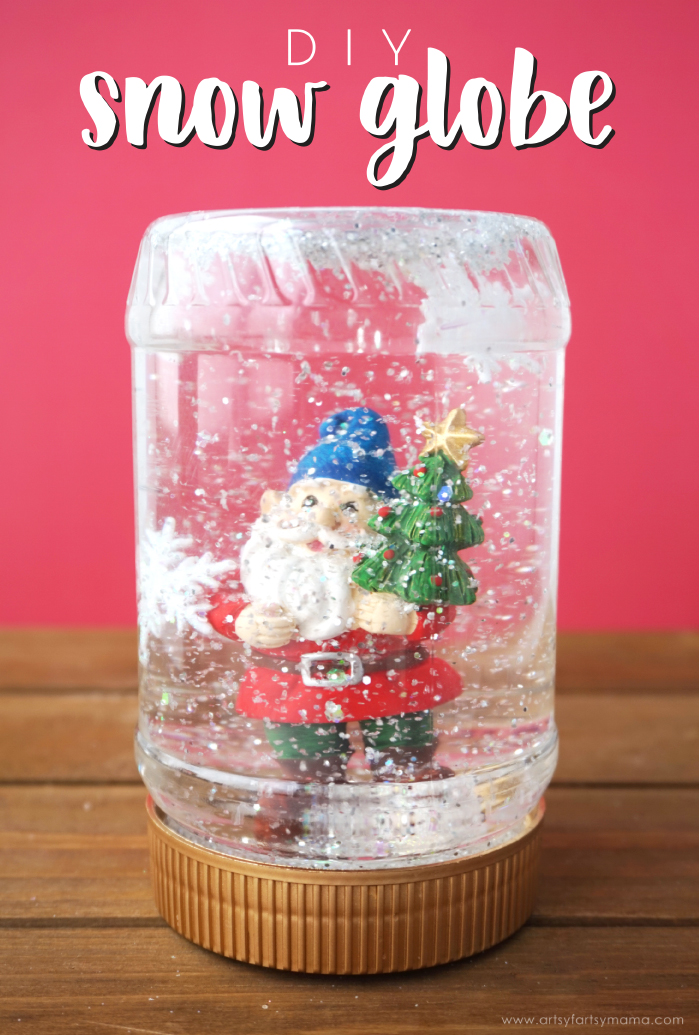
Snow globes are so beautiful and magical. It's like your own winter wonderland, even if it doesn't snow in your area! This is an easy project that even the kids will love helping with, and would also make a sweet gift to share with someone else. All you need are a few simple supplies that you might already have on hand.

First, start out with some peanut butter. Any kind will do, but Peanut Butter & Co. Smooth Operator Peanut Butter has been my go-to lately. It tastes great, has 7g of protein per serving, and is gluten-free. The peanut butter is perfect for easy lunches and I also use it in baking (watch for some recipes coming at you soon)!
...The point is, eat that peanut butter so you have an empty jar to work with. A plastic jar will be best, especially if kids are handling the snow globe since it's not as fragile as a glass jar.

Wash out the jar and the lid really well with soap to remove all of the peanut butter. Dry them both completely. Use some spray paint to cover both the top and bottom of the lid. I used a metallic gold. Let the paint dry, and add another coat if you think it needs more coverage.
While the paint dries on the lid, remove the label from the peanut butter jar. If you have some stubborn adhesive that just won't come off, use a paper towel with a little bit of vegetable oil on it. Rub it on the adhesive and it comes off like magic!! Wash the jar again to remove any oil and let the jar dry completely.


Find a small lid similar to a soda bottle lid. Use some strong craft glue (E6000, Super Glue, Gorilla Glue, Beacon 3-in-1, etc) and attach the figure to the top of the lid. Let it dry completely - overnight, if necessary. I know it's hard to wait, but this is extremely important in the long run!
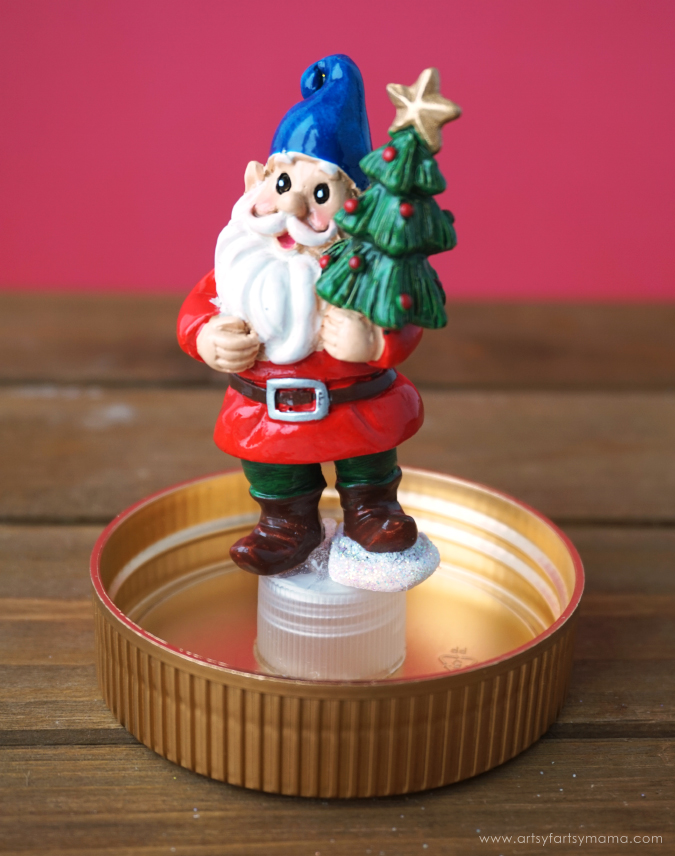
Add a line of adhesive around the bottom of the soda lid. Turn the peanut butter jar lid upside down, and place the gnome/lid in the center of the lid. Hold in place for a minute or two. Again, let it dry completely - overnight, if necessary!

I didn't want the lid to show too much, so I added some hot glue around the base. I added a bunch of glue all around the gnome base, but make sure to leave some space around the edge! While the glue was still wet, I sprinkled some white glitter on it. Once the glue dried, I added another couple layers of glue and glitter to build it up and make it look like the gnome was standing in a bunch of snow instead of one little mound.


Now we're ready to make some magic! Fill up the jar almost to the top with hot water and add 1-2 tablespoons of glycerin (found in baking sections or at a pharmacy) or light corn syrup. Stir well to combine. Plain water will work great, but the glycerin will help the glitter to fall to the bottom of the snow globe a bit slower.
*I've heard that some people use baby oil in place of glycerin, so I did a test in a different jar. It failed miserably, trapping the glitter in between the oil and water at the top of the jar. I highly recommend that you don't use this method.


Slowly place the lid onto the jar. Watch the water - if it looks like it's about to overflow, take off the lid and remove a spoonful of water. Keep repeating until you can screw the lid on tightly without any water leaking. This will help prevent any large air bubbles at the top of your snow globe.
Shake the snow globe up and watch the snow fall around the figurine. If you feel like you need more glitter, snowflakes, or anything else, now is the time to do so. Once you're happy with the snow globe, carefully remove the lid and dry the rim of the jar and the edges of the inner lid with a q-tip. Add some strong craft glue and close the lid one last time to seal it closed. This is my best tip if kids will be playing with the snow globe. You definitely don't want this coming open! Set the snow globe somewhere it won't be bothered lid-side up to let the glue dry before shaking it up again.
Enjoy your homemade winter wonderland! The possibilities are endless with all of the fun items you can find to place inside your snow globe, and kids will love making some snow globes of their own!
What would you put inside a snow globe?


This is such a neat project. Defnitely something my son would love.
ReplyDeleteThe lid is closed completely, no matter how much water I take out, the water still leaks. What am I doing wrong?
ReplyDeleteCould be something wrong with the jar itself. Maybe try using a different one. You could also try sealing the jar with hot glue. Please let me know how it goes!
DeleteAfter placing lid tightly on jar water is still leaking out and the jar half full. What am I doing wrong?
ReplyDelete