After learning how to install a bathroom faucet, I also wanted to learn how to replace a shower head. Ladies - take this off the "honey-do" list!! It is a lot simpler than you think to do it yourself! I decided on a dual shower head - which sounds complicated, but it's not as difficult as it looks. Plus, you don't need a crazy amount of tools to replace that old shower head with a beautiful, shiny, new one!!

Since breaking my leg, showering is high up on the list of difficult things to do. With a regular shower head, showering took at least double the amount of time it should have (which might sound nice, but it really isn't). I decided that having at least a handheld shower head was going to be necessary. Luckily, Moen was so great to send me a Banbury Dual Shower Head to try out, and I can honestly say it has been a life (and time) saver!
Handheld shower heads aren't just for injured or disabled people. Since this particular shower head is a dual shower head, it can spray from just the handheld or the main shower head - or both! My husband even said that he likes this shower head better than our old one! The handheld shower head has also been convenient for washing the shampoo out of my daughter's hair when she takes a bath.
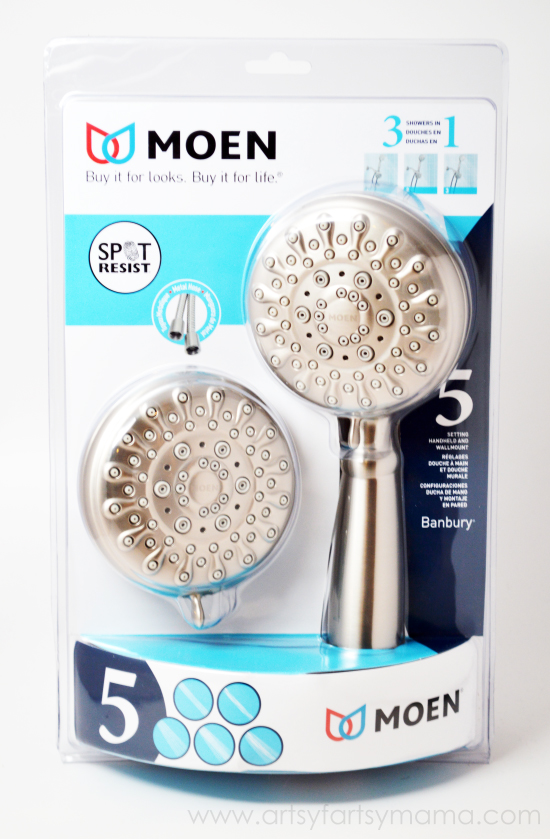
Moen's Banbury dual shower head is also finished with a Spot Resist™ brushed nickel finish that resists fingerprints and water spots for easier cleaning. There are also five function combination sprays for more variety. So, really, there's something for everyone in just one shower head!
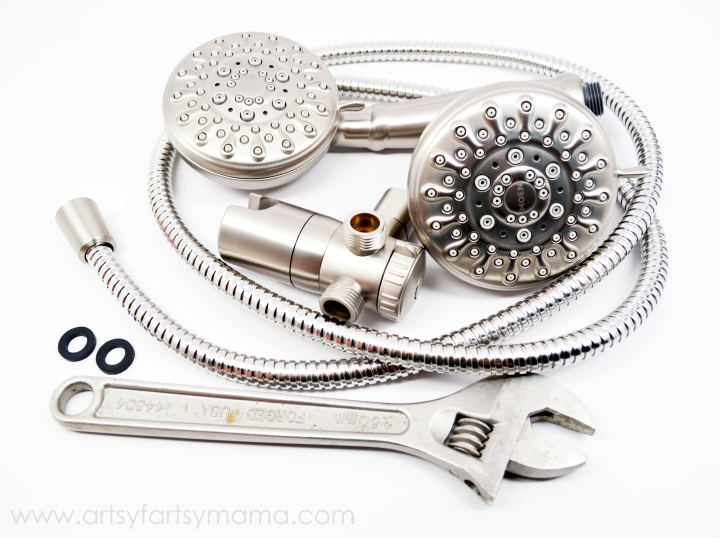
To get started, open the Moen Banbury shower head kit and make sure all the parts are there. Then, all you'll need is an adjustable wrench and some Teflon tape. The washers are also included in the shower head kit.
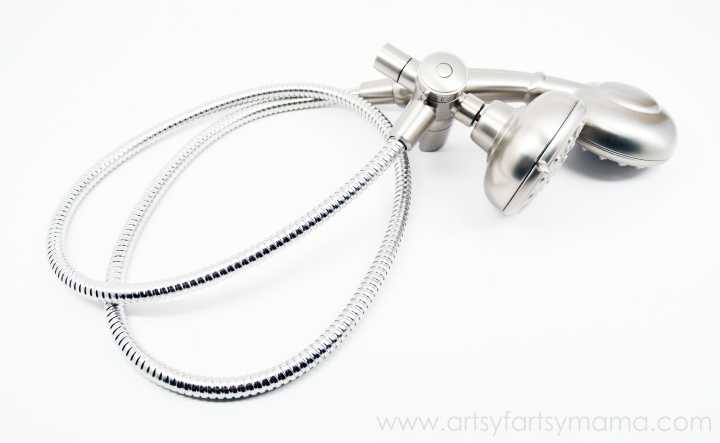
Place the black washers in both ends of the hose, then attach one end of the hose to the handheld shower head, and use the wrench to tighten it.
Next, attach the shower arm diverter to the other shower head. Then, attach the other end of the hose to the shower arm diverter. Now your shower head and handheld shower head are connected!
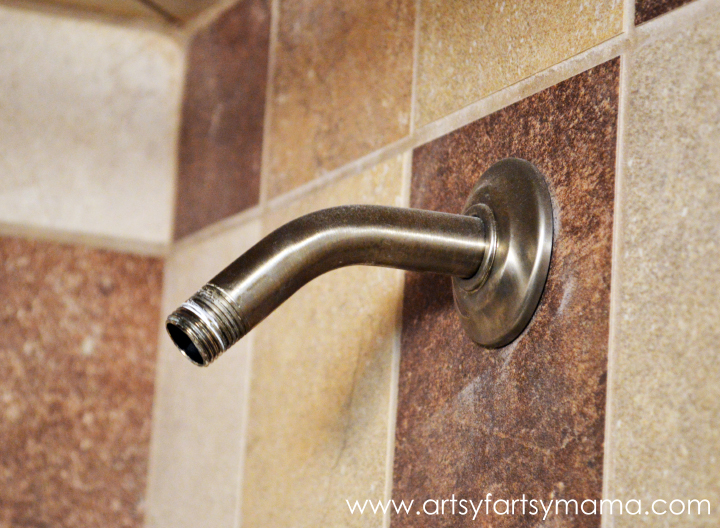
Remove your old shower head with the adjustable wrench, then remove the old, white Teflon tape (if there is any). Use new Teflon white tape and wrap it clockwise 4-5 times around the threads, making sure not to go past the threads and into the shower opening (the shower head could clog if you get any tape in there).
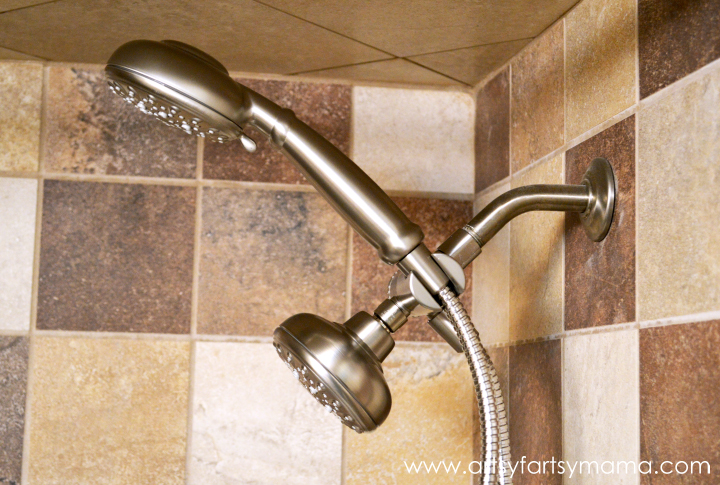
Next, attach the shower arm diverter to the shower arm and tighten with the adjustable wrench. Keep in mind to be very careful when tightening, because you can easily scratch the finish. Also, do NOT over-tighten. You may break something in the wall! Once the shower head is attached, place the handheld shower head into the handheld shower cradle.

Now that the shower head is all installed and looking beautiful, it's time to test to make sure you don't have any leaks. If the hose is leaking, check to make sure the washer is there. If the shower arm is leaking, make sure you add Teflon tape and have tightened the shower arm diverter to the shower arm.
Once you've made sure there are no leaks, you're done!!
I received this shower head from Moen in exchange for this post. All opinions are my own.