
Customize your backpack, lunch box, and other school supplies with adorable puppies!

It's that time of year again! Kids are getting ready to head back to school, and we've been counting down the days until the big day. My daughter loves animals, especially dogs. She was given a brand new backpack that was just begging for customization, so we decided to "let the dogs out" and give all of her new school supplies a makeover!
This post contains affiliate links for your convenience. As always, I only share things that I use myself and truly recommend!
Puppy Love Backpack supplies:
- Backpack (with fabric exterior)
- Cricut Maker or Cricut Explore machine
- Iron-On Vinyl/HTV
- Weeding Tools
- EasyPress 2
- EasyPress Mat
- Iron-On Protective Sheet
Open the Puppy Love Project in Design Space. Select "Customize" to make adjustments to sizes and colors to fit your backpack and lunchbox. When finished, click the green "Make It" button in the top right corner.
Make sure to mirror the images before cutting the iron-on vinyl! If you don't, your design will be backwards when you put it on the backpack. To do this, select one of the mat thumbnails before cutting, and click the "Mirror" toggle to reverse the image.
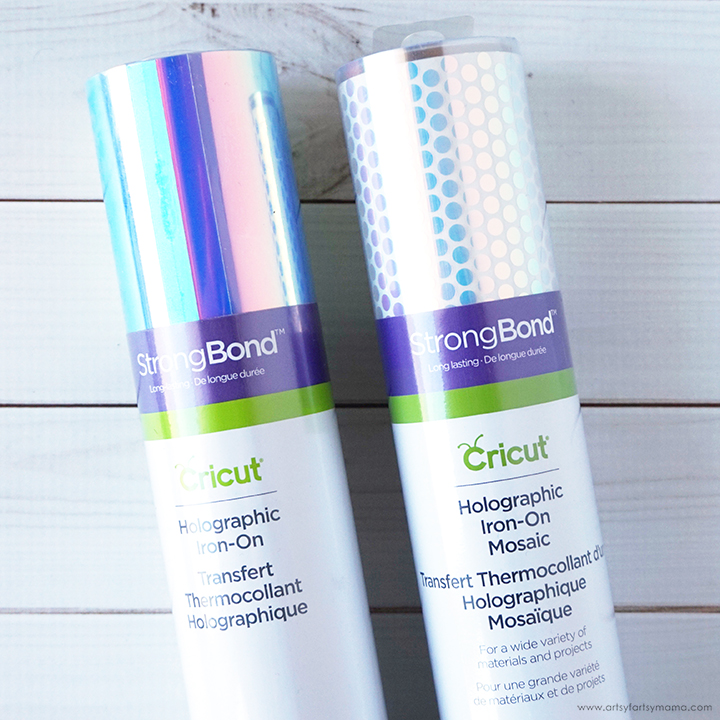
Holographic is all the rage right now, so of course we had to use some Holographic Iron-On and Holographic Mosaic Iron-On vinyls on the backpack!
*Holographic Iron-On has the StrongBond Guarantee, which means that if you aren't completely satisfied with the iron-on vinyl on your projects, Cricut will replace it for free. Seriously! Now you don't have to worry about your back to school projects not making it through the bus rides and tumbling around in the classroom!


After the vinyl has been cut, you'll need to "weed" the vinyl. Start by carefully peeling away excess vinyl (or the largest parts of the design that you won't be using) with your fingers. For smaller areas like the insides of letters you'll need to use weeding tools.

Plug in the EasyPress 2 and power it on. Each kind of iron-on vinyl has a different heat and time setting, so be sure to check the recommended EasyPress settings before getting started. Adjust the heat and time setting to backpack material and vinyl specifications. Once the light turns green and the machine beeps, it's ready to use.

Put the EasyPress Mat inside the front pocket of the backpack to protect the inside (trust me, this is important!). Place the vinyl dog design cut out of Holographic Mosaic Iron-On in the center of the pocket.

Lay the Iron-On Protective Sheet over the vinyl and place the EasyPress on top. Press the green "C" button and hold firmly in place while the timer counts down. Peel the liner away while the vinyl is warm.

Isn't this little fella the cutest?! I am LOVING this new Holographic Mosaic Iron-On!!

For the lower pocket, I wanted to add this adorable border of paw prints and hearts. Place the EasyPress Mat inside the bottom pocket of the backpack to protect the inside, then lay the border of paw prints and hearts in the center of the pocket.


My daughter is thrilled with her customized backpack and can't wait to take it to school this year! Even if someone else comes to school with the same backpack, she will be able to tell hers apart from the rest, and I can rest easy knowing that the vinyl is going to stay put all year long!
"Puppy Love" Lunch Box supplies:
We decided to give the current lunch box an update to coordinate with the backpack. Open the Puppy Love Project in Design Space. Select "Customize" to make adjustments to sizes and colors to fit your lunchbox. When finished, click the green "Make It" button in the top right corner. No need to mirror the images this time since we are working with adhesive vinyl instead of iron-on.
Turn the dial to "Vinyl" or "Custom" and select the different kinds of vinyl for the project. I used Holographic Vinyl for the background, and Foil Vinyl and Glitter Vinyl for the designs. Lay the vinyl face-up on the mat this time and load it into the machine and press "Go" it to cut your project out.
After the vinyl has been cut, you'll need to "weed" the vinyl. Start by carefully peeling away excess vinyl (or the largest parts of the design that you won't be using) with your fingers. For smaller areas like the insides of letters you'll need to use weeding tools.

Peel the rectangle cut out of Holographic Vinyl off of the backing (like a sticker) and stick it to the lunchbox, using the scraper tool to remove bubbles as you lay the rest of it down.
Cut a piece of transfer tape and lay it over the dogs cut out of Foil Vinyl. Use the scraper tool to press it down well. Remove the backing from the vinyl, then center the dogs on the lunch box over the holographic vinyl. Use the scraper tool again to press the vinyl down and to remove any air bubbles.

Slowly peel the transfer tape away from the vinyl. If the vinyl is still sticking to the transfer tape, lay it back down and press it again with the scraper tool.
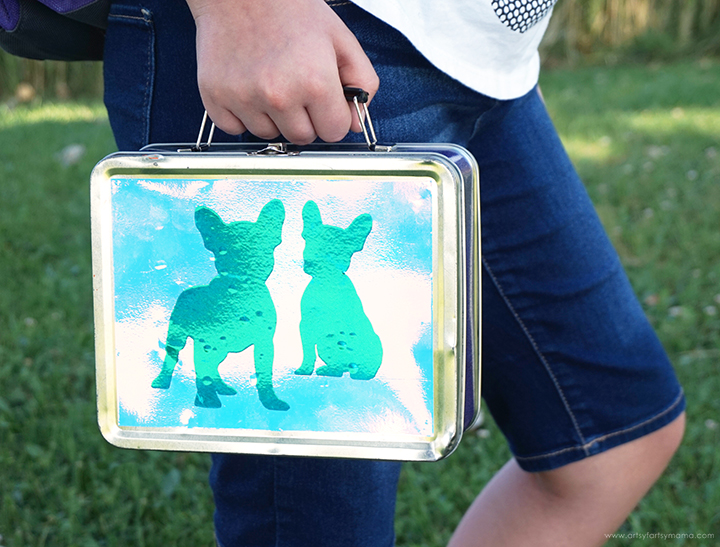
The foil with the holographic vinyl looks so shiny and colorful! Just like the Holographic Iron-On, this adhesive vinyl changes color in the light, too!


"Puppy Love" Pencil Case supplies:

After grabbing a pencil case, we decided to customize this as well! I used the same Holographic Iron-On as I did on the bottom pocket of the backpack because it has a fabric exterior. If you have a plastic pencil case, use adhesive Holographic Vinyl instead so you don't melt it!

Open the pencil case and lay it down on the EasyPress Mat. Center the vinyl design (name and the small puppy) on the pencil case.
Heat up the EasyPress 2 and lay the Iron-On Protective Sheet over the vinyl. This is important so that you don't melt the fabric and the plastic interior of the pencil case! Place the EasyPress over the pencil case and press the vinyl while the timer counts down. Peel the liner away while the vinyl is warm.

Do you customize your school supplies?
Put the EasyPress Mat inside the front pocket of the backpack to protect the inside (trust me, this is important!). Place the vinyl dog design cut out of Holographic Mosaic Iron-On in the center of the pocket.
Lay the Iron-On Protective Sheet over the vinyl and place the EasyPress on top. Press the green "C" button and hold firmly in place while the timer counts down. Peel the liner away while the vinyl is warm.
Lay the Iron-On Protective Sheet over the vinyl. Place the EasyPress on top and hold firmly in place while the timer counts down. Peel the liner away while the vinyl is warm.
The Holographic Iron-On changes color in the light, which makes it even cooler! Kids will definitely love this stuff.
My daughter is thrilled with her customized backpack and can't wait to take it to school this year! Even if someone else comes to school with the same backpack, she will be able to tell hers apart from the rest, and I can rest easy knowing that the vinyl is going to stay put all year long!
"Puppy Love" Lunch Box supplies:
- Metal Lunch Box
- Cricut Maker or Cricut Explore machine
- Holographic Vinyl
- Foil Vinyl
- Glitter Vinyl
- Weeding Tools
- Transfer Tape
- Scraper Tool
Turn the dial to "Vinyl" or "Custom" and select the different kinds of vinyl for the project. I used Holographic Vinyl for the background, and Foil Vinyl and Glitter Vinyl for the designs. Lay the vinyl face-up on the mat this time and load it into the machine and press "Go" it to cut your project out.
After the vinyl has been cut, you'll need to "weed" the vinyl. Start by carefully peeling away excess vinyl (or the largest parts of the design that you won't be using) with your fingers. For smaller areas like the insides of letters you'll need to use weeding tools.
Cut a piece of transfer tape and lay it over the dogs cut out of Foil Vinyl. Use the scraper tool to press it down well. Remove the backing from the vinyl, then center the dogs on the lunch box over the holographic vinyl. Use the scraper tool again to press the vinyl down and to remove any air bubbles.
Slowly peel the transfer tape away from the vinyl. If the vinyl is still sticking to the transfer tape, lay it back down and press it again with the scraper tool.
The foil with the holographic vinyl looks so shiny and colorful! Just like the Holographic Iron-On, this adhesive vinyl changes color in the light, too!
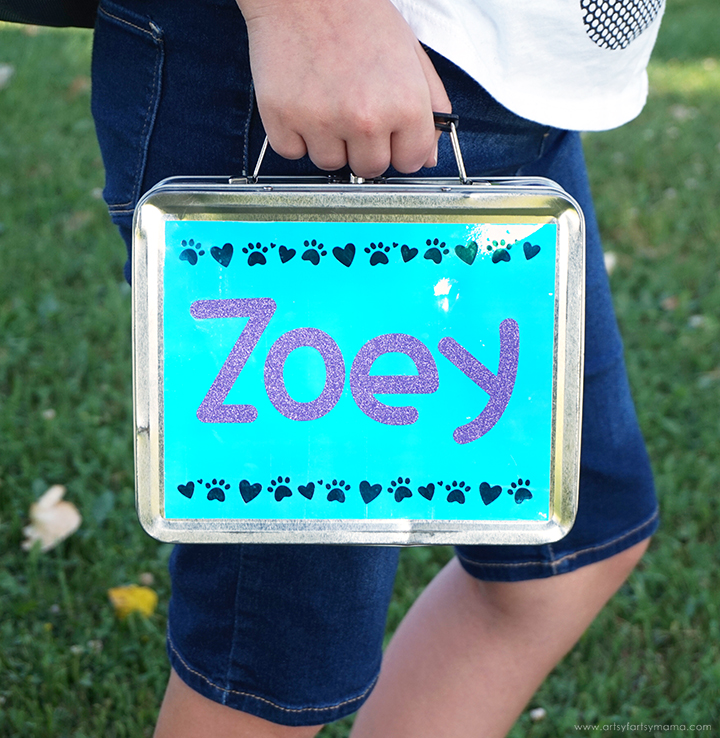
For the other side of the lunch box, I placed a second holographic rectangle the same way as the first. I cut my daughter's name out of Glitter Vinyl, weeded it, and stuck it on in the center of the rectangle using transfer tape.
I used the same paws and hearts border from the backpack and cut it out of the same Foil Vinyl as the dogs on the lunch box. Use a strip of transfer tape to stick the borders to the lunch box using the scraper tool.
Slowly peel the transfer tape away. Use the scraper tool as needed to make sure the vinyl sticks to the lunch box and to remove any air bubbles.
This lunch box is so fun and is definitely eye-catching! I love the hint of glitter with all of that shimmery foil and holographic vinyl.
- Pencil Case (with fabric exterior)
- Cricut Maker or Cricut Explore machine
- Iron-On Vinyl/HTV
- Weeding Tools
- Cricut EasyPress 2
- EasyPress Mat
- Iron-On Protective Sheet
After grabbing a pencil case, we decided to customize this as well! I used the same Holographic Iron-On as I did on the bottom pocket of the backpack because it has a fabric exterior. If you have a plastic pencil case, use adhesive Holographic Vinyl instead so you don't melt it!
Open the pencil case and lay it down on the EasyPress Mat. Center the vinyl design (name and the small puppy) on the pencil case.
Heat up the EasyPress 2 and lay the Iron-On Protective Sheet over the vinyl. This is important so that you don't melt the fabric and the plastic interior of the pencil case! Place the EasyPress over the pencil case and press the vinyl while the timer counts down. Peel the liner away while the vinyl is warm.
Because the fabric is more flexible than other fabrics, the vinyl kind of wrinkled up as the pencil case cooled down. I actually think this was kind of a win though because my daughter loves the texture and it looks really cool!!
Now we are officially ready for the school year to start! My daughter loves her new "Puppy Love" School Supplies. We even wrapped some extra scraps of Holographic Vinyl around a few pencils and other supplies so that she has some extra flair for the first little while.
Do you customize your school supplies?


Great project. Pinned
ReplyDelete