Organize your makeup, perfumes, or jewelry on a DIY Vanity Tray!

I'm excited to be a Plaid Creator this year, and to share best Plaid products with all of you! This post contains affiliate links for your convenience. As always, I only share products that I use myself and truly recommend!
To make your own DIY Vanity Tray, you will need these supplies:
- Wooden Plaque (I used this one)
- Fine Grit Sandpaper
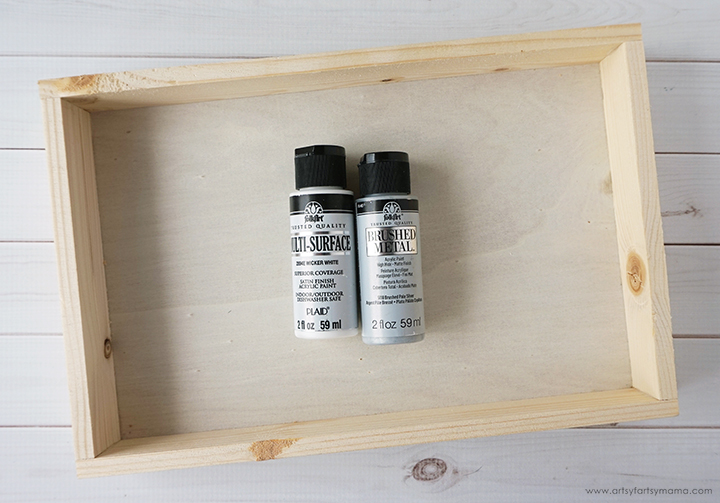
- FolkArt Multi-Surface Paint (Wicker White)
- FolkArt Brushed Metal Paint (Brushed Silver)
- Mod Podge Ultra Gloss
- Crushed Glass (I used this purple crushed glass)
- Mod Podge Brush
When you buy a wooden plaque/tray like this, I've found that the inside needs a little bit of sanding. Use some fine grit sandpaper to smooth the bottom, sides, and corners of the plaque. Brush away any sawdust.
Paint the entire tray with 1-2 coats of Wicker White FolkArt Multi-Surface Paint, making sure to let it dry completely between coats. To add a bit of shine, I painted just the top edges with 2-3 coats of Brushed Silver FolkArt Brushed Metal Paint. Depending on the color of your mosaic filler, you could use any brushed metal paint color that you'd like to coordinate.

Mod Podge Ultra is the newest formula in the Mod Podge family. The biggest (and most obvious) difference in this formula is that it can be SPRAYED on. Seriously! It has a super strong hold, dries quickly, and self-levels without leaving a stickiness behind once it dries. It is a water-based, non-toxic formula that can be used for indoor/outdoor projects, with the quality you can expect from the Mod Podge brand. It comes in both a matte and gloss finish as well as both a 4 and 8-ounce bottle.

Lay down something to protect your work surface (like a silicone craft mat) and place the wood tray on top. Shake the Mod Podge Ultra bottle vigorously for 10-15 seconds. Prime the pump of the bottle by doing some test sprays on a paper towel. It's ready to use when you have a consistent spray coming from the nozzle.
Spray a thin, even layer of Mod Podge Ultra on the bottom of the wood tray. Keep in mind that using thinner layers works much better than thicker ones.

Now is the time to place your mosaic materials. I chose this gorgeous purple crushed glass. I found it with other vase fillers, and I love how it has a bit of sparkle! Pour the crushed glass into the tray until just the bottom is covered.

The Mod Podge Ultra is tacky while it is wet, but you can still move things around if necessary. Pouring the crushed glass is the quickest way to place it in the tray, but it comes out a bit uneven. Use a Mod Podge Brush to even things out without getting pieces stuck to your fingers. Add more crushed glass as necessary to fill in bare spots.
Once you have the crushed glass (or your other mosaic material) arranged as you'd like it, spray another layer of Mod Podge Ultra on top. Elevate your project while it dries to keep it from sticking to your work surface. Let it dry 4+ hours. If you use thinner coats, it shouldn't take much longer than that.
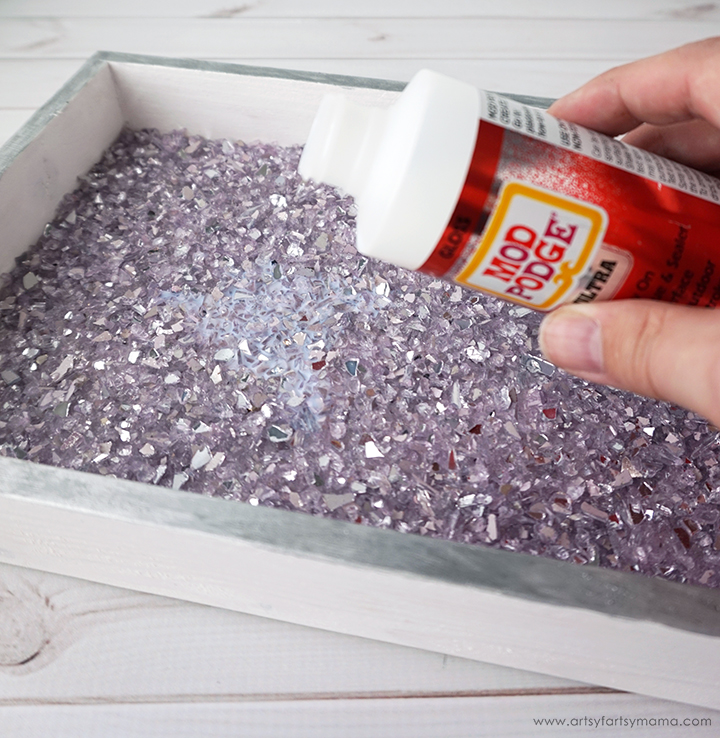
Since I am going to be using this surface quite a bit, I wanted to add an extra layer of protection. Once the first coats dried, I poured a small amount of Mod Podge Ultra straight onto the crushed glass. The Mod Podge Ultra is self-leveling, so all I had to do is slowly turn the tray around to make sure everything is coated, then elevated it to dry. This drying time took a lot longer since it was a thicker coat.
Before storing the Mod Podge Ultra, you need to clean the pump so that it will spray smoothly again next time. I rinsed the pump and nozzle well in warm water, and then put it back in the bottle.

You'll know if the Mod Podge Ultra has dried when you touch it and don't feel any tackiness. Once the tray is dried completely, you can place your makeup, jewelry, and/or perfumes in the tray to display in your bedroom or bathroom.

I am so excited with how this vanity tray turned out, and love the look of the crushed glass. This is such a great way to upgrade your bathroom or bedroom decor while also organizing your supplies! After doing this project, I'm really looking forward to seeing what else I can create with Mod Podge Ultra!

Have you tried the new Mod Podge Ultra?