

Halloween decor is one of my favorite things to create. I love the colors, and adding a bit of sparkle to otherwise spooky objects. I gave these skulls a sparkly transformation with Mod Podge and turned them into this fun Halloween Skull Wreath. This is a fun and easy project for any crafting level to create, and best of all, it's budget-friendly!
Before you can create a wreath, you need the supplies. In total, I spent less than $10 on this entire project. If you already have supplies on hand or if you can find them in a thrift store, even better!! I found a foam wreath form at the dollar store and a package of 12 plastic skulls for $4. I also purchased two black feather boas (2 yards each).
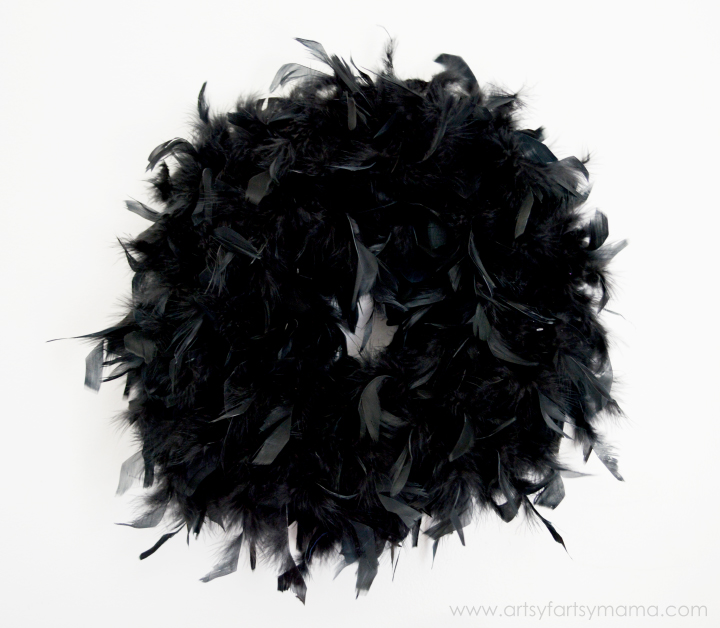
I love the spooky look the feathers give the wreath!!
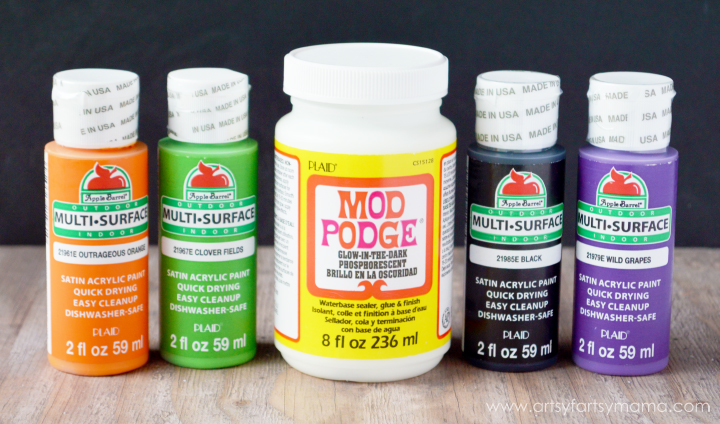
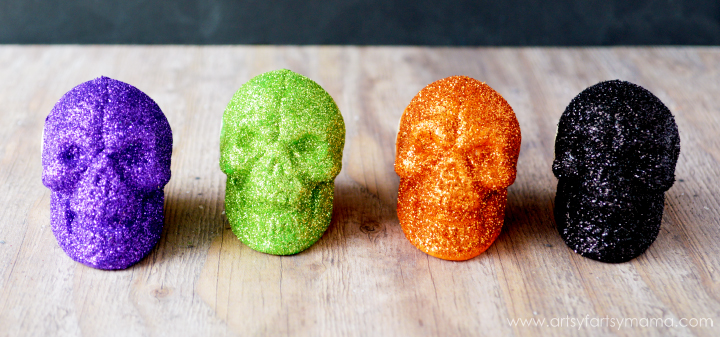
Now for the skulls. The plastic skulls I purchased were a thin plastic similar to a ping pong ball. Most paints would peel right off after it dried, so instead I decided to use Apple Barrel Multi-Surface Acrylic Paint which was perfect because it's made to cover just about everything!
Have you guys seen Mod Podge Glow in the Dark? This product is totally new to me but I couldn't be more excited about it!! Make virtually ANY project glow with just the simplicity of Mod Podge? YES, PLEASE!!
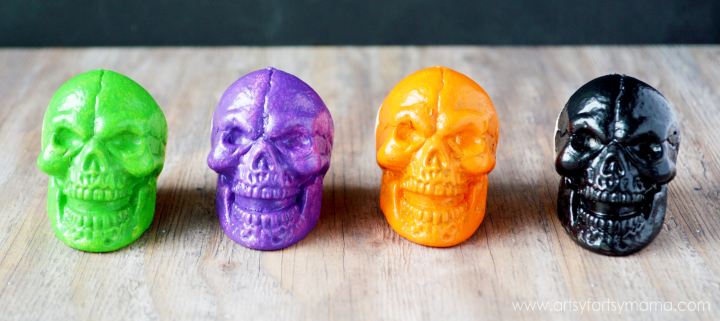
I painted two of each skull with two coats of paint, making sure to let the paint dry completely between coats. Only the front halves of the skulls were painted because the backs aren't going to be seen. You can add more coats for more coverage, but I left mine at two because...
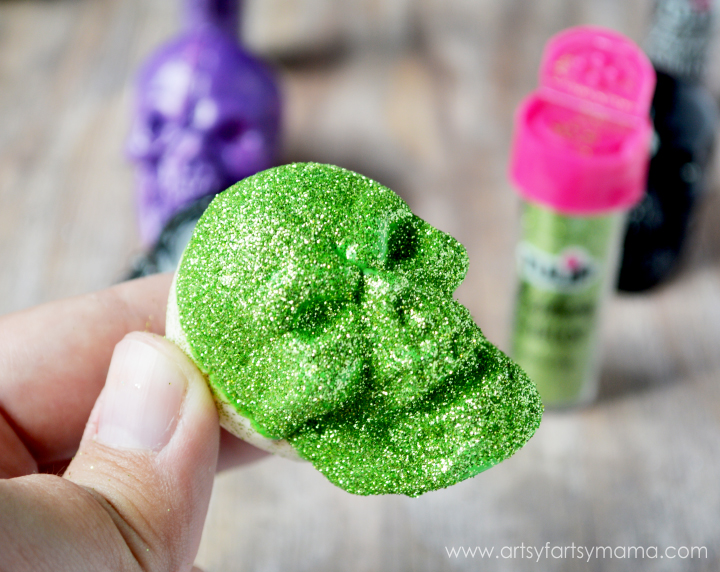
Hello, glitter!! Right after I painted the second coat, I sprinkled some fine glitter in a matching color. Since the paint is wet, the glitter sticks on perfectly. Hold the skull on the unpainted/back side and sprinkle the glitter on all over the painted area. Tip the skull face down and lightly tap the back of the skull with your fingertip to remove the excess glitter. Carefully set it down and let it dry completely.
Once the paint has dried, the skulls are technically finished, but the glitter will still come off on your fingers (and everything around you). I decided to add a layer of Mod Podge Glow in the Dark to seal the glitter and to also add a bit of glow to my wreath! Since I only used one layer of Mod Podge, they doesn't glow super bright. If you want more glow, just add more coats!

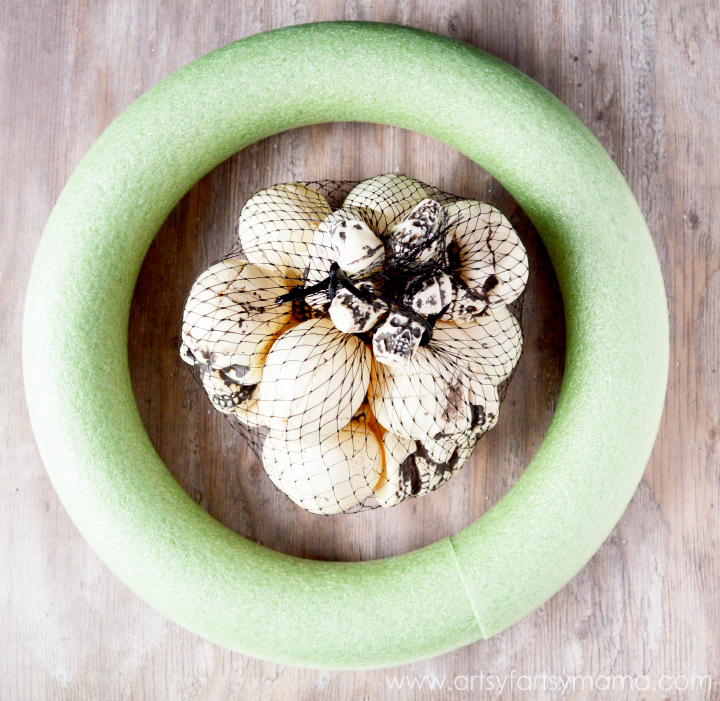
Once you've decided on placement of the skulls on the wreath, add a large drop/pile of hot glue onto the wreath and place the skull down. Hold in place until the glue is completely set. Repeat until all the skulls have been glued on and are staying in place. Now your newest piece of Halloween decor is finished and ready to be hung up!! I would love to hear what you think and if you plan to make your own wreath for Halloween.


Oh I love the feathers!!
ReplyDeleteSuper cute!! Love this idea! My 3 yo would, too! :)
ReplyDelete