Create a set of custom Halloween Heishi Bracelets at your next Halloween party!
Heishi bracelets are all the rage right now, and how cute is this set I made for Halloween?! My daughter loves putting sets together with all kinds of themes, and sharing them with friends. They are so simple for kids of all ages to make, and you can easily make a set to brighten up your Halloween fashion, or you can package them up with my free printable label to hand them out as a kit for a Halloween party favor!

To make your own Halloween Heishi Bracelet Set, you will need these supplies:

Measure your wrist and cut a length of clear elastic jewelry cord one inch longer than your measurement. If you are making the bracelet as a gift, I would recommend cutting 9" of cord to fit a 7"-8" wrist. Pre-stretch the piece of cord a few times. This will help prevent the bracelet from quickly stretching out too much as the bracelet is worn.
Attach a binder clip to one end of the cord. This is totally optional, but I like that it holds tightly to the end of the cord, which helps to make it easier to thread the beads on.

This is a Halloween bracelet set example, so you can follow along to get the same look, or use these as inspiration to get creative with your own style.
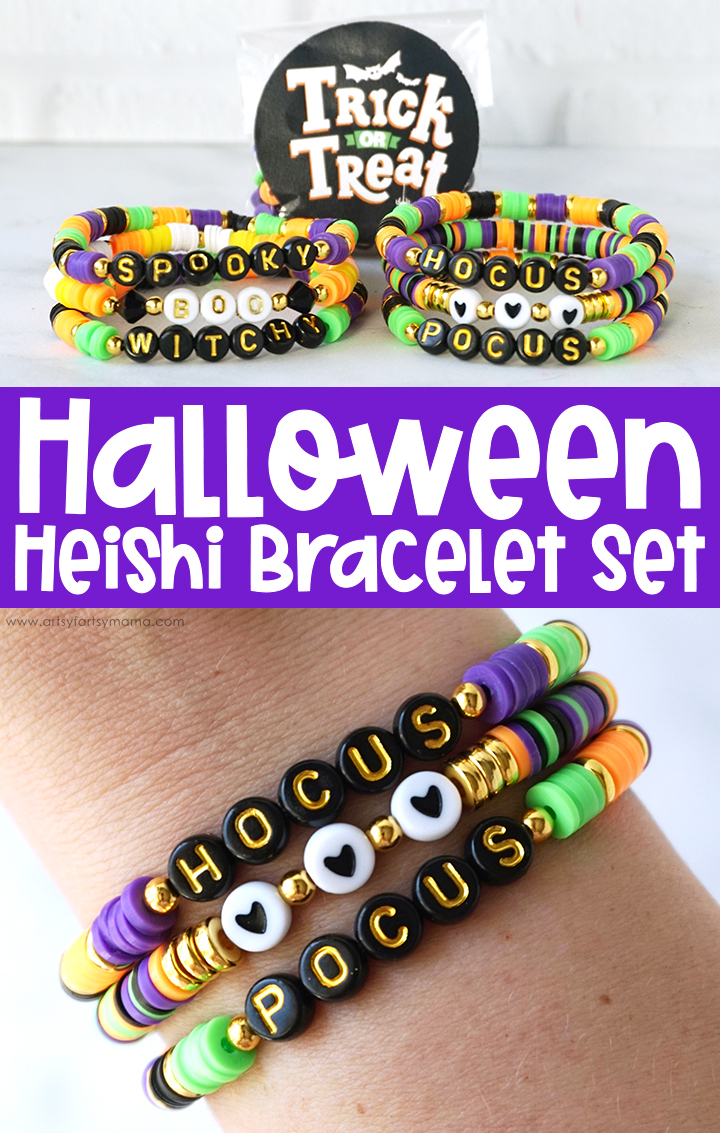
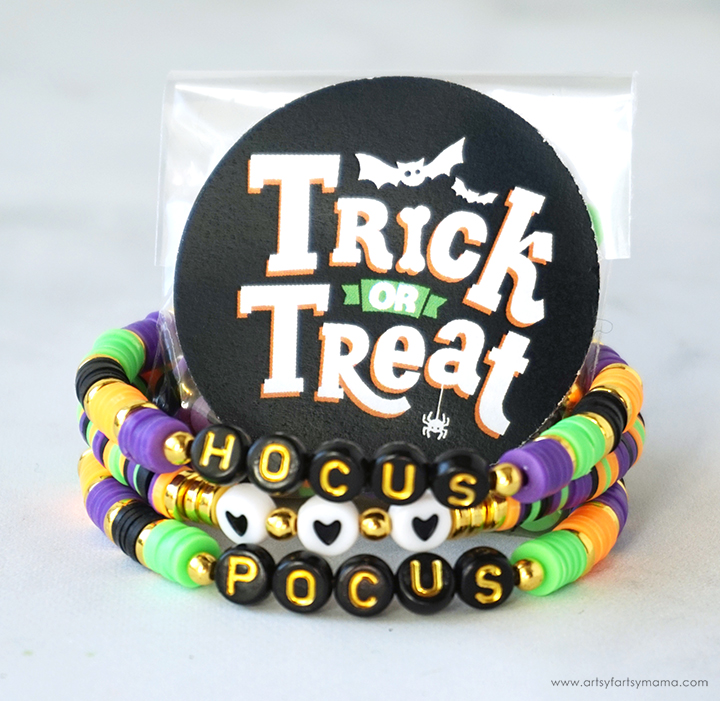
First, thread a gold round bead onto the cord. Next, add your Halloween word to the cord, one letter bead at a time. Make sure to double-check your spelling and the direction of the letter beads! Add one more round bead to the cord.
Choose a 3-color Halloween combination, and then add 5 heishi beads of each color, separated by a metallic heishi bead. Repeat this until you have 4 sets of each color, and 5 of the color you started with. You can see what I mean by looking at the "Hocus" bracelet. Repeat this process to make a "Pocus" bracelet. I made mine the same way, but alternated the color order of the heishi beads.
I like to make a third accent bracelet to go with these sets. For this one, I strung on 4 metallic heishi beads and then added three heart beads, separated by round beads. After adding another 4 metallic heishi beads, I added a bunch of the same color heishi beads, but not in any order so that this bracelet would coordinate, but not match too much.

Check the fit by carefully wrapping the bracelet around your wrist. There should be about 1"-1 1/2" of cord left. Carefully remove the binder clip and hold the end of the cord. Knot the ends of the cord together in a tight knot, and then tie it a few more times. For an extra strong hold, pull the knot tight and add a small drop of super glue. Hold the knot tight until the glue dries.

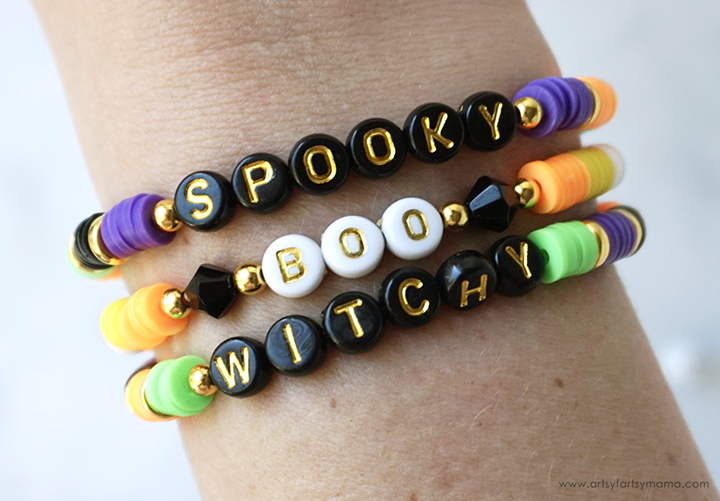
Here is the other Halloween bracelet set that my daughter put together. She chose spooky and witchy for the main bracelets, and boo as her accent bracelet. The "spooky" and witchy" bracelets were made the same way as my Hocus Pocus bracelets. The "Boo" bracelet was a bit more creative!
Add two round beads with a black faceted bead in between. Instead of the black and gold letter beads, she used white and gold so they would stand out. Repeat the two round beads with a black faceted bead in between on the other end. Next, add 5 orange, yellow, white (15 altogether) heishi beads to represent candy corn (her favorite Halloween candy). Place a round bead to separate from the next section, and then repeat. After three sets of these candy corn sections, reverse the color order to white, yellow, and then orange to complete the other half of the bracelet.
Carefully remove the binder clip and hold the end of the cord. Knot the ends of the cord together in a tight knot, and then tie it a few more times. For an extra strong hold, pull the knot tight and add a small drop of super glue. Hold the knot tight until the glue dries.

These bracelets are a fun Halloween craft that kids of almost any age can complete on their own. It's actually a fun craft to do with a group, and there are so many ways you can create a unique Halloween bracelet! One thing we are doing is packaging up the supplies to make a set of three bracelets, and handing them out during our Halloween party. You could also use the packaged bracelet kits to give as gifts!!
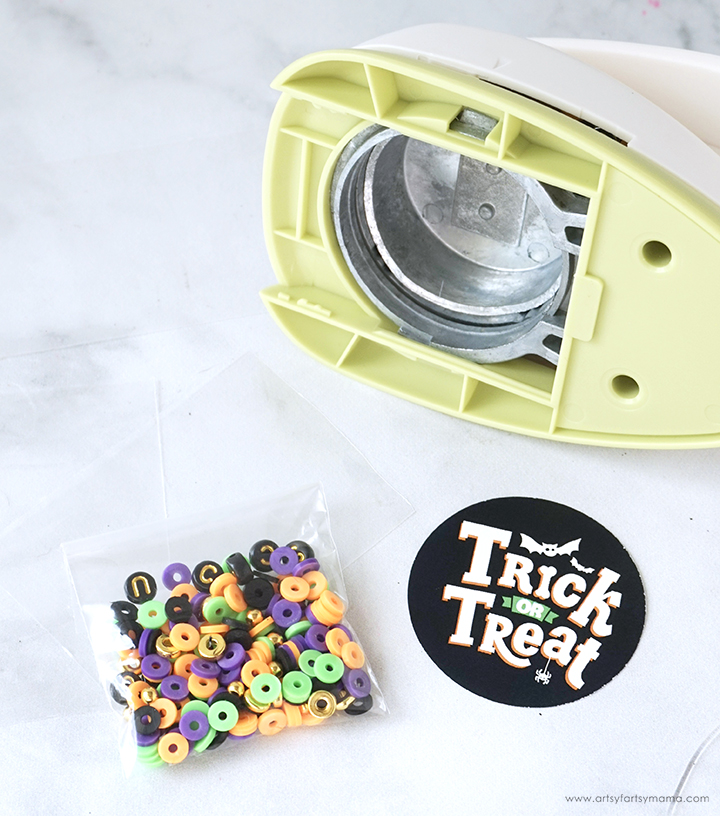
Packaging the Halloween Heishi Bracelet Set supplies as a party favor couldn't be easier, and looks so cute when you're done! Count out all of the beads needed to make one or all three bracelets, and carefully funnel them into a small plastic bag.
Download the Trick or Treat label printable (personal use only), and print on regular copy paper. Use a 2” circle punch to cut out each of the labels, or use scissors to cut the circles out.
Printables from Artsy-Fartsy Mama are for personal use only. You may use these printables in an educational setting, but you may not sell them. If you'd like to share this printable digitally, share a link to this post/website only. Do not share a direct link to the printable.

You can apply double-sided tape to the back of the labels, or you can easily transform the paper circles into scissors using a Xyron Creative Station! This machine is manual, so you don't need any electricity or fancy gadgets to make it work. There are also cartridges that can be used to also create magnetic and laminated projects!
Open the Creative Station and place three of the labels into the machine so that they are barely touching the adhesive. Make sure they are not overlapping each other and that they aren't too close to the edges of the cartridge.
Crank the handle on the side of the Creative Station to pull the paper stickers through. The stickers are sandwiched between paper and a thin plastic cover. Once you see that the first set of labels are through, add another set of three into the machine. Crank those through, and repeat until all of the labels are through the machine. Press the red paper trimmer down and run it across the paper to cut the labels away from the machine.

Peel the labels away from the backing, like a regular sticker. The backs are completely covered in adhesive and ready to be placed onto your bracelet kits!
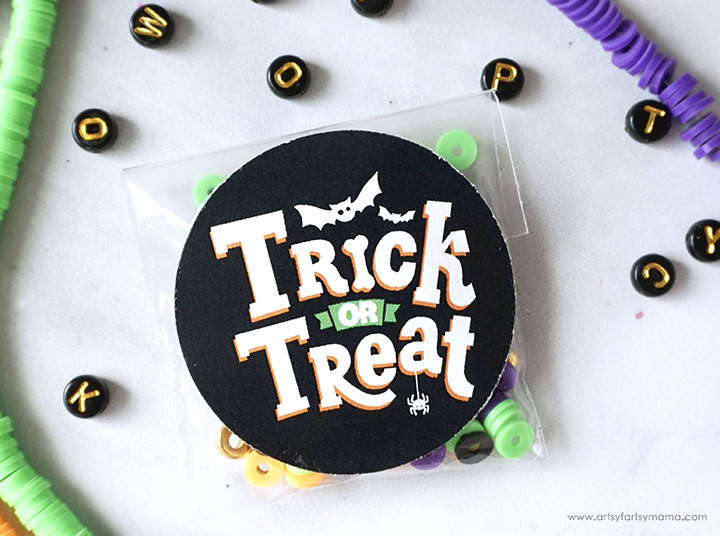
Fold the top of the bag over, and place the label over the top. You don't want the bag to accidentally open and lose all of the bracelet materials!! If you want to personalize the kit with the name, you can turn the bag over and write on it with a permanent marker.

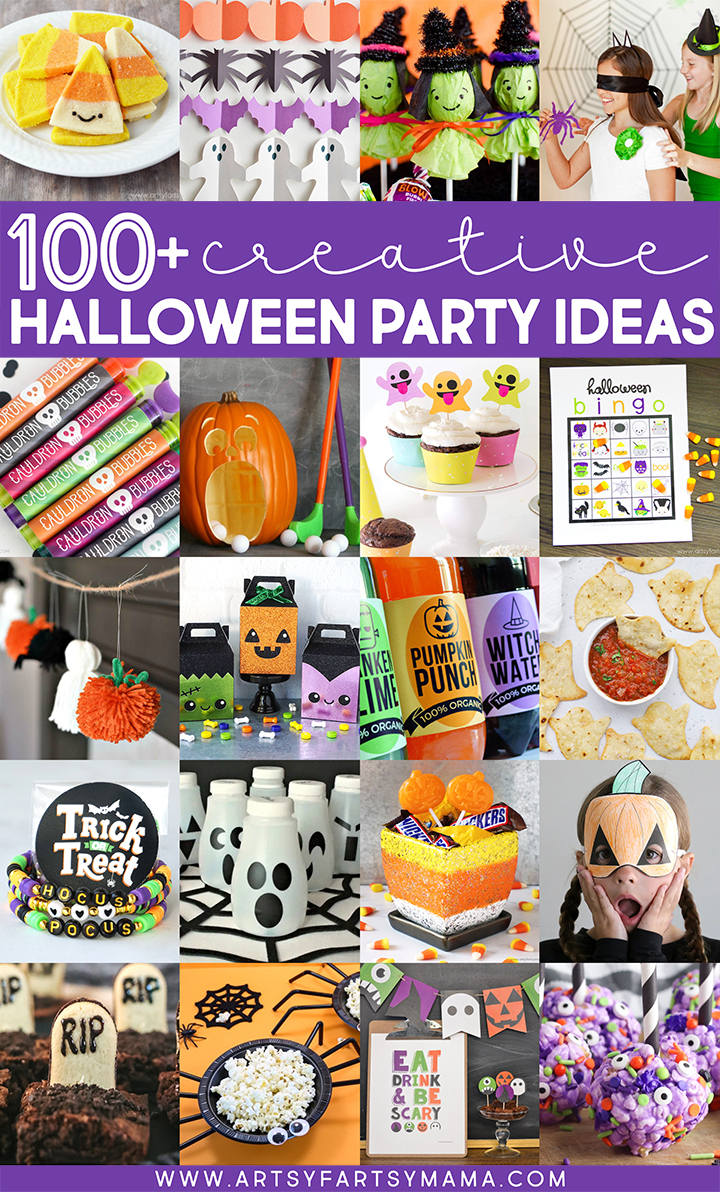
Looking for more Halloween Party inspiration?
Check out this collection of OVER 100 creative Halloween Party ideas!!
Don't Forget to Pin, Like, and Share!