This Hocus Pocus Wood Bead Garland is a simple and spooky addition to Halloween decor!

New to making reusable stencils? Here's how to Get Started with Ikonart!


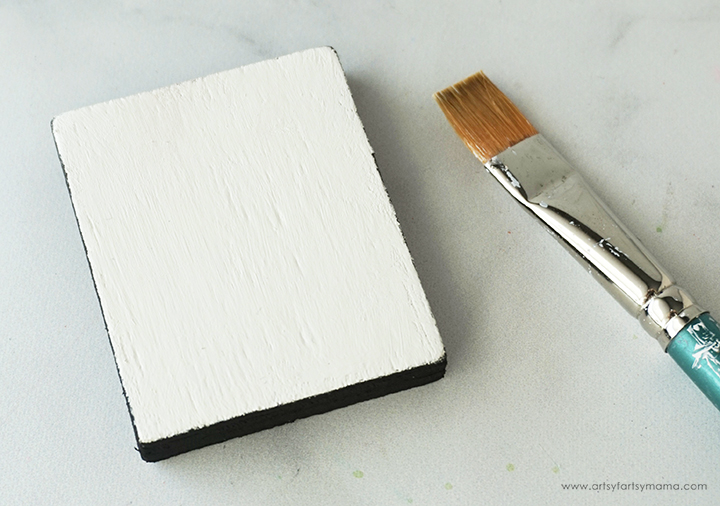
While the beads are drying, sand the wood rectangle or wood tag well so that it's as smooth as possible. Use a paint brush to paint the front and back with white acrylic paint, and the sides in black acrylic paint for some contrast. If you need to paint multiple coats, be sure to let each layer dry before painting another.
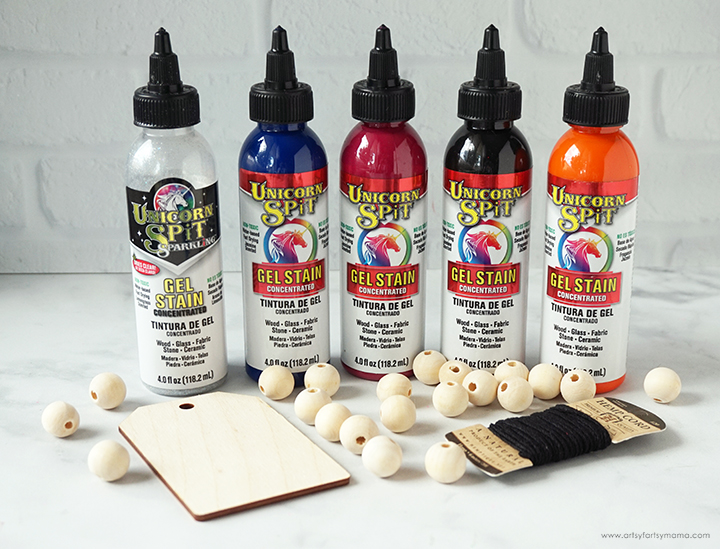
To make your own Hocus Pocus Wood Bead Garland, you will need these supplies:
*Save 15% on Ikonart supplies when you shop with code AFM15
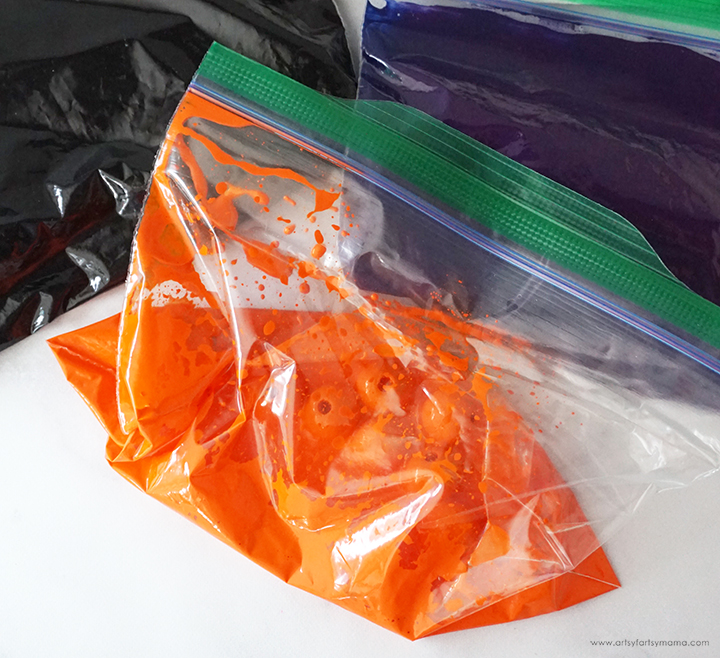
Fill three plastic bags with about 2 tablespoons of water. Add a little bit of black Unicorn SPiT to one bag and squish the bag around with your hand to mix the water and stain together well. Repeat the same process with purple and orange in the other two bags.
Drop 10 wood beads into each bag and close them tightly. Squish the beads around in the bags to get them completely covered, and then let them soak for about 30 minutes.
To make a stencil, you need to start with a printed design. Download the Hocus Pocus image and print the design as dark as possible on either inkjet or laser Ikonart Printer Film.
The next step in the process is exposing the stencil film. Set up the exposure stand with UV LED Light by following the directions included in the kit. Ikonart Stencil Film is light sensitive, so be careful to keep it out of sunlight and bright lights before exposure. Cut a piece of the film the same size as the design print.
Lay the piece of film down on the base of the stand with the textured side facing up. Place the printed design on top of the stencil film, making sure it's right-side up - meaning that if there are words in your design, you should be able to read them.
Lastly, place the clear exposure sheet (found in the stencil film pack) on top and press it down well to seal the design tight against the stencil film. Turn the exposure light on and expose the film for 35 seconds.
The final step in the stencil-making process is to washout, or rinse the stencil. Clip the exposed stencil film to the Ikonart clipboard with the shiny side (carrier sheet) touching the clipboard. Use the kitchen sink sprayer to rinse the stencil film with warm water until the design shows through and becomes completely clear. The washout process shouldn't take more than 3 minutes.
Gently blot excess water off the from of the stencil, and hang or lay flat to dry for about 45 minutes. When the stencil is dry, you shouldn't see any water spots or discoloration. Once the stencil is completely dried, place the it back on the exposure stand and expose it again for at least 2 minutes without the clear cover sheet. This extra exposure time will increase the durability of the stencil so you can get as much use out of it as possible.
Use a permanent marker and write "back" on the carrier sheet (shiny side) on the back of the stencil.
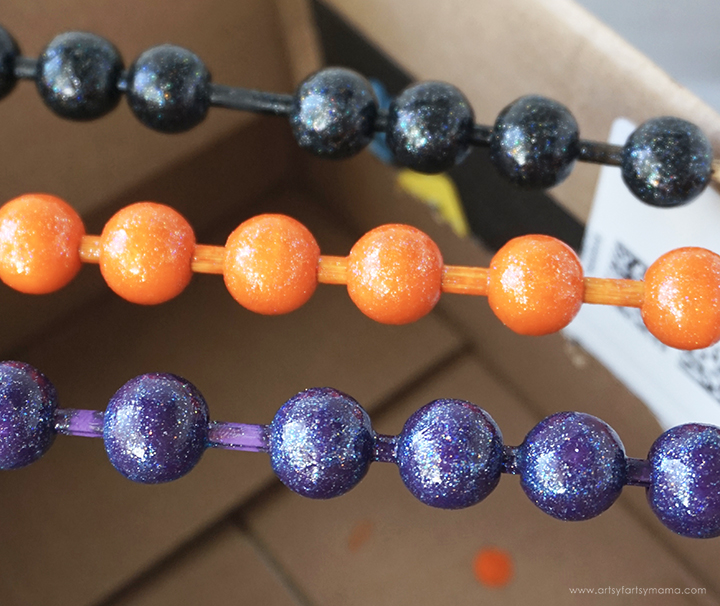
While the stencil is drying, put on some gloves and carefully remove the wood beads from the bags and slide them onto skewers. Place each end of the skewer over the edges of a cardboard box to catch any drips, and let the beads dry. The great part about Unicorn SPiT is that it absorbs into the beads for an even application, unlike acrylic paint would.
Once the beads are dry, use a paint brush to cover each one in a coat of sparkly Iced Egret Unicorn SPiT. It's clear, but leaves behind an intense sparkle that stays in place. Leave the beads in place to dry completely.
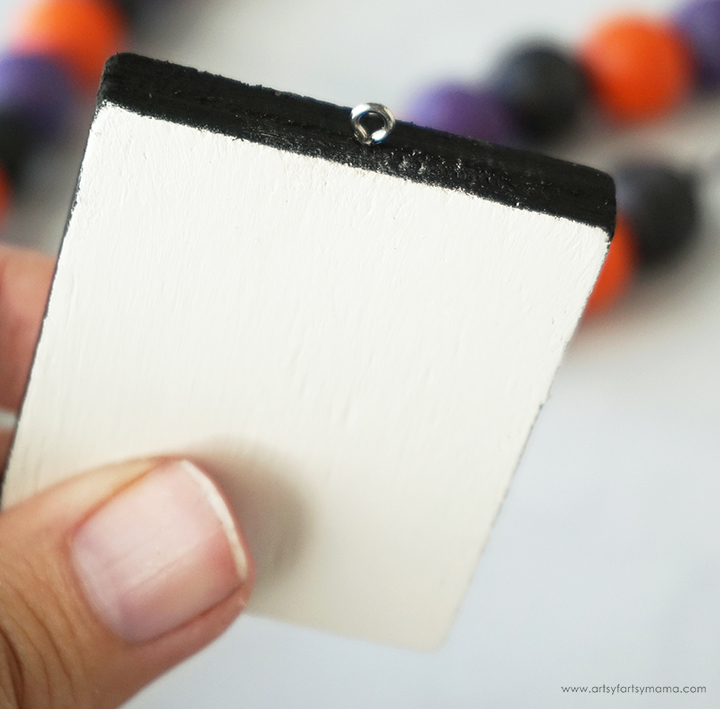
If you are using a wood tag, you can skip this step because they usually have a hole at the top. However, to be able to attach the wood rectangle to the garland, you need to add an eye screw. To do this, use some pliers to carefully twist the screw through the top center of the wood. For extra hold, you can add a little bit of adhesive to the screw.

Make sure that the paint is COMPLETELY dry before moving on to this step. If it's not, your stencil could stick to the wood permanently, ruining your project. Remove the clear backing from the stencil and center the design on the front of the rectangle or tag. Once the stencil is in place, rub it down well.
I cut my stencil a little close to the image, so I added some painters tape to both the top and bottom edges to give myself a little extra room to work without getting unwanted paint on my project.
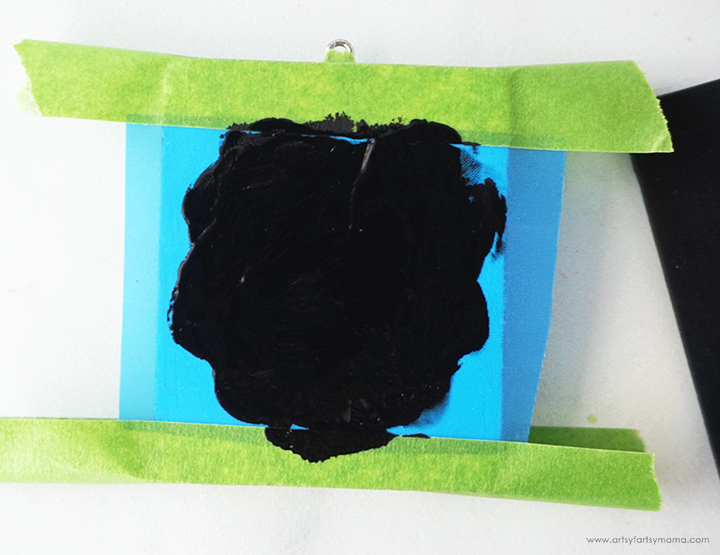
Add a thin line of black chalk paint at the top of the stencil, and use the squeegee to lightly pull the paint over the stencil. Alternatively, you could dab the paint on with a sponge or your fingertips. Make sure all of the open mesh spaces of the stencil are covered evenly. Scrape away any excess paint and put it back into the paint bottle.

Carefully pull the stencil away to reveal the stenciled Hocus Pocus design! If you see any spots that you may have missed before completely removing the stencil, you can carefully lay it back down and add a little more paint. If you notice a missed spot after removing the stencil, grab a small detail paint brush and add a light coat of paint over the area(s).
To wash your stencil so that it can be used again and again, first get the clipboard wet so your stencil doesn't stick to it. Place the stencil on the clipboard with the textured side up, and lightly rub the stencil under cold running water to remove all the paint.
Do not rub or scrub the adhesive side of the stencil, and NEVER use anything other than water to wash the stencils. To prevent the stencil from breaking down, don't ever leave the stencils to soak.
Remove the stencil from the clipboard and lay it down with the adhesive side up. While the stencil is still wet, place the carrier sheet onto the stencil so that the word “BACK” is readable. Hang or lay the stencil flat to dry completely.

While the paint from the stencil is drying, remove the beads from the skewers. There should be 30 beads total, 10 of each color. Aren't they so vivid and sparkly?! I love them!!

Wrap a piece of tape around the end of the baker's twine. This will help to make sliding the beads onto it much easier. One at a time, thread the beads onto the twine in any color pattern you want. When all of the beads are on the twine, cut the twine and leave about 3-5 inches on each end.

To make the tassel, wrap twine around the palm of your hand about 20 times. Keep about 3 inches extra and cut. Hold the twine in the center and carefully remove it from your hand. Thread the extra twine at the end of the beads through the loops and then wrap it tightly around to keep the tassel together. Tie the end off to keep it in place.
Use scissors to cut through the loops at the bottom, and trim the ends to make them even.
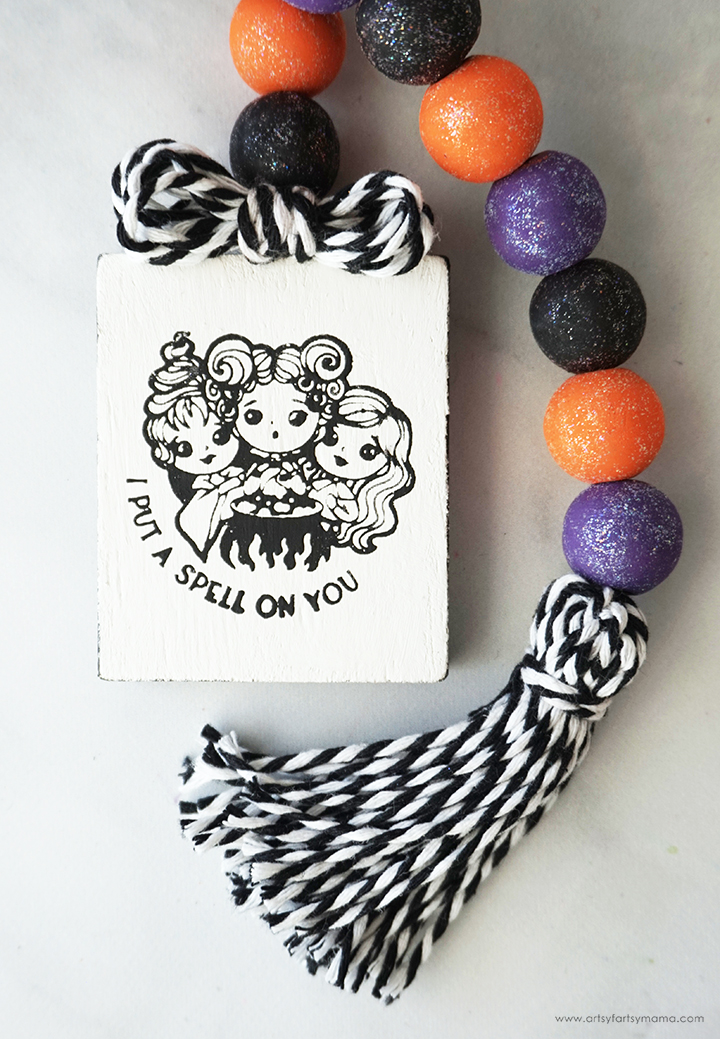
To attach the stenciled wood piece, thread the twine through the eye screw and tie it into a tight double-knot. I wound more twine around a couple of fingers to make a loopy bow, and attached it over the eye screw. You could instead use some ribbon or any kind of embellishment to add something here. Once you have tied that on, the garland is complete!!

Arrange the Hocus Pocus Wood Bead Garland with your other Halloween decor - I love how this garland looks with my Hocus Pocus Funkos!!! I am always so impressed with how easy it is to create and use custom stencils. In fact, you could easily make a multiple garlands at a time to sell (or gift) since the stencil is reusable!!
I'd love to hear what you think about this project, or if you want to know more about reusable stencils. If you've made your own stenciled projects, I would love to see your creations! Share them on Instagram, Facebook, or leave a comment/photo on the project pin on Pinterest! #AFMCrafts
Don't forget to Pin, Like, and Share!