
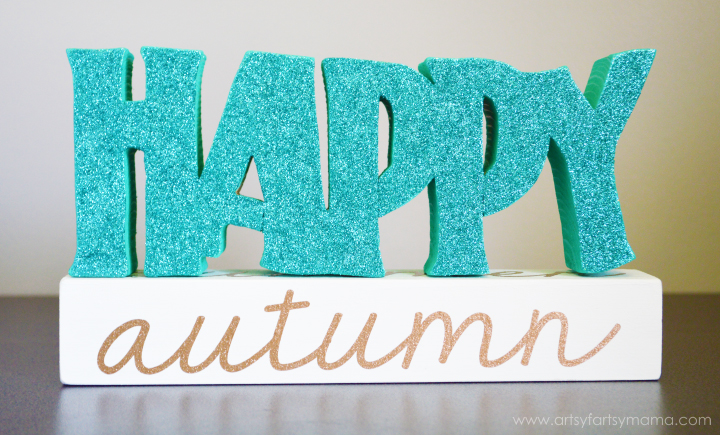
Decorating for each season is a lot of fun, but it can be frustrating when you have to have multiple boxes to store all of those decorations when you aren't using them, much less trying to find all your decor in the piles. This "Happy" Seasonal Block is super simple, and a bonus - you can keep it on display all year-round and it costs less than $10 to make!!
Supplies:
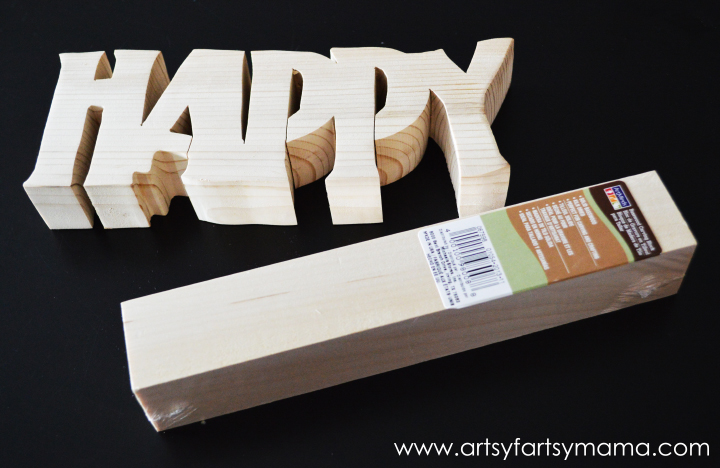
"Happy" Chunky Word Letters at Poppy Seed Projects
1 3/4" X 1 3/4" X 10" Basswood Carving Block (Michaels)
**OR you can purchase a 2" x 3.5" x 9 Pine Block Base at Poppy Seed Projects
Acrylic Paints
Glitter
Vinyl
I chose the basswood base block instead mostly because it's square. That way, I can use all four sides of the block throughout the year instead of switching them out.
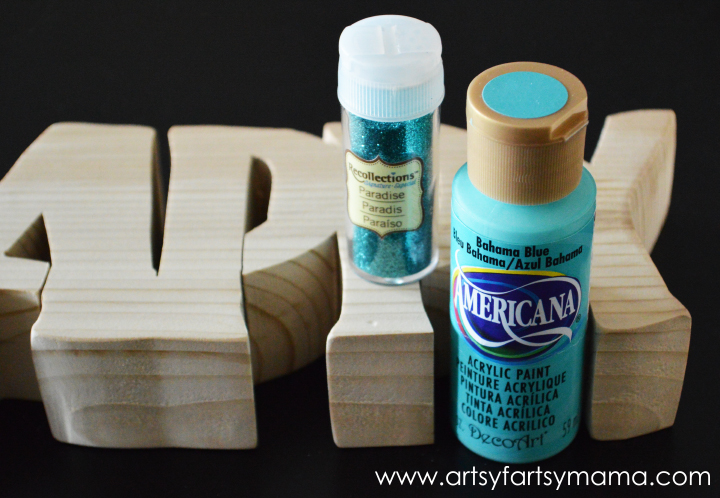
Start by choosing which color paint you want your "Happy" to be, and find a matching glitter. I chose Americana paint in Bahama Blue and used Recollections Glitter in Paradise. I ended up painting about three coats for full coverage, letting it dry completely between coats.
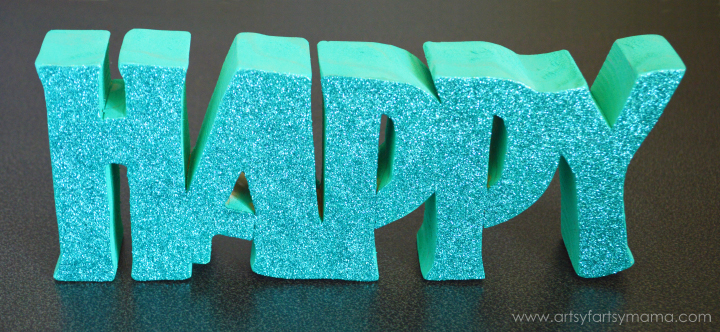
Once the "Happy" is dry, paint a coat of Mod Podge on the front of the letters. Then, pour the glitter over the letters. Let dry for a few minutes, then carefully stand the block up and tap lightly on the table to shake off any excess glitter. Seal the glitter by spraying a few coats of clear spray paint. This will help keep the glitter in place and you won't have a glittery mess every time you move the block.
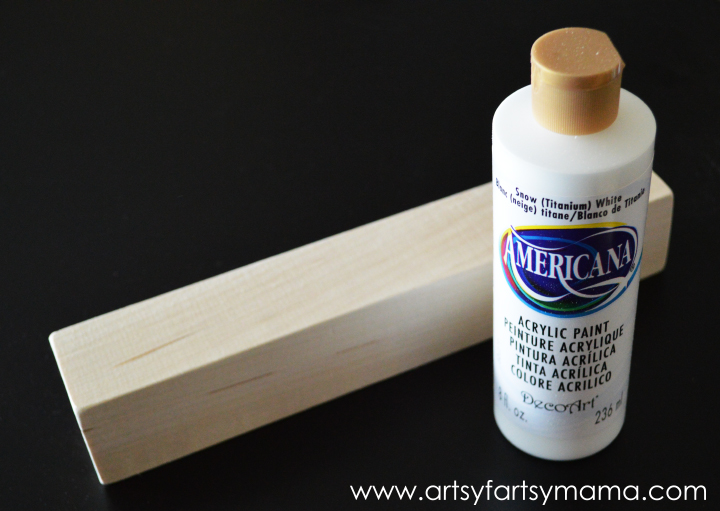
Next, I painted the base block with about 3 coats of Americana paint in Snow (Titanium) White. Let it dry completely.
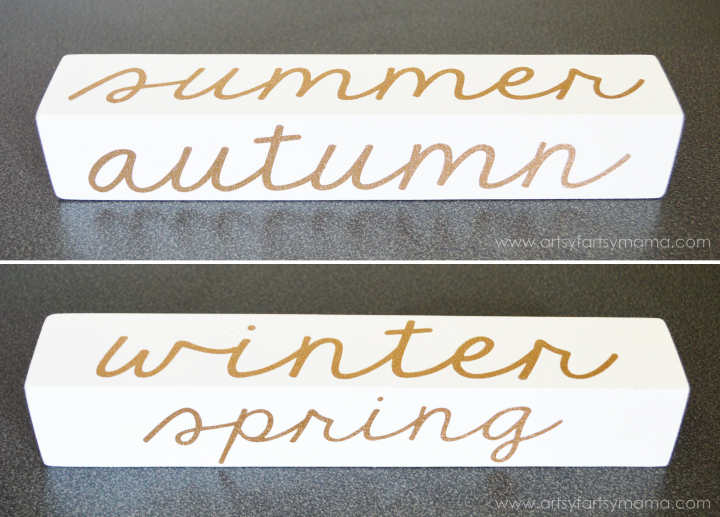
While the block is drying, cut out the seasons. I used my handy Cricut Explore to cut our summer, autumn, winter, and spring out of Gold Glitter Vinyl from Expressions Vinyl. Apply each word on all four sides of the block.
After the vinyl was placed, the project is done! Stack the "Happy" block on top of the base, and just simply rotate the base block to change for each season!!
I received products from my amazing sponsors in exchange for this post. As always, all opinions are my own.


Great idea! I love that you can change it for each season really easily. I need more things like this in my house.
ReplyDeleteSuper cute!! I love how you change it for the different seasons by flipping it over. Love it!!! Pinned :)
ReplyDeleteReally cute project!
ReplyDeleteThank you for sharing!
Team Craftwell
blog.craftwellusa.com
Lindsay I love this and how you can change the seasons.....Also a splash of glitter always makes things fun too!
ReplyDelete