We can't wait for summer to get here! With the weather getting warmer and warmer, it will be here in no time. My daughter loves to swim and will be taking swim lessons this summer. So, to carry all her swim accessories, we decided to make her her very own beach bag! She helped with the whole process and we had so much fun!!

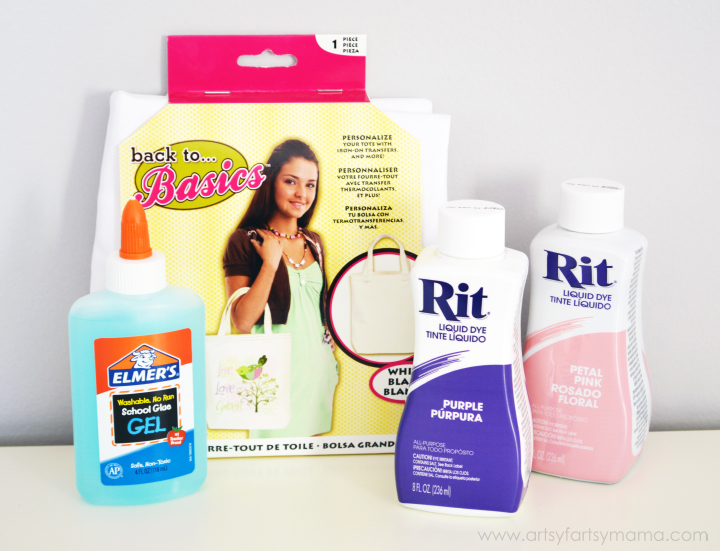
You only need a few supplies to give your beach bag this fun stenciled look. All you'll need is some Elmer's School Glue Gel (the blue gel works best), a canvas tote bag, Rit Dye, and a stencil if you want to create an image that way. Freehand designs work great, too, and are simpler for kids!!

The technique is sometimes called batik, but basically it is just the Elmer's Gel Glue working as a color resist to the dye. This technique should work on almost any kind of fabric, and it's so easy that anyone can do it!! Check your tote instructions to see if you need to prewash or anything before you start. Ours didn't need anything, so we were ready to go as soon as we brought it home from the store.
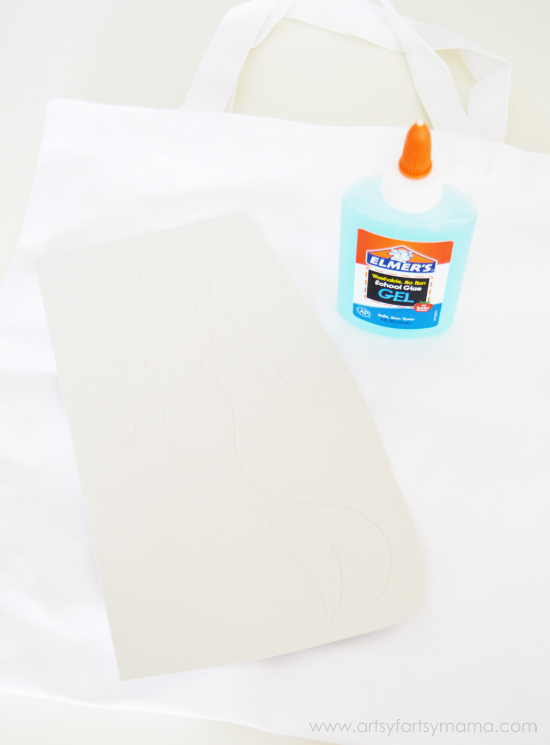
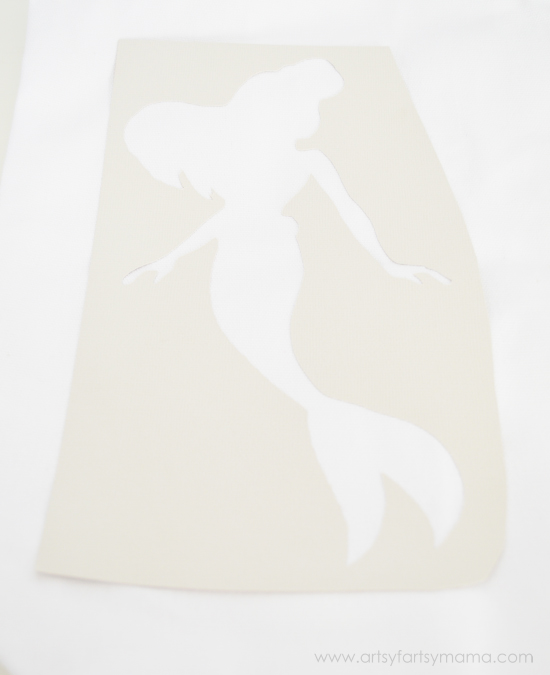
We cut out a mermaid image with the Cricut Explore on some adhesive cardstock for our stencil. You could easily hand cut your stencil if you don't have a cutter.

Place a piece of cardboard inside the bag just in case the glue seeps through. Lay the bag flat on your work space and place the stencil down on the bag. Press down all the edges to prevent the glue from going under the stencil while you work.
When you're choosing and image or text, keep in mind that the image won't come out perfect in the end. The edges will blend with the dye, and you'll most likely get a little dye bleeding through some areas where the glue is thin. So keep your designs simple without a lot of detail.

Since I had some areas of the stencil not wanting to stick, I held it down, and added a line of glue to the canvas. I used my finger to rub in the glue. Around the edges, work from the outside in so the glue is less likely to seep underneath. You can use a brush if you want, but my finger worked fine. Just try to get the glue on evenly throughout the entire stencil. You'll need at least two coats of glue on the stencil. Let each coat dry before adding another one.

When you get the last coat on, slowly peel up the stencil. Your design is still wet, so DON'T TOUCH IT! Lay it somewhere where it won't be bothered, and let it dry at least 12 hours. The glue will be clear, and not sticky to the touch when dry.

Now it's time to dye!! This is the first time I used Rit Dye. I'll admit I was very nervous to try it, but it turned out to be so easy! Even my daughter helped. We decided to dye the bag Pantone's 2014 Color of the Year Radiant Orchid by mixing 4 tsp liquid Petal Pink + 1/2 tsp liquid Purple Rit Dye for every quart of warm (not hot) water.
We doubled the recipe and poured it all in a bucket. Be sure to wear plastic gloves while you work with the dye, unless you want purple hands for a few days. Carefully submerge the bag into the dye. We left it in the dye for 30-35 minutes. The longer the item is in the dye bath, the darker the color. You might need to swish it around a little in the dye during the process to make sure everything is getting dyed evenly.
Once it's the shade you want, remove it from the dye and rinse in cold water until the water runs clear. Most of the glue will have washed off by now and you'll see your fabulous design!! Hang it to dry, then wash by hand with some soap. Make sure there isn't any more glue left on your bag and hang or machine dry.
The bag will look darker when wet, and will fade slightly after washing, so just keep that in mind!

Your bag is now ready to take to the pool, beach, or even makes a great library bag (for those who love to spend the summer reading)!! My daughter loves her mermaid bag and she loved getting to help with such a fun project to kick off summer!
I am part of the Elmer's Crafty Mamas Blogger Crew and have received supplies and compensation, but the ideas and opinions are 100% my own.


I love this! Glue batik is one of our favorites - we've made t-shirts and pillows, but I've never thought to try a tote bag. Definitely adding this to our summer to-do list!
ReplyDeleteAww...that is so cute!
ReplyDeleteWhat a fun bag! I have a feeling it will be taken on many trips to the pool!
ReplyDeleteIt's such an awesome technique, isn't it?!
ReplyDeleteWow!! So cute! I can't wait to give this method a try {and we LOVE Elmer's products in our house}!!
ReplyDeleteWhat a fabulous beach bag! I love how it turned out!!
ReplyDeleteLove the beach bag! My daughter is a fan of tote bags and this looks like a great project for us to attempt in the summertime. Since our grocery stores have banned plastic bags, I'm always on the lookout for cool tote bag projects!
ReplyDeleteCute!
ReplyDeleteMy girls would FLIP for this bag! It turned out so cute!
ReplyDeleteI absolutely adore this!
ReplyDelete