
Use iron-on vinyl to easily personalize your Christmas stockings!

I made these stockings a few years ago, and had intentions of adding names to the cuffs, but just never got around to it. The main reason I didn't add any was because I wasn't sure the best way to go about it without having to unpick the sewing or add something permanent that I ended up not liking.
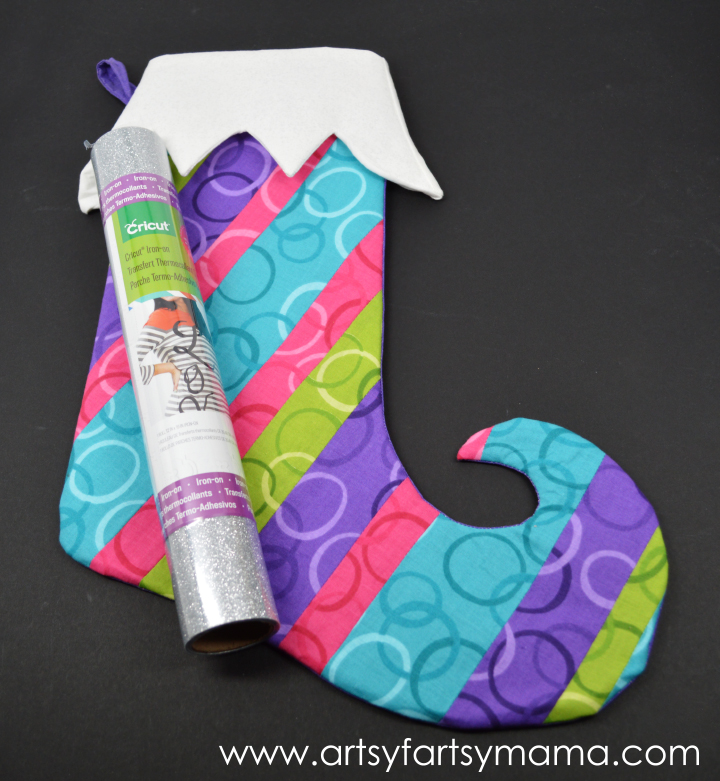
This year, I discovered Cricut Iron-On and knew it would be the perfect product to use for my stockings. It's incredibly easy to work with, and the glitter iron-on is gorgeous! The glitter doesn't rub off, and it sticks beautifully.
As long as your stockings are iron-able, the Cricut Iron-On will work great. You don't have to have homemade stockings!! Just be sure to check the labels and maybe do a test with the iron on a non-conspicuous area of the stocking.
Measure your stocking cuff to see how big your names need to be. Arrange your names in Design Space.

The iron-on sheets are made up of two parts: the iron-on film, which will be ironed on to your project, and the liner. The liner is a carrier sheet (think transfer paper) that holds the design in place and protects your iron during application.
*Like any iron-on product, make sure you mirror your image! Otherwise it will be backwards when you iron it on!
To cut the iron-on, place the sheet liner side down on the cutting mat. Cut the sheet with a "kiss cut" (where you only cut through the iron-on, but leaves the liner intact). Every Cricut machine has a different setting, so make sure to check your cut guide.
After your names have been cut, use the Cricut tool set to weed out the excess vinyl. Flip the name over, and lay over the stocking. When it's in the right place, follow the instructions for ironing the vinyl on:
- Set your iron to the Cotton/Linen setting with the steam OFF.
- Lightly preheat the area with the iron for 10-15 seconds. This really does help!
- Place your image, liner side UP onto the area. If you don't place the liner side up, it will stick to your press cloth.
- Carefully lay a press cloth or dishtowel over the design. Be VERY careful. You don't want any of the pieces to shift!
- Apply medium pressure with the iron for 25-30 seconds.
- Flip the material over and apply medium pressure with the iron to the back of the material for an additional 25-30 seconds.
*If you have any parts that didn't stick for some reason or if edges are flipping up, re-iron the pieces or loose edges with the iron tip for 10 seconds. - Let cool and remove liner. If you try to remove the liner before it cools, you risk burning your fingers or peeling the iron-on up.
Once you peel the liner off, your stockings are ready to put on display! The Iron-On washes great, and if for some reason the edges peel up at all, just run an iron over it (with a cloth overtop) until it sticks again. I absolutely love Cricut's Iron-On vinyl, and am so happy with how my personalized Christmas stockings turned out!!


These turned out super cute, I love the fabric!
ReplyDeleteLindsey these are so fun! I love the glitter names - the perfect touch :)
ReplyDeleteThose are adorable! I love that glitter vinyl SO much
ReplyDeleteOh my word, how cute are your stockings?! I love them!
ReplyDeleteI seriously LOVE the way these turned out!
ReplyDeleteLove how these turned out! I'm a big fan of the glitter iron on, it is so pretty!
ReplyDeleteThose are just adorable! I love the colors too!
ReplyDeleteThese stockings are cute! I need to make homemade stockings.
ReplyDeleteI love the colors you chose! I also wish I had done this initially... I just had to order one more horrendously expensive stocking for my son to match our ones from two years ago. :P
ReplyDeleteThese are awesome!! Love the colors and the glitter!
ReplyDeleteSo so CUTE! I love the glittery vinyl. Your stockings go perfectly with your cute stocking holders!
ReplyDeleteOh my goodness!!!! Glitter vinyl?!?!?!? I NEED this in my life. Great stockings BTW I love the names in glitter! It adds the perfect touch. :)
ReplyDeleteOh those are too cute! I love the stocking holders too!!
ReplyDeleteWhat a fun project idea
ReplyDeleteGlitter iron on vinyl.....WINNER! These stockings are gorgeous! :D
ReplyDelete